You can define a Digital Form by adding components and configuring their properties.
- You can drag and drop the components available on the left pane to the canvas and configure their properties to build the form. For details of the components & their properties, see below.
- Scroll through the list to search for a given component.
- View in a grid format.
Basic & Advanced Components
The following is a list of available components and their properties:
| Component | Description | Sample |
|---|---|---|
| Basic | ||
| Text Field – Used for single-line input. |  |
|
| Text Area – Used for multi-line entry. | 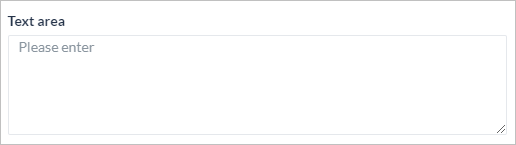 |
|
| Number – Used for numerical entries. |  |
|
| Radio Button – Used as a selection option from a given list. |  |
|
| Drop-down – Used as a selection option from a given list; can be multi-select. | 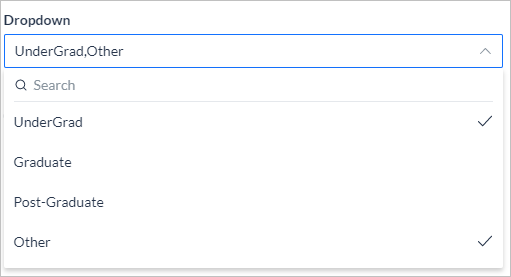 |
|
| Checkbox – Used for multi-select option from a given list. |  |
|
| Date – Used for date entries, gives a date picker for the user to choose the date. |  |
|
| Date & Time – Used for date and time entries, give a date and time picker for the user to choose the date and time. Use the Date component and set the Time option to yes; choose from 12- or 24-hour format. |
 |
|
| Phone Number – Used for phone number entries, allows the user to choose the country code. | 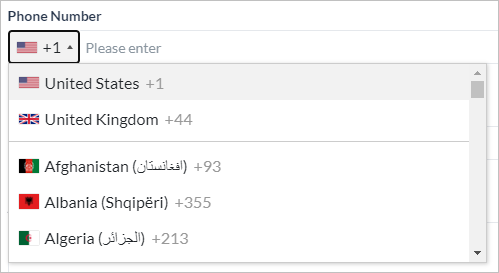 |
|
| Email – Used for email address entries, validates for xxx@uuu.com format. |  |
|
| Toggle – Used for switching between two values, ideal for yes/no type of inputs. |  |
|
| Address – Used for address entries. | 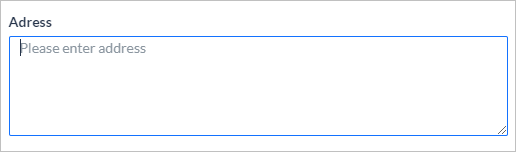 |
|
| URL – Used for web URL entries, validates for xxx.com format. |  |
|
| Range Slider – Value selection between specified min and max values; can be represented as a percentage. |  |
|
| Advanced | ||
| Button – Used as a clickable component to submit, or reset, or open an external URL on the form. Choose from Primary, Secondary, Tertiary, Ghost, or Danger. | 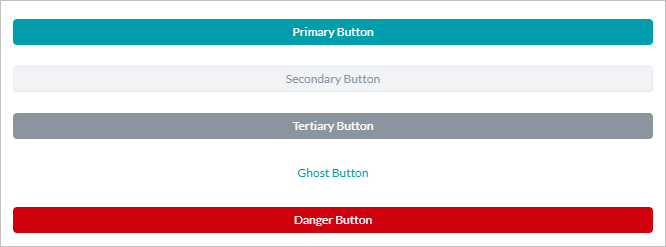 |
|
| Label – Used to display a static text box, no action is required from the user. | ||
| Protip – Used to mark important information for the end-user, no user action required. |  |
|
| Note – Used to mark information for the end-user, no user action required. |  |
|