The Dashboard gives an overview of your Process App. It allows you to track the real-time status of your application. You can find the details of the instances, tasks, usage metrics, and task trends on the dashboard. You can also filter the data based on a period (24 hours, 7 days, custom date). The dashboard refreshes every 10 seconds and you can also change the refresh time from the drop-down list.
Instances
The Instances section gives a detailed overview of the completed, active, and failed instances. The count of completed, active, and failed instances is displayed, and clicking on respective tabs give you the data for the selected period.
- Completed Instances – All process app instances that are completed are displayed with the number.
- Active Instances – All process app instances that are currently under execution.
- Failed Instances – All process app instances that are failed are displayed under this category.

Tasks
The Tasks section gives a detailed overview of the pending, overdue, and escalated tasks. The count of pending, overdue, and escalated tasks are displayed, and clicking on respective tabs gives you the data for the selected period.
- Pending Tasks – All tasks that are pending in the process app are displayed under this category.
- Overdue Tasks – All tasks that are overdue for the process app are displayed under this category.
- Escalated Tasks – All tasks that are escalated in the process app are displayed under this category.

Usage Metrics of Instances
This section of the dashboard displays a graphical representation of the instance trends. This graph showcases the average instance duration, successful instances, and failed instances. It also allows you to view the instance trends for a particular period. You can use the calendar to set the start and end dates.

Triggers Split by Type
Triggers Split by Type is a pie chart representation of different types of triggers used in your Process App. It also allows you to view the types of triggers used in a particular period. You can use the calendar to set the start and end dates.
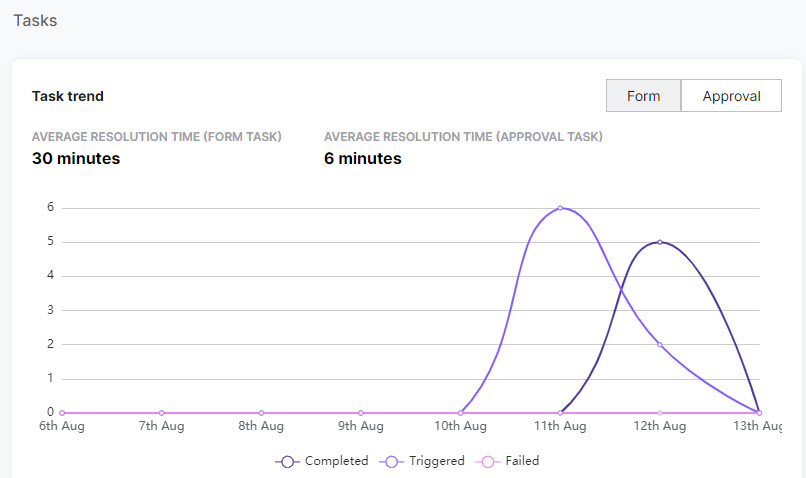
Task Trends
This section of the dashboard displays a graphical representation of the task trends. This graph showcases the average resolution time of form tasks and approval tasks.
Workload by Assignee
This section of the dashboard gives an overview of the workload taken by the assignees for a period. You can use the calendar to set the start and end dates.

Import
To import a Process App from the dashboard, follow the below steps:
- Click Import on the top-right and it lands you on the Import & Export settings.
- On the Import & Export page, by default, the Import tab is selected.
- On the Import page, configure the following details:
- App icon – Upload an app icon for your imported app.
- Definition File – Choose a process definition file.
- Config File – Choose a process configuration file.
- Click Import.
Note: Importing replaces the current app with the configurations available in the import file. Any additional configurations present in this app would be removed.

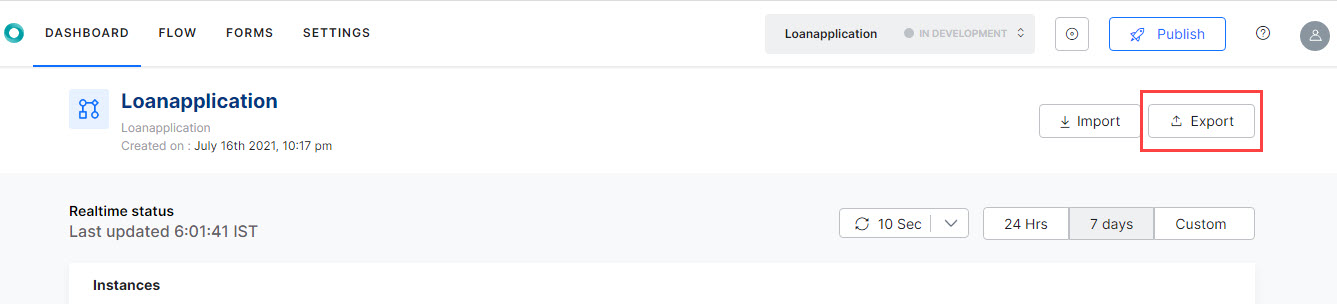
Export
To export a Process App from the dashboard, follow the below steps:
- Click Export on the top-right and it lands you on the Import & Export settings.
- On the Import & Export page, by default, the Import tab is selected. Click the Export tab.
- On the Export page, select any of the following options:
- Published – If selected, it exports published versions of forms, flow, and settings.
- Latest Versions – If selected, it exports the latest version. Only the in-development version is included.
- Click Export.