Jabber를 Kore.ai 봇의 채널로 추가하려면 Jabber 애플리케이션에서 Webhook 통합을 활성화해야 합니다. Kore.ai 봇에 Jabber 채널을 추가하면 봇의 최종 사용자가 사용자의 Jabber 계정을 사용하여 봇과 상호작용할 수 있습니다. 봇에 Jabber 채널을 추가하려면, 다음을 수행해야 합니다.
- Enable Webhook Integration – Jabber를 봇의 채널로 사용하려면 Jabber 애플리케이션에서 Webhook 통합을 활성화해야 합니다. Jabber 채널 페이지의 Configurations 탭에서 Webhook URL을 복사한 다음 통합을 위해 Jabber 앱의 필수 필드에 입력합니다.
- Enable Channel – Webhook 통합 활성화 및 봇 빌더에서 설정 데이터를 입력한 후, 채널을 활성화합니다.
Jabber 포털에서 개발자 계정을 가지고 있거나 등록해야 합니다. Cisco Jabber 채널을 추가하려면 다음 단계를 따르세요.
- 봇 빌더의 Bots 섹션에서, Jabber 채널을 추가하려는 봇을 클릭하세요.
- Channels 탭에서, Jabber 아이콘을 클릭하세요. Jabber Channel page가 표시됩니다.
- Jabber 애플리케이션에서 Webhook 통합을 활성화하려면, Jabber 앱에 로그인합니다. Jabber 채널 페이지의 Configurations 탭에서 Webhook URL을 복사한 다음 통합을 위해 Jabber 앱의 Webhook URL 필드에 입력합니다.
- Jabber 채널 페이지의 Configurations 탭으로 이동하여 채널 설정을 완료합니다.
- Jabber 앱에서 POST URL 세부 정보를 캡처하고 이를 POST URL 필드에 입력합니다.
- Jabber 통합에서 선택적으로 Access Token 세부 정보를 생성하거나 캡처할 수도 있고 Jabber와 봇 사이의 보안 통신을 활성화하기 위해 Access Token field에 입력할 수 있습니다.
- Yes를 선택하고 Save을 클릭하여 Jabber 채널을 사용하도록 설정합니다.
다음은 통합 검증을 위한 페이로드 형식의 코드 조각입니다.
POST URL용 페이로드
다음은 Configurations 탭에 등록된 POST URL 에서 수락해야 하는 봇의 응답 메시지입니다.
   {
                "message": {
                "text" : "Hi"
                }
                "to" : "<recipient-id/group-id>",
                "from" : "<sender-id>"
             }
Webhook 페이로드
아래는 Jabber의 Kore.ai 봇 플랫폼으로 메시지를 보내기 위한 Webhook 페이로드 형식입니다.
  {
                "message": {
                    "text" : "<Message>",
                    "attachments" : [<array of attachment links (optional)>]
                },
                "from" : {
                    "id": "<unique-id-of-sender(mandatory)>",
                    "userInfo" : {
                      "firstName" : "<first-name(optional)>",
                      "lastName" : "<second-name(optional)>",
                      "email" : "<email(optional)>"
                    }
                },
                "to" : {
                    "id": <unique-id-of-recipient(mandatory)>,
                    "groupInfo" : { //If message comes from a group/team/room conversations.
                        "id" : "<unique-id-of-group>",
                        "name": "<group-name(optional)>"
                    }
                }
            }
Jabber 채널 편집
Jabber 채널을 편집하려면 다음 단계를 따르세요.
- 채널 위로 마우스를 이동하고 클릭하여 수정합니다. 채널 설정에서 필요한 업데이트와 저장을 할 수 있습니다.
- 또한 Settings 아이콘을 클릭하여 채널 정보를 사용하지 않거나 삭제할 수도 있습니다.
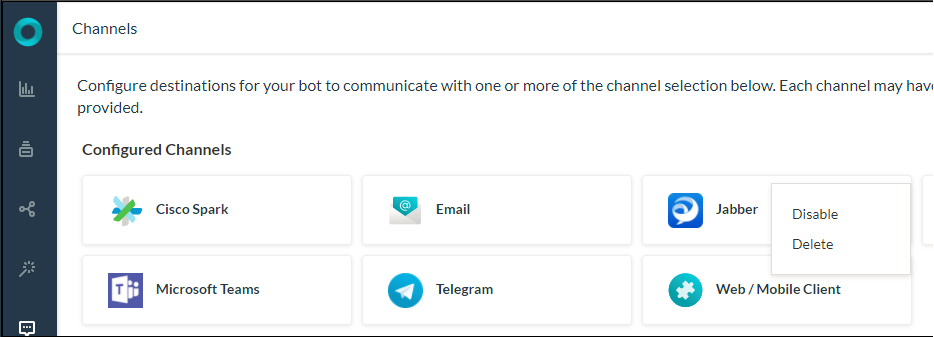 채널을 수정하려면 다음과 같은 명령 중 하나를 선택하세요.
- Disable/Enable – Disable을 클릭하여 봇의 Jabber 채널 사용을 일시적으로 비활성화하세요. Jabber 채널 사용을 활성화하려면, Enable을 클릭하세요.
- Delete – Delete를 클릭하세요. 삭제 확인 대화 상자에서, OK을 클릭하여 봇 채널 설정을 영구적으로 삭제합니다.
경고: 이 작업은 영구적이므로 취소할 수 없습니다.