The Kore.ai Platform provides an additional layer of security for enterprise user accounts with Two-Factor Authentication (2FA) using a One-time password (OTP) or verification code via email. OTPs are a popular choice for organizations to step up their user authentication process. These randomly generated passwords are valid only for a single login session and minimize the vulnerabilities of traditional passwords.
In addition to the username, password, and Enterprise SSO for first-factor authentication, enterprise administrators can now enable 2FA on the Admin Console for user accounts. When 2FA is enabled, the platform prompts the user to complete email verification via OTP to authenticate them.
Enable Two-Factor Authentication
Only the admin user can enable 2FA for enterprise user accounts via the Admin Console. To enable 2FA, follow the steps below:
-
- Log in to the Bot Admin Console.
- On the left menu, click 2FA under Security & Control.

-
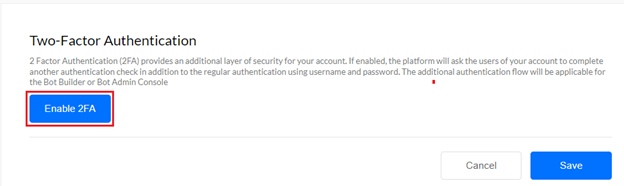
- Click Enable 2FA to activate 2FA via email OTP verification.
-
- Click Save.

Important Information on the Email OTP
You can use the OTP verification code only once. Reusing an OTP, entering the wrong OTP, or entering the OTP beyond the expiry time makes the OTP invalid and results in failed authentication or login error. The default validity of the email OTP is 10 minutes, and the users are expected to verify within that time.
Permission Settings to Enable 2FA
For a system admin to enable 2FA on the admin console, the master administrator should grant the role permission to the user on their admin console with the steps below:
-
-
- On the Admin Console, click User Management > Role Management on the left menu.
-

-
-
- Click the edit icon of the desired Admin user’s entry to view the Manage Role window.
-

-
- Click the Permissions tab.
- Select “YES” for Two-Factor Authentication.
- Click Save.

Two-Factor Authentication for Admin Users
To log in using 2FA on the Bot Admin Console as an admin, follow the steps below:
-
- Log in by entering your email ID and clicking Continue.

-
- Enter your account password, and click Log in.

-
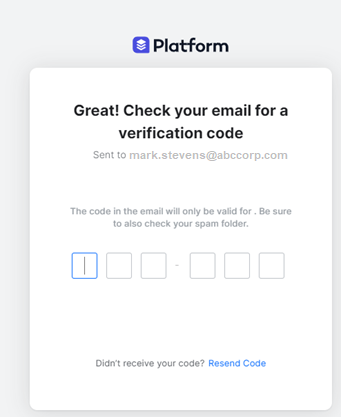
- Enter the OTP received on your registered email address in the following screen.

Once you enter the correct OTP and the verification is successful, the following verification success message appears.
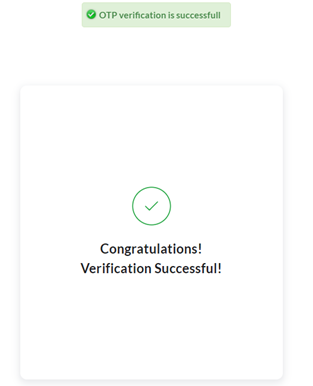
The system redirects to the user dashboard after an OTP successful verification.
Two-Factor Authentication for End Users
To log in using 2FA on the Bot Builder Platform as an end-user, follow the steps below:
-
-
- Log in to the Bot Builder by entering your email ID. Then, click Continue.
-

-
-
- Enter your account password, and click Login to authenticate.
-

-
-
- Select the required Virtual Assistant account.
-
-
-
- Enter the OTP verification code received via email from Kore.ai when prompted.
-
-
-
-
- Once the OTP is successfully verified, a success message appears, and the system redirects to your dashboard.

- Once the OTP is successfully verified, a success message appears, and the system redirects to your dashboard.
-
-
Switching the User Account after Initiating 2FA
The Platform introduces the Switch to Different Account option on the account verification screen to allow the user to switch to another account (from the default account) during the same session even after initiating 2FA, without entering the verification code.

When you click this option, the system redirects to the account selection page where you can select the same/different account from the list to login.

Important Considerations
-
-
-
- The system sends a new passcode via email to complete the account switch authentication.
- The expiry time for email passcode validation is two minutes.
- When you switch to a different/same account under two minutes or after two minutes, the system generates a new email passcode if the previous account is not authenticated.
- However, if you’ve completed the verification for the previously selected account in the same login session, the system does not prompt for a new verification code.
- If the wrong passcode is typed, an error message appears and access to the account is denied. You must enter the correct passcode within two minutes or click Resend Code to generate a new passcode.
-
-