NiceInContact CXone virtual agent (user) hub simplifies the deployment of conversational virtual assistants and agents for customer self-service. Kore.ai XO Platform’s NiceInContact Agent integration allows you to seamlessly hand off the virtual assistant conversations to your live agents on Nice Chat.
Use the configuration steps below as general guidelines to enable the NiceInContact User Hub integration. You may notice minor differences based on the version of the NiceInContact User Hub you are using.
Overview
Kore.ai’s virtual assistant (VA) serves as the central point of interaction for the users. The VA facilitates communication and interaction between the user and the NiceInContact User Hub. In addition to its regular capabilities, the VA acts as a proxy or intermediary between the users and the NiceInContact agents to hand over conversations seamlessly. The VA also allows you to integrate with the NiceInContact platform.
Configuration
To configure the NiceInContact User Hub agent, follow the instructions below.
Step 1: Generate Access Details for NiceInContact User Hub Account
Steps to generate access details:
- Log in to https://login.incontact.com/ with your NiceInContact credentials.
- Generate AccessKeyId and AccessKeySecret from the User Profile to send a token request. To learn how to generate the access key and secret, read NiceInContact Generate Access Key Documentation.
Note: These access details can be generated in the CXone interface on the Employees Page for the User Hub. - Copy the Access Key and Access Secret for future use.
Step 2: Register an App and Retrieve a Client ID and Secret
To retrieve the client ID and client secret, you must register your application.
Steps to register the app:
- Log in to https://login.incontact.com/ with your NiceInContact credentials.
- To register an app for Nice In Contact User Hub, follow the instructions in the Application Registration Documentation.
- To register your application, go to the Application Registration page on the developer portal. Provide the following specific information:
- Tenancy of the application: Single Tenant
- Authentication method: client_secret_basic
- CXone ACD API scopes required: PatronApi
- Type of application being registered: Back-end
- Once you register your application, you will receive a client_id and client_secret.
- Once the API app is registered, copy the Client ID and Client Secret and keep it for future use.
Step 3: Create a Point of Contact
Create the point of contact and assign the skill and campaign to handover conversations.
Steps to create a point of contact:
- Follow the instructions in the Set Up Chat Documentation and create a point of contact.
- Select the Chat in the Media Type field.
- Enter Name, select Skills and Script, and then click Create Point of Contact.
- Copy the Point of Contact key and keep it for future use.
Step 4: Enable the NiceInContact Agent
To enable the NiceInContact, follow these steps:
- Log in to the Kore.ai XO Platform https://bots.kore.ai/botbuilder.
- Select a Virtual Assistant for which you want to configure the NiceInContact agent.
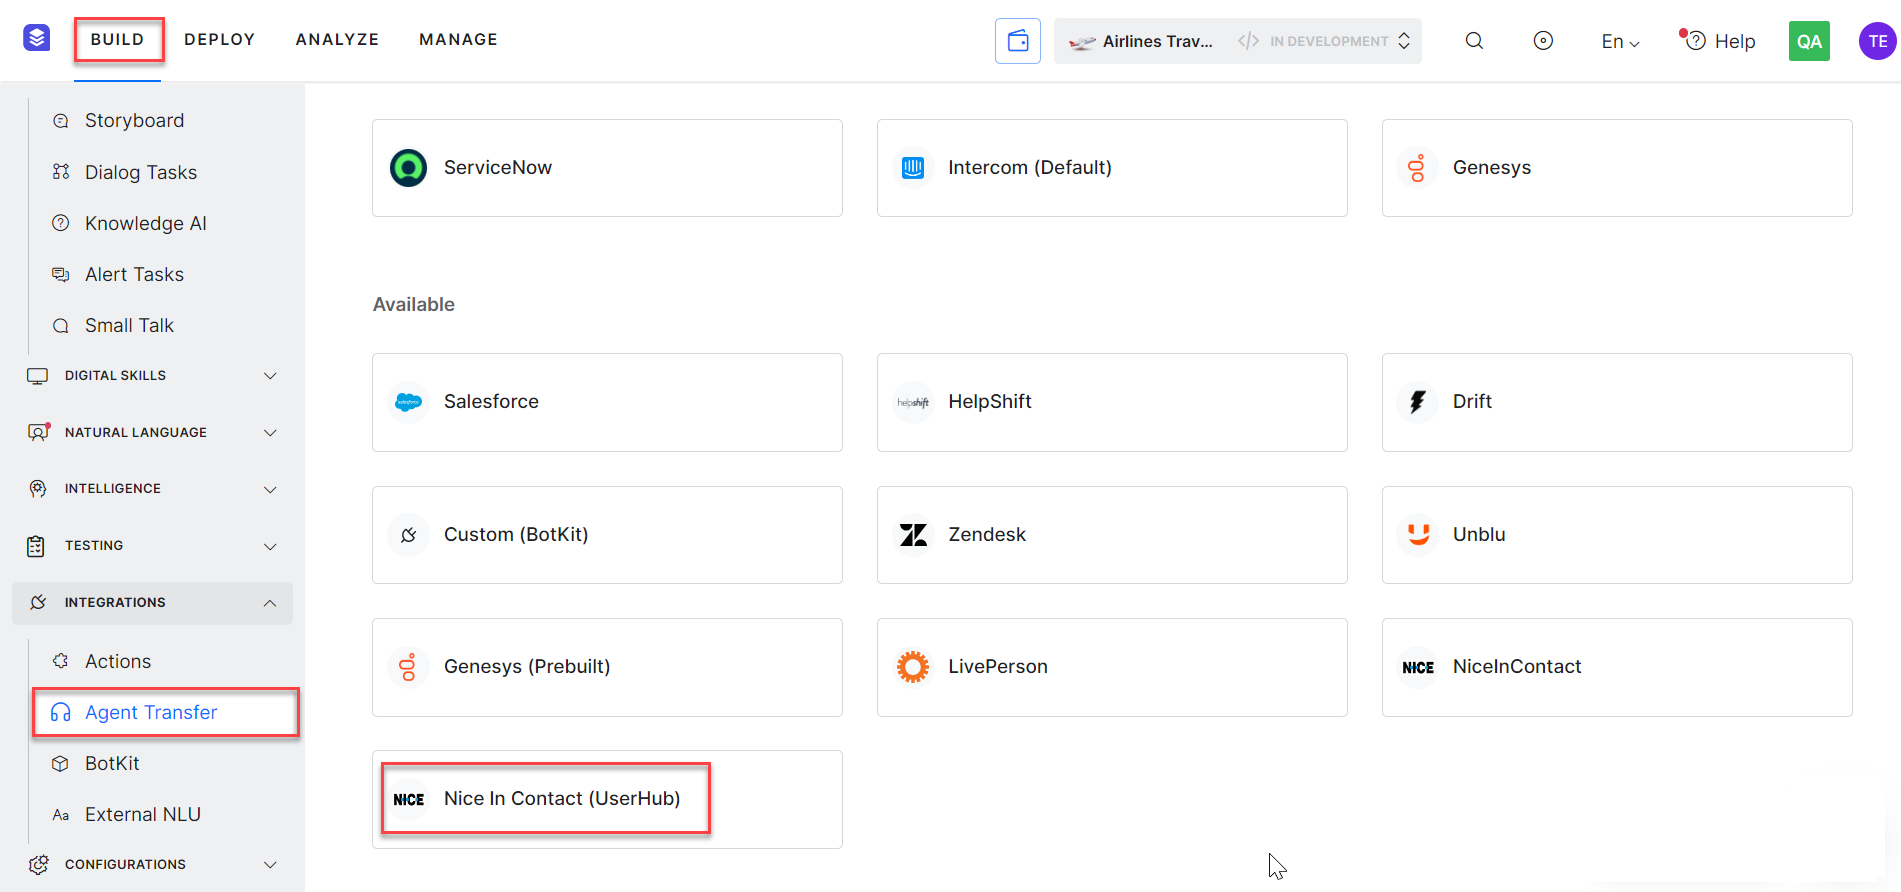
- Navigate to Build > Integrations > Agent Transfer and click the Nice In Contact(UserHub) button.
- Click the Configurations tab and enter the following credentials for the NiceInContact Agent:
- Application Client ID: The client Id of the API application you copied earlier (in Step 2).
- Application Client Secret: The secret of the API application you copied earlier (in Step 2).
- Access Key: The access key Id for the NiceInContact User Hub account you copied earlier (in Step 1).
- Access Secret: The access secret for the NiceInContact User Hub account you copied earlier (in Step 1).
- Point Of Contact: The POC ID for the NiceInContact you copied earlier (in Step 3).

- If you want to make NiceInContact the default agent, enable the Default Agent System for all bot channels option.
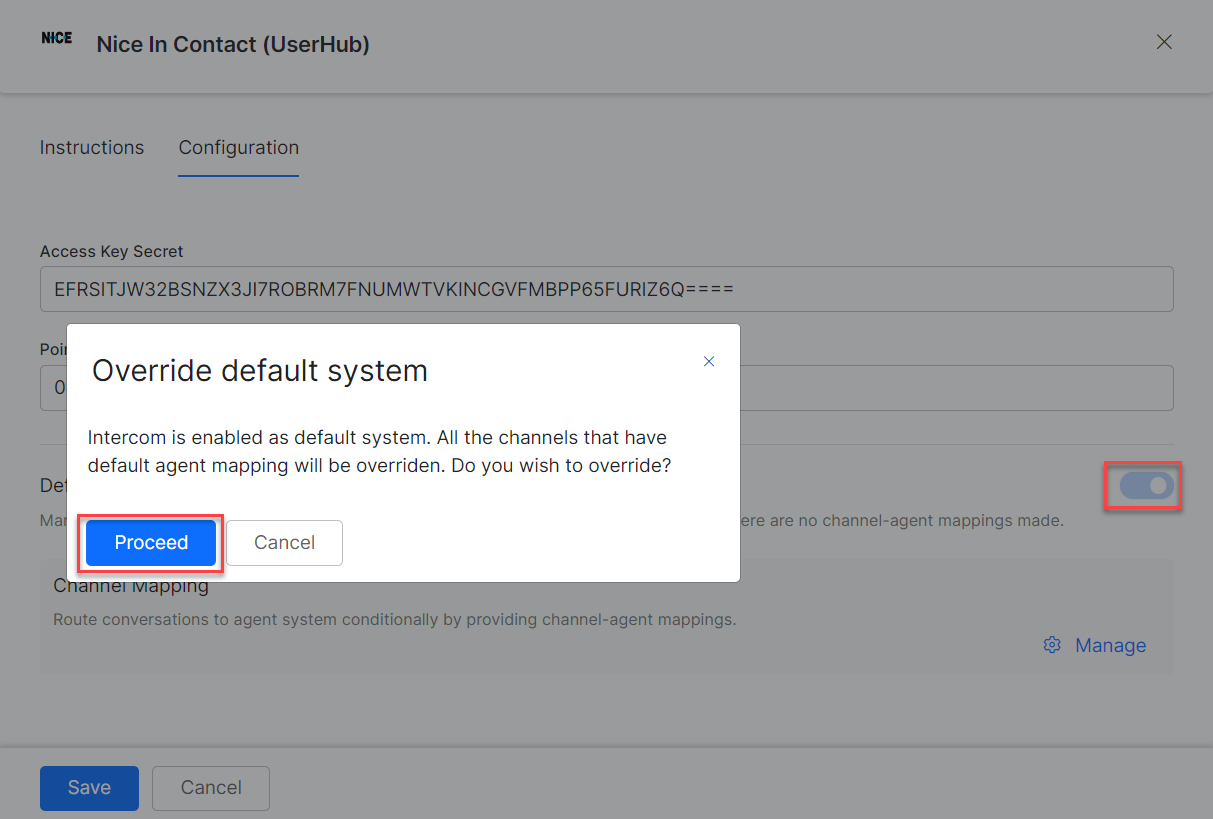
Note: This option is available only when multiple agents are configured for your VA. - You can customize the channel mapping by clicking the Manage link.
- Click Manage to map the channels you want to use to the Nice InContact User Hub agent for handing over the conversations. To learn more about channel enablement, see Adding channels to your bot.
- After mapping channels, click Done.

- Click Save to enable the NiceInContact agent.
- Publish the VA. For more information, see Publishing Bot.
Execution
This section helps you verify how the conversations from the Kore.ai XO Platform are being handed over to the NiceInContact UserHub agent after enabling it.
Steps to verify the data exchange between Kore.ai’s VA and NiceInContact User Hub agent:
- Log in to https://login.incontact.com/ with the user credentials that you created in Step 1.
- Navigate to Applications > Max to launch the Chat console.

- In the NiceInChat console, change the status from Unavailable to Available.

- Click Connect to start exchanging the conversation from the Kore.ai XO platform and the NiceInContact User Hub.

- Open a virtual assistant for which you have enabled the NiceInContact User Hub agent.
- Create a new Agent Transfer Node task. For example, create a Talk to Live Agent task with the LiveChats node and configure it to use the Nice agent. For more information, see Agent Transfer Node.

- Click the Talk to Bot icon at the bottom of the page to launch the VA and enter Help.
- Once you invoke the agent transfer dialog, the NiceInContact Chat receives a notification alert.
- When a user initiates the chat from the VA, it transfers the conversation to the NiceInContact UserHub agent and sends a message to the user. Agent receives a notification about this on NiceInContact.
- Now, the connection between the NiceInContact UserHub agent and the user has been established, and the conversation continues.
