To modify the general settings of a bot:
-
- Select the Build tab from the top.
- Click Configuration > General Settings.
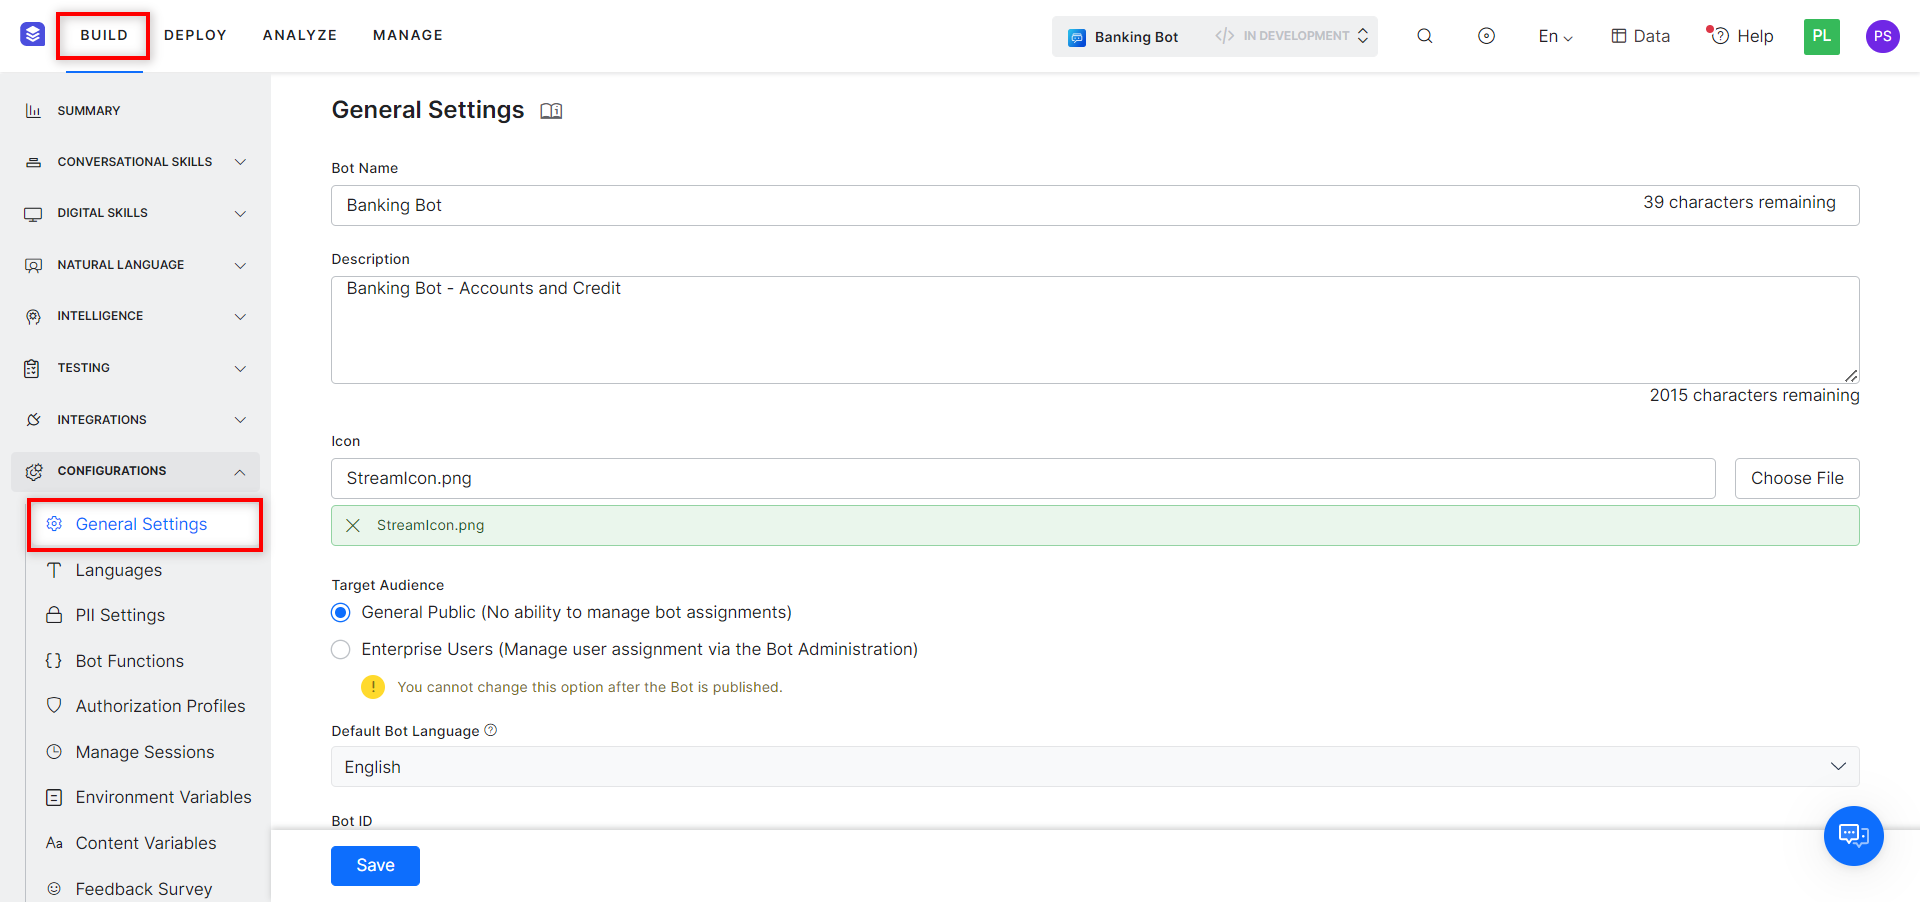
General Bot Settings
Modify one or more of the settings described in the following table.
| Field | Description |
|---|---|
| Bot Name | The name of the Bot. When a Bot is published, the Name cannot be changed. This field is required. |
| Description | The description of the Bot. This field is required. |
| Icon | The icon image for the Bot displayed in Bot Builder, Bots Marketplace, and the end-user interface as shown in the previous illustration. The image format must be .png and best results are obtained using a 200 x 200-pixel image. This field is required. |
| Target Audience |
Once Target Audience is defined and saved, you cannot change them. |
| Default Bot Language | This is uneditable and is set at the time of Bot creation. |
| Bot Id | Non-editable, assigned by the platform. Can be copied for use in API calls etc.. |
| Variable Namespaces | You can categorize variables using Namespaces and map them to various components. The XO Platform will load the variables only from the mapped namespaces while executing specific components. Learn more. |
| Subdomain (Tenancy) | Click Yes to enable the use of tenancy. When the tenancy is defined, the end-user is prompted to enter a tenant name as part of the URL for the Bot, for example, kore, for the www.kore.someWebService.com tenant-specific URL. When enabled define the following properties:
|
| Show link for task setup/execution |
|
| Error Message(s) | Edit or add custom HTTP Status Codes and error messages for your Bot. For more information, see Customizing Error Messages. |
To save the Bot settings, click Save. The < Bot Name > updated successfully message is displayed.
Customizing Error Messages
In Bot Builder, each Bot and task contains a set of predefined error messages along with actions for standard HTTP Status codes returned for an HTTP Request method. In most cases, the default response and action are sufficient for an end-user response, however, you may need to handle other HTTP Status codes not defined by default, or customize the error message itself, or change the default response by Kore.ai in the event of an error. This topic describes how to customize and create error messages for Kore.ai Bots and tasks. When you create a Bot or a task, you can add or customize error messages for HTTP Status codes in the Error Messages section of the Bot or task settings. 
Custom Status Codes
There are approximately 25 HTTP Status codes defined by default for a Bot or task. To customize an HTTP Status code
- Open the Bot or task in Bot Builder
- Select Build tab from top menu
- From the left menu click Configurations -> General Settings
- Scroll down to locate the Error Messages section.
- Click the Edit
 icon for the code that you want to customize to open the Setup Error Message dialog.
- In the Message Type field, select one of:
- Custom – Displays a Custom Message field to define an error-specific message for the end-user.
- Source – Displays the Error Paths field where you can define the JSON path from the JSON response payload for HTTP Status codes other than those in the 2XX range (success messages).
- In the Action field, specify the action to take when the number of consecutive errors defined in the Error Recurrence field is reached. Select one of:
- Disable – The task is set to Inactive when the error occurs. The end-user can activate the task when needed.
- Reschedule – Displays the Retry Interval field used to define the elapsed time in minutes after which to retry the task when the error occurs.
- Disable Auth – When the error occurs, the authorization mechanism defined for the task is disabled. Any other task that uses the same authorization mechanism is also disabled.
- Notify – Displays the error message in the end-user interface.

- In the Message field (available only for the default messages), enter the text message displayed to the end-user.
- In the Error Recurrence field, specify the number of consecutive error codes must be returned before the action is executed. By default, the Error Recurrence field is set to ” 1 “.
- Click Add to save and close the Setup Error Message dialog for your custom error message.
To create a new HTTP Status code, click Add Error Message, define the fields for your new code as described in the preceding section, and then click Add.