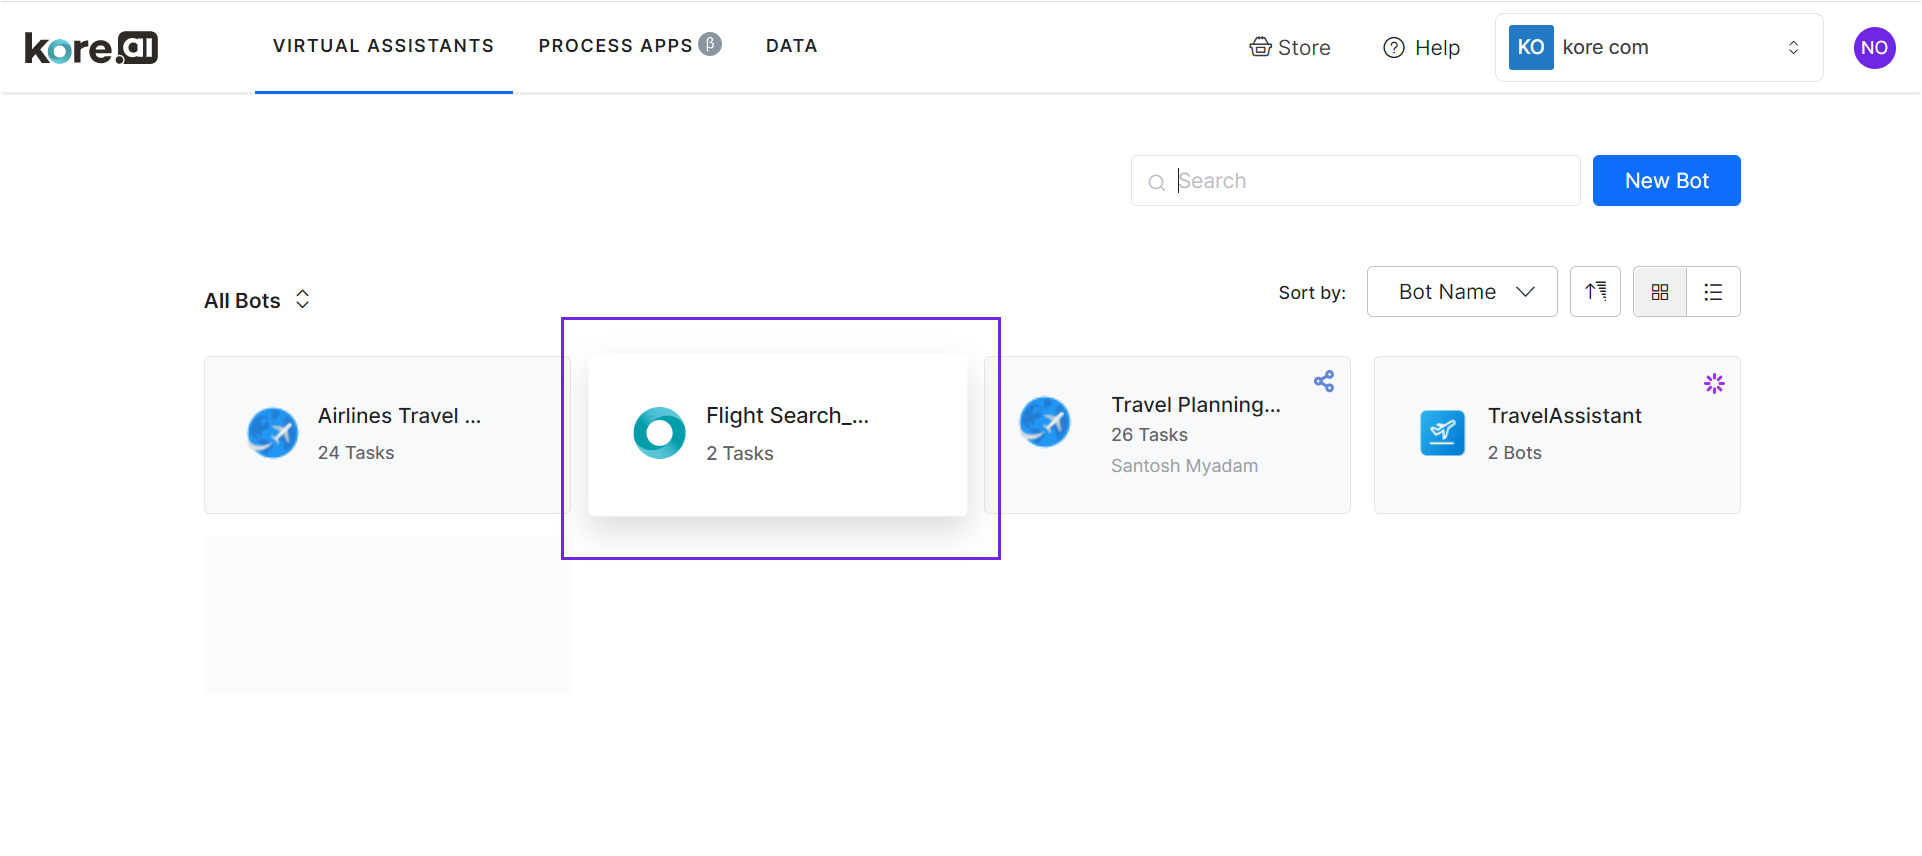
The Store is an online collection of bots that run on the Kore.ai XO Platform. The purpose of the store is to enable you as a bot developer to explore the bot’s capabilities and import them into your account.You must have a Kore.ai XO Platform account to use template bots (which are the only type of bot available in the store).
Benefits
The Store allows you to find predefined bot templates that you can use to develop your own Virtual Assistant faster. If a template fits your needs – for example it completes a task that is common in your business, you can save time and resources by not starting from scratch.
In addition, developers can even get to know the Kore.ai XO Platform by looking at how a template is built. This can improve their knowledge of the Platform and potentially improve the outcome of their work.
Access the Store
You can access the store as follows:
- By visiting https://bots.kore.ai/botstore.
- Via the Kore.ai XO Platform.
Visit the Store
- Visit https://bots.kore.ai/botstore/ to access the store.
- You can view, explore, and use all the available template bots .
- The Virtual Assistant category contains templates that you can apply and then customize to design your own Virtual Assistant.
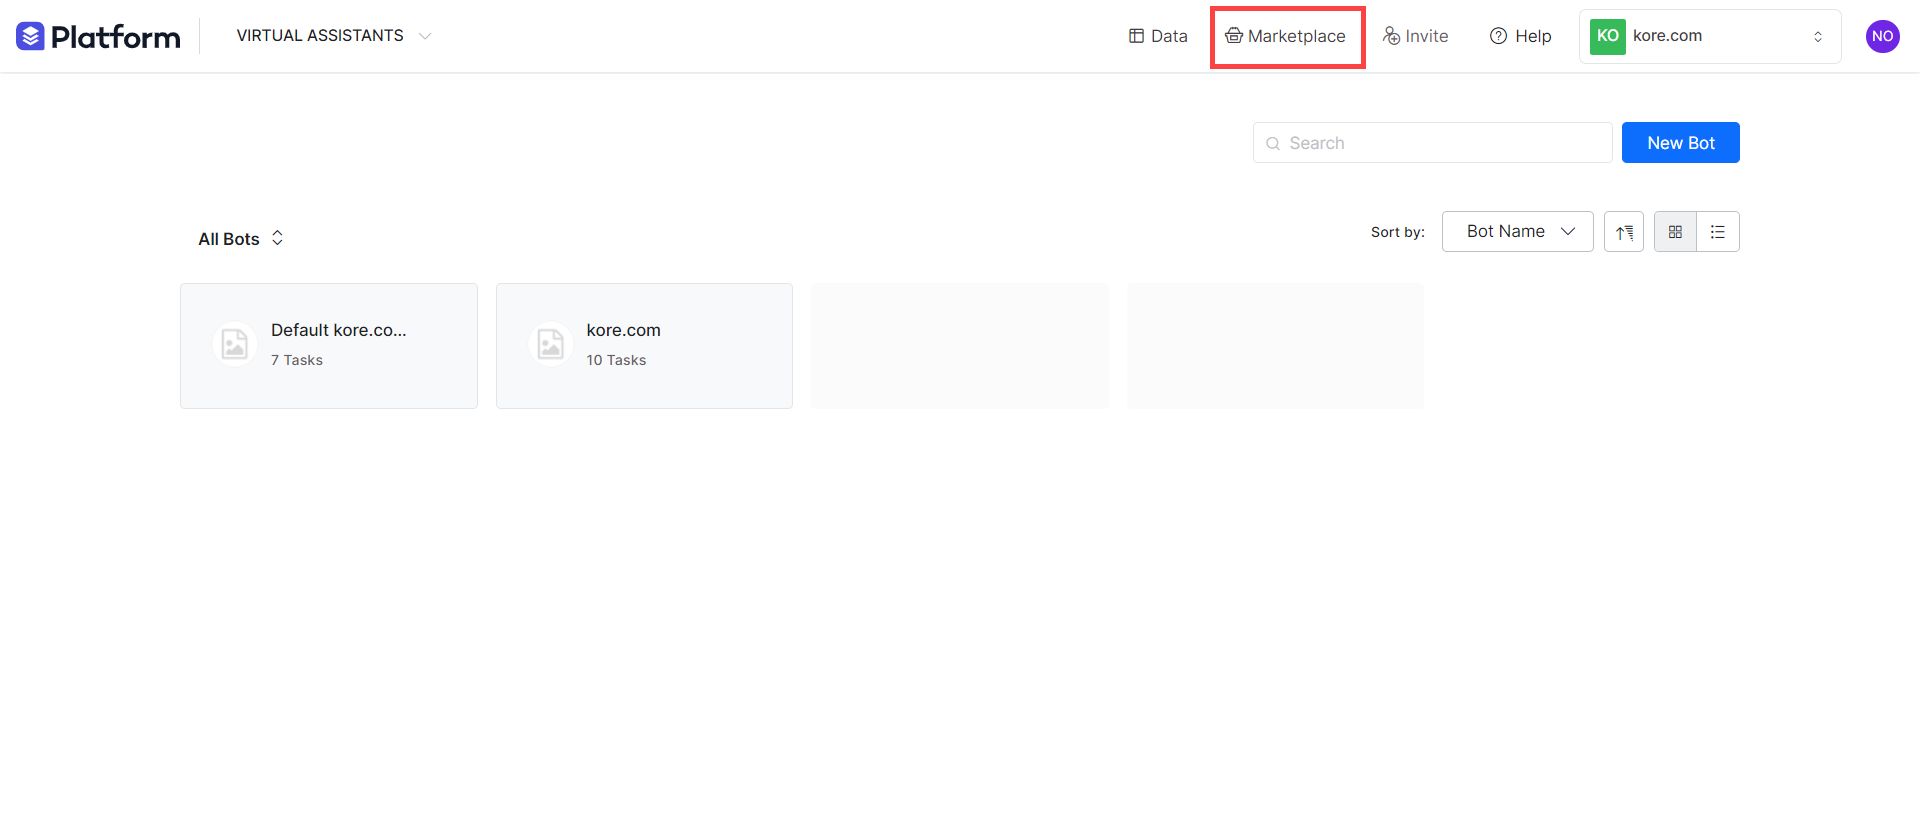
Access via the Kore.ai XO Platform
- As a Kore.ai platform user, you can access the store from within your account.
- Log into the Kore.ai XO Platform.
- On the landing page, click Marketplace at the top right.
- You can also access the Marketplace while creating a new assistant. Click New Bot, then click Explore Templates.

Explore Available Assistants
Once you have accessed the bot store, follow the below steps to explore the various templates offered:
Filter
You can filter the bots based on one or more of the following criteria (you can select multiples):
- Domains such as customer service, HR, Healthcare, Retail, Telecom, and more.
- Features like NLU concepts Digital Views, IVR integration, Omnichannel experience, and more.
- Integrations like Salesforce, etc.
- Channels for deployment like Email, Facebook Messenger, Twilio, etc.
Sort
You can sort the template bots based on:
- Number of downloads.
- Recency.
- Alphabetically.
Preview
Hover over a template bot to preview its features like:
- Name, icon, and summary of the bot.
- Associated title and description, as well as buttons to Use Template or Know More.
Learn More
On the preview display, click Know More for more details such as:
- A video that explains the bot’s features.
- Two sections that provide:
- Overview – This section gives a summary of the template bot and the available features .
- Technical Specifications – This section gives a detailed overview of the technical aspects of the bot, including prerequisites, configuration , etc.
- On the right column, you can find:
-
- The number of times the bot was downloaded.
- The category of the bot.
- The list of channels, languages, and integrations (if any) supported.
- The Related Templates section for bots similar to the selected template bot.

Select a Template
After exploring the template you can click Use Template if you choose to do so it.

Use a Templates
When using a bot template from the store, you are importing it into your account. Once you have explored and selected a template bot, follow the below steps to use it in your account:
From the Store:
- Visit the store, explore the template bots and click Use Template on the one you choose.
- You are prompted to log in to your account, if not logged in already.
- If you do not have a valid account, you can create it now.
From the Kore.ai XO Platform,
-
- Log in to the Kore.ai XO Platform.
- On the landing page click New Bot, then select Start from the Store.

-
- Explore the template bots and click Use Template against the selected templated bot.
- Once selected, the Bot Template will be made available for you to work with.