Virtual Assistants need to extract relevant information from the user utterance to fulfill the intent.
Take a look at this sample utterance: Book me a flight from LA to NYC on Sunday. To act on this user intent, which is to book a flight ticket, the bot should extract the entities such as the source city (LA), destination city (NYC), and departure date (Sunday).
So, in a Dialog Task, for every critical data you want to get from a user utterance, you should create a corresponding entity node. You can add prompt messages to these nodes for users to input the required values.
The Kore.ai XO Platform supports ~30 entity types such as Address, Airport, Quantity, and so on. You can also define the entities as a selection from a list, free-form entry, file or image attachment from a user, or as regex expressions. You can also create custom regex and use these regex expressions as patterns to enable the masking of sensitive data contextually.
Add the Node
Setting up an entity node in a dialog task involves the following steps:
- Open the dialog task to add the Entity node.
- Add the entity node in the designated place. For information on adding nodes, refer here.
- The Entity window is displayed with the Component Properties tab selected by default.

Configure the Node
Component Properties
The Entity window allows you to configure the General Settings, User, and Error Prompts.
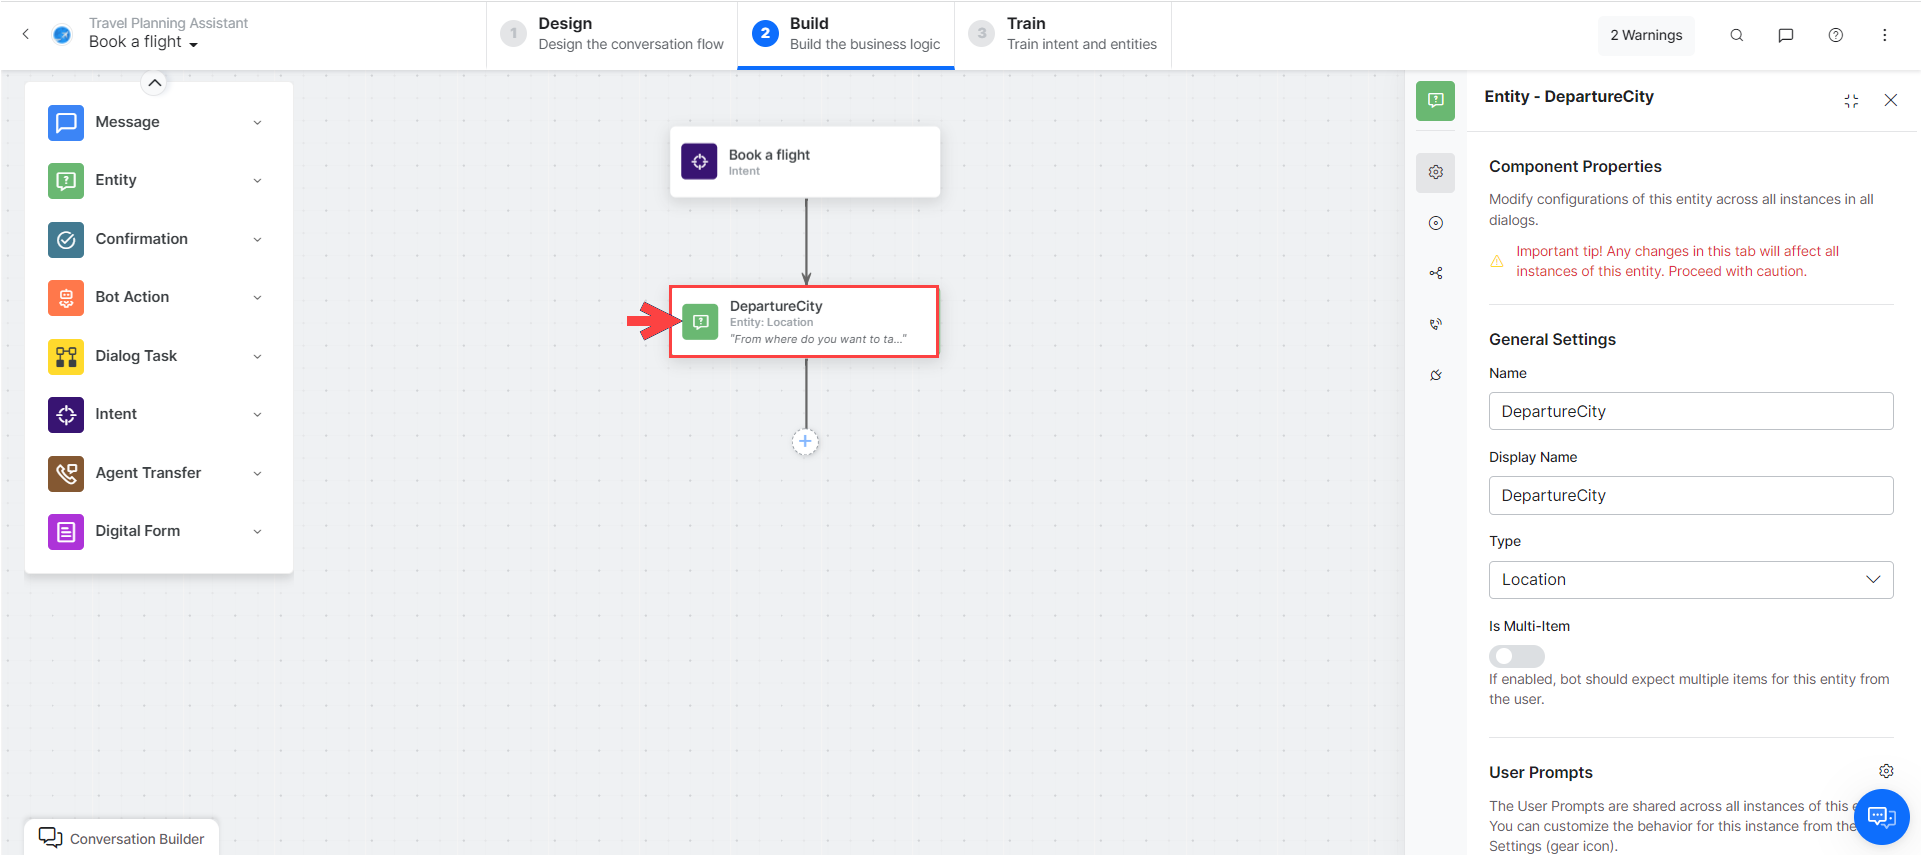
- On the Component Properties tab, under the General Settings section, enter a Name and Display Name for the entity node. Entity names cannot include spaces.
- From the Type drop-down list, select an entity type depending on the expected user input. For example, if you want the user to type the departure date, select Date from the drop-down. The platform does the basic validation based upon the Type selected.
The Entity Type provides the NLP Interpreter with the expected type of data from a user utterance to enhance recognition and system performance. For more information, refer to Entity Types - Based on the Type selected, you can set the Entity as Multi-item, allowing the user multiple selections. If enabled, the VA should expect multiple items from the user for this entity separated by a comma (,), semicolon (;), or ‘and’.
- Under the User Prompt section, enter the prompt message that you want the user to see for this entity. For example, Enter the Departure Date.
- You can enter channel-specific messages for user prompts using the Manage link. For more information, refer to Using the Prompt Editor.
- You can override the user prompt for this particular instance.
To override,- Click the Settings icon on the right.
- Enable the Override for this instance toggle. Once you enable this option, you can enter the user prompt for this particular instance. Disabling this option would delete the instance-specific prompt and revert it to the component property.
- Under the Error Prompts section, review the default error message, and if required, you can modify the error messages displayed for this entity.
- To manage the error messages, click Manage link. For more information, refer to User Prompts.
- You can override the user prompt for this particular instance.
To override,- Click the Settings icon on the right.
- Enable the Override for this instance toggle. Once you enable this option, you can enter the user prompt for this particular instance. Disabling this option would delete the instance-specific prompt and revert it to the component property.
- You can also reorder the error messages. To reorder,
- Click the Settings icon on the right.
- Enable the Present Prompts in the Order of Retries toggle. Once you enable this option, the handlebar icon would be visible before each error prompt message. You can use this to re-order the messages so that they will be displayed in that sequence.

This image corresponds to the new Dialog Builder, you will find this feature in the legacy builder at the same location: i.e. Entity node -> Component Properties.
- You can enable the Sensitive Entity option to transient an entity and redact, replace, or mask sensitive data input at the entity node level. This setting helps you secure sensitive data input during the conversation.

By default, this setting is disabled. Once you Enable the Sensitive Entity setting, you can do the following:- Select the Transient Entity checkbox to clear redacted data upon session closure and avoid persisting it in the platform.
In the conversation history, “data_purged” is displayed instead of the non-persistent data.

- Enter a regular expression(regex) to identify the sensitive data using the custom regex pattern. To add a regex pattern, click +Add Pattern. For example, add the regex
[a-zA-Z]{3}[-]\d{4}pattern to validate user input and return a sample response as:{"regex":"NLP-1234"}. For more information, see write regular expressions and custom entity type articles.

- Select one of the following options about how you want to display the sensitive data to unauthorized users:
- Redaction – Redact the sensitive data with a unique random alphanumeric value.
- Replacement – Replace the data with a static value that you enter in the Sensitive Entity settings.
- Mask with character – Mask the first few and last few characters of the sensitive data with ‘+’ or ‘#’ symbols.
For more information, see Redacting Personally Identifiable Information.
- Select the Transient Entity checkbox to clear redacted data upon session closure and avoid persisting it in the platform.
- Toggle Rephrase Responses (disabled by default) to rewrite VA replies using AI based on conversation, context, and user emotions. For Entity nodes, this feature helps rephrase the responses entered under User Prompts and Error Prompts. Learn more.

- In the Variable Namespaces section, associate the Variable Namespaces to execute this node and its transitions. This option is visible only when the Variable Namespace is enabled for the bot. You can go with the task level settings or customize it for this node. For more information, see Managing Namespace.
- Under Redaction of PII Data, you can configure how the value of this entity is presented if it is identified as PII data and used in defining any messages or responses:
-
- De-identify PII data while presenting it to the user: The entity’s redacted value is used in prompts and messages.
- Use the original value of the PII data while presenting it to the user: The entity’s original value is used in prompts and messages. (This is helpful, for example, when you need user confirmation on the original values of the PII data).
Note: These options only affect the respective instance during runtime or live interaction. PII data is always redacted/masked in chat history and internal logs, irrespective of the option selected here.
Instance Properties
Use the Instance Properties to determine whether to make the entity value mandatory as well as to choose if you want to consider values from previous user utterances to capture entities.
- On the Entity window, click the Instance Properties tab.
- Under the User Input section, select one of the following options:
- Mandatory: This entity is required, and users must provide a valid entry before proceeding with the dialog flow. A prompt is displayed for the user to resolve in case ambiguous values for the entity are detected in the user utterance.
- You can configure the number of times the user would be prompted for this entity value by setting the number of Allowed Retries to any value between 1 and 10, the default being 5.
- Allowed Retries indicates that the Platform re-prompts the user for the correct input if the input provided does not match the configured entity type. For example, if the user inputs an email ID for the zip code entity type, the system prompts the user up to 10 times until the user provides the zip code. Once the 10 retries are exhausted, the Behavior on Exceeding Retries flow is initiated.
- For voice channels, when a user input does not match the entity type, and a Node Grammar is defined, the Platform applies the retry count set for “No Match” under Voice Call Properties. Otherwise, the Platform follows the retry count set for “Allowed Retries” under Instance Properties.
- Further, you can define the VA’s Behavior on Exceeding Retries, this can be set to trigger End of Dialog or Transition to a Node. This would result in the creation of a Connection Rule called Behavior on Exceeding Retries. The message displayed to the user on exceeding retries can be customized from the Standard Responses. Read more here.
- Optional: The user is prompted only once for this entity and the system proceeds with any input provided by the user. In case ambiguous values for these optional entities are detected in the User Utterance, then a resolution prompt is displayed allowing the user to pick the correct value.
You can set a value under the Default Value field. This value would be assigned to this entity when the task execution reaches this entity and the user does not provide any value when prompted, and if no value is available from previous utterances. - Hidden: If enabled, the VA will not prompt for the entity value. The value would be considered if explicitly provided by the user in previous utterances.
You can set a value under the Default Value field. This value would be assigned to this entity when the task execution reaches this entity and no value is available from previous utterances.
- User Input Correction (v7.3) can be used to define whether the user input needs to be auto-corrected. This option is available only for string type entities. The two options are listed below:
- Auto-correct user input is the default setting. The platform builds a custom dictionary for each VA to include all synonyms, task names, pattern words, and small talk utterance words on top of a standard dictionary. This feature is not supported in all languages, Click here for details.
- Do not auto-correct user input: To ensure backward compatibility, the following settings are applied to existing VAs (migrating VAs that are older than v7.3 to v7.3):
| OLD STATE (ENTITY EXTRACTION) | NEW STATE (USER INPUT CORRECTION) |
|---|---|
| Evaluate unused text from previous utterances. | Do not auto-correct user input. |
| Evaluate unused text and text used for extracting entities from previous utterances. | Do not auto-correct user input. |
| Do not evaluate previous utterances and explicitly prompt the user – Do not auto-correct [Enabled]. | Do not auto-correct user input. |
| Do not evaluate previous utterances and explicitly prompt the user – Do not auto-correct [Disabled]. | Auto-correct user input. |
- Under the Entity Extraction section, select one of these options:
- Evaluate the unused text from the previous utterance: When this option is selected, the entity uses the text that was not used by any other entity in the dialog so far. This is the default option.
- Evaluate unused text and text used for extracting entities from previous utterances: Select this option if you want to reuse an entity value extracted by another entity node in the dialog.
- Do not evaluate previous utterances and explicitly prompt the user: Select this option if you want the VA to ignore the previous user utterances and explicitly prompt the user to provide value for the entity.
- Further, you can restrict the platform from reusing the input provided for this entity to extract any other entities by selecting the Do not reuse option.
- Under the Entity Rules section, you can configure rules to validate the user input.
- Use the Add/Customize button to enter a JSON structure for the validation and entity extraction rules. Refer here for the details on entity rules.
- Click the Advanced Controls to set up these options:
- Intent Detection (Applies only to String and Description entities): Select one of these options to determine the course of action if the VA encounters an entity as a part of the user entry for the String or Description entities:
- Accept input as entity value and discard intent detected: The VA captures the user entry as a string or description and ignores the intent.
- Prefer user input as intent and proceed with Hold & Resume settings: The user input is considered for intent detection and the proceeds according to the Hold & Resume settings.
- Ask the user how to proceed: Allow the user to specify if they meant intent or entity.
- Interruptions Behavior: To define the interruption handling at this node. You can select from the below options:
- Use the task level ‘Interruptions Behavior’ setting: The VA refers to the Interruptions Behavior settings set at the dialog task level.
- Customize for this node: You can customize the Interruptions Behavior settings for this node by selecting this option and configuring it . You can choose whether to allow interruptions or not, or whether to allow the end user to select the behavior. You can further customize Hold and Resume behavior. Read the Interruption Handling and Context Switching article for more information.
- Analytics – Containment Type: Select one of the below options to determine how to treat user-abandoned conversations.
- Use task-level default settings: This refers to the Containment Type settings set at the dialog level.
- Customize for this node: You can customize the Containment Type for this node by selecting this option. You can choose whether to Self Service or Drop-off in case of user-abandoned conversations.
- Precedence (Applies to all Entity types except String and Description nodes): When the user’s input for an entity consists of a valid value for the entity and another intent, you can control the experience by choosing between Intent over Entity or Entity over Intent options. For example, if a Flight Booking VA prompts for the destination and the user enters, Bangalore, how’s the weather there? you get to define how the bot responds in such cases; pick the entity and add the intent to the Follow-up Intents stack or go ahead with the intent first based upon the Interruptions Behavior settings.
Note: When a user input results in an ambiguous entity value and an intent, you can customize how the bot should respond by configuring the setting – Precedence for Intents with Ambiguous Entities. Learn more. - Custom Tags: This is where you can define tags to build custom profiles of your VA conversations. Click here to learn more.
The User Input Flow
When a user is prompted for input, the following is the process performed by the Platform:
- If the user responds with a valid value, then the entity populates with that value and the dialog flow continues.
- If ambiguous values are identified in the user response, then an ambiguity resolution prompt is displayed.
- If the user responds with an invalid utterance i.e. an utterance that does not contain a valid input for the ambiguity resolution, then:
- If the given value is valid for the entity (any possible value for the entity), it is used for the entity and the conversation is continued.
- If the given value is not valid for the entity and if the value triggers any task intent, faq, or small talk, then:
- The intent is executed as per hold and resume settings and when (and if) the dialog (containing the entity) is resumed, the user is prompted for the entity value.
- If the value does not trigger any task intent, faq, or small talk, the entity is left blank and the conversation is continued from the entity’s transitions.
- If the user exceeds the retry limit, the behavior defined for exceeding retries would be triggered. Note that if this is a child task and the behavior is set to end the dialog then the parent task would also be terminated.

NLP Properties
- On the NLP Properties tab, under the Suggested Synonyms for the < entity name > section, enter synonyms for your entity. Click Enter after each entry to save it. For more information, refer to Managing Synonyms.
- Under the Suggested Patterns for < entity name > section, click + Add Pattern to add new patterns for your entity. The Patterns field is displayed. For more information, refer to Managing Patterns.
- Under the Manage Context section, in the Context Output field, define the context tags to be set in the context when this entity populates.
- You can select Auto emits the entity values captured option as part of the Context Object. (Click here to learn more about Context Management)

IVR Properties
You can use this tab to define the input mode, grammar, prompts, and call behavior parameters for this node to use in IVR Channel. You can define this at the node level. Click here for details.

Connections Properties
From the node’s Connections tab, you can determine which node in the dialog task to execute next. You can write the conditional statements based on the values of any Entity or Context Objects in the dialog task, or you can use intents for transitions.
To set up component connection conditions, please follow the steps outlined in Adding IF-Else Conditions to Node Connections.
If you want to delete a condition, hover over it and click the bin icon at its top right. Keep in mind that deleted conditions cannot be restored.
