The Kore.ai XO Platform offers pre-built integrations with popular business applications to exchange data. You can configure and enable actions for Service Now, Salesforce, Zendesk, Hubspot, and others. Each of these integrations provides a full conversation flow definition, a low-code interface for API integration, and pre-built response mapping and create dialog tasks with pre-built templates without need to worry about developer assistance.
Watch a Short Video on System Integrations
Steps to use the actions or pre-built integrations
- Enable the Developer or a User to do a single-click authorization.
- Enable an integration to exchange data between two systems during the dialog task execution.
- Enable an integration and create the dialog tasks using the preconfigured templates supported by the integration.
The Actions module is available under the Build > Integrations menu.
Actions Enablement
By default, your Virtual Assistant (VA) will not exchange data with any integration unless you authorize one or more actions through which it can communicate. You can enable an integration and perform actions in a third-party system.
Authorization Types
The Kore.ai XO Platform supports OAuth 2.0, Basic, and API key based authentication to allow an integration to exchange data.
OAuth v2 Authentication
OAuth v2 is the new version of the open protocol to allow secure authorization via a standard method from web, mobile, and desktop applications. To learn how OAuth v2 authentication works, read the Setting Up Authorization using OAuth v2 article.
Basic HTTP Authentication
HTTP Basic Auth is a simple method that creates a username and password style authentication for HTTP requests. This technique uses a header called Authorization, with a base64 encoded representation of the username and password. For more information, read the Bot Authorization Overview article.
API Key
Identification and authorization token generated or provided by a web application or web service used to identify the incoming application request, and in some cases, also provides authentication for secure access. For more information, read the Setting Up Authorization using an API Key article.
Actions can be authorized based on the authorization profiles that are supported by the third-party integrations. Users can use pre-authorized credentials provided by the developer during the configuration process or their own authorization profile during the configuration process to let the end user authorize during the conversation.
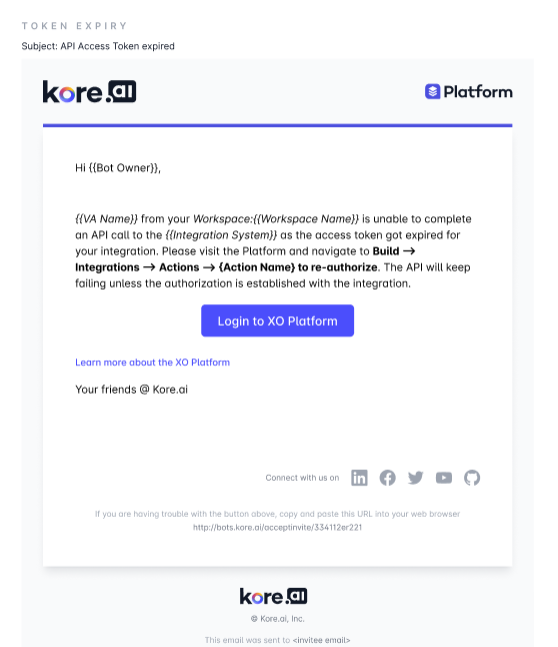
| Note: An email notification is sent to all the bot developers when the authorization token expires for any of the Prebuilt Action Integrations in the bot. The notification requests the bot developer to reauthorize. The integration moves to an error state as soon as the token expires. The service call fails during the run time, upon expiry of authorization token and an error message, “Something went wrong” is displayed to the end-user. |
The email template which is sent to the bot developer upon token expiry is as follows:
Available Actions and How to Configure Them
The available Actions/Integrations are listed in the table below. Go to Build > Integrations > Actions and click the Action you want to configure in the Kore.ai XO platform. The page with Instructions and Configuration settings will slide out. For step-by-step instructions on how to configure an action, click the Learn more link for the action in the table below.
| Actions | Descriptions | Supported Templates | Authorization Type | More Information |
| Azure OpenAi | Integrates with Azure OpenAI instance to find answers to your general queries.. | 1 | Basic Auth | Learn more |
| BambooHR | Integrates with BambooHR software for small and medium businesses and those who work in them. | 7 | Basic Auth | Learn more |
| DHL | Integrates with DHL system to find information regarding DHL Locations and Track Shipments. | 2 | Basic Auth | Learn more |
| Freshdesk | Integrates with Freshdesk to create, view, update, search and delete tickets. | 6 | Basic Auth | Learn more |
| Freshservice ITSM | Integrates with Freshservice ITSM to create, view, update, search and delete tickets. | 6 | Basic Auth | Learn more |
| Google Maps | Integrates with Google Maps to find information regarding accurate Locations and places. | 2 | Basic Auth | Learn more |
| HubSpot | Integrates with HubSpot CRM to customize the lead details through a virtual assistant. | 10 | Dev OAuth and OAuth | Learn more |
| JIRA | Integrates with JIRA to create, view, update and delete issues. | 5 | Basic Auth | Learn more |
| Microsoft Graph | Integrates with Microsoft Graph to create, view, and update events and to-do lists, and send emails to users. | 5 | Basic Auth | Learn more |
| OpenAI | Integrates with OpenAI ChatGPT to generate answers from context and extract skills from the resume through a virtual assistant. | 2 | API Key OAuth | Learn more |
| Salesforce CRM | Integrates with Salesforce CRM to power your conversations to create Leads / Opportunities and other functions. | 7 | Dev OAuth and OAuth | Learn more |
| Shopify | Integrates with Shopify Shop instance to find information regarding Customers, Products, and Orders. | 6 | Basic OAuth | Learn more |
| ServiceNow | Integrates with ServiceNow to build the digital workflows on a single, unified platform. | 10 | Basic OAuth | Learn more |
| Stripe | Integrates with Stripe to accept payments, send payouts, and manage the payment to complete payment-related tasks. | 5 | Basic OAuth | Learn more |
| Twilio Verify | Integrates with Twilio Verify to send SMS, start verification and check verification. | 3 | Basic OAuth | Learn more |
| Zendesk | Integrates with Zendesk instance to create ticket, view all tickets, search tickets with IDs and search ticket with keywords. | 5 | Basic OAuth | Learn more |
Disabling or Deleting Actions/Integrations
You can disable or delete an external integration that you configured earlier. This is useful in case you want to switch to another integration and are no longer using the configured integration.
Disabling an Integration/Action
Disabling the integration action will change its status from enabled to disabled, but the authorization configurations associated with it will remain the same.
Steps to disable an integration.
- To disable the integration, hover over it in the actions list and click the Settings icon in the top right corner.
- If the action/integration is enabled, you will have the option to Disable it, and vice versa.

- Once you Disable an action, the authorization configurations related to that particular action are disabled with no changes.
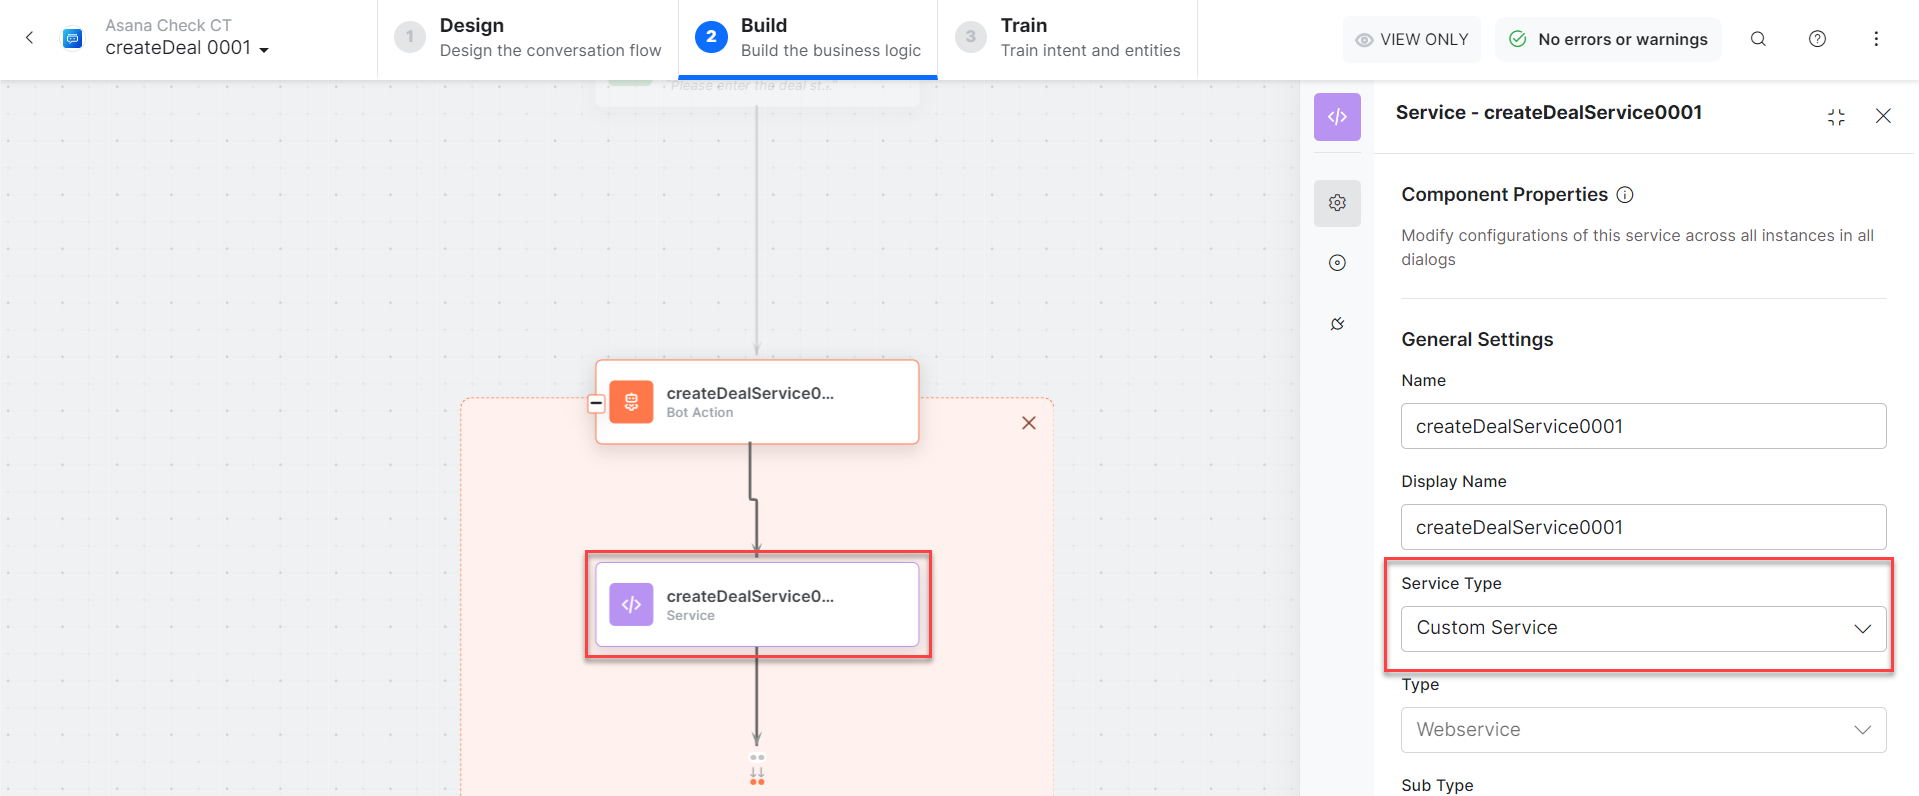
- The service node status changes from Integration Service to Custom Service.
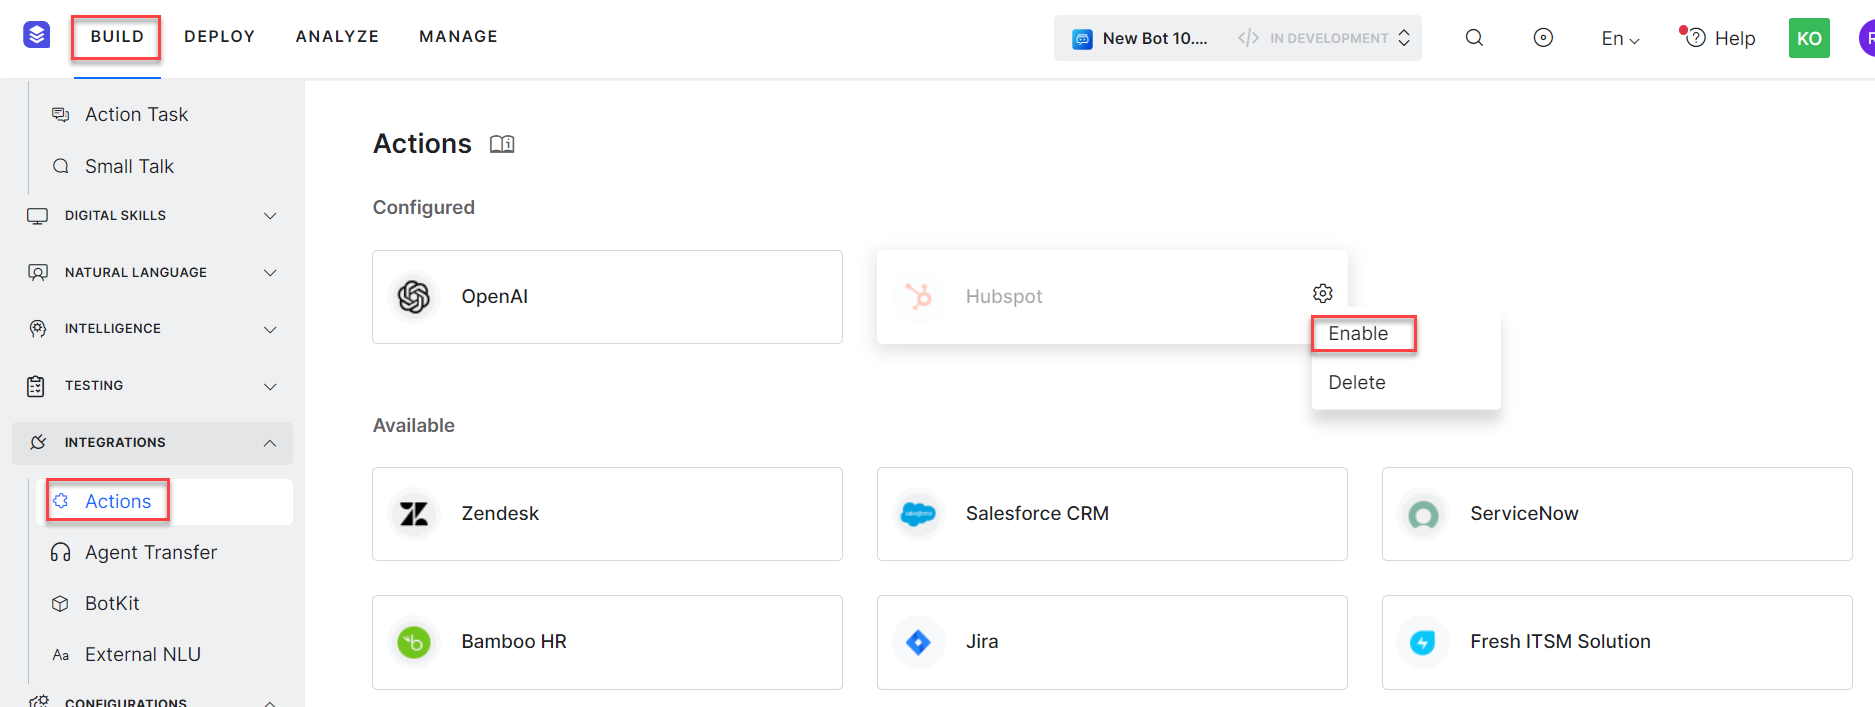
- If you need to enable a previously disabled action, you can do so by hovering over it in the actions list and clicking on the Settings icon located in the top right corner as shown in the figure below.
- You will be redirected to re-authorize the action with your external integration account credentials. For more information related to how to authorize an integration action, see Authorization article.
Deleting an Integration/Action
You can delete an external integration that is no longer in use.
Steps to delete an integration:
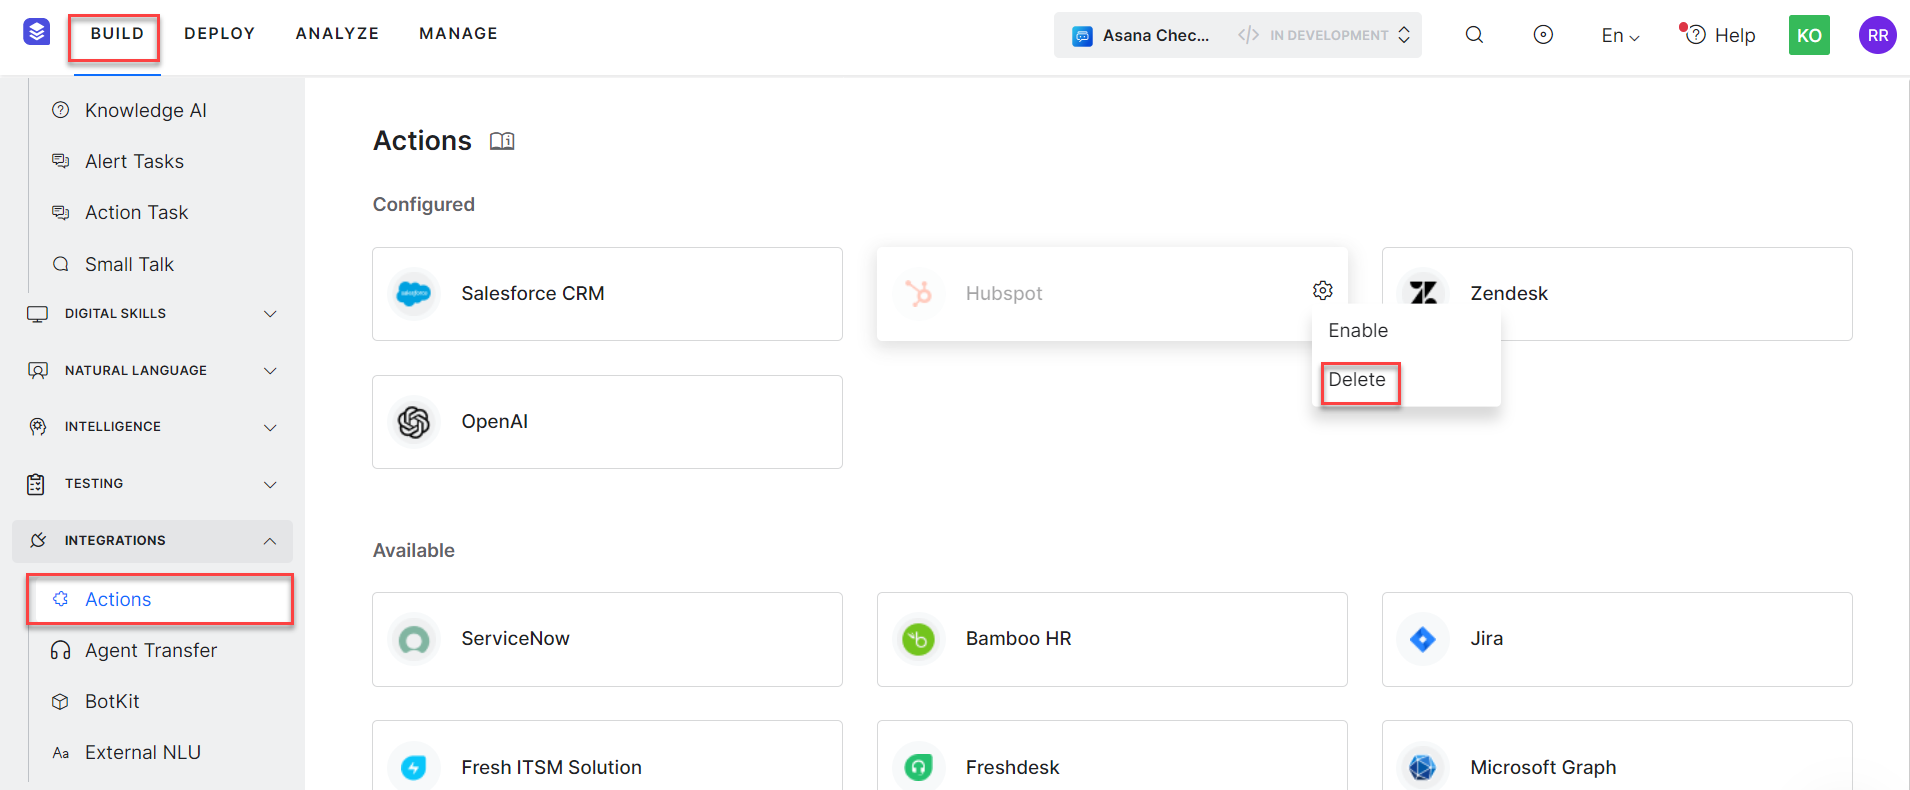
- To delete the integration, hover over it in the actions list and click the Settings icon in the top right corner.
- Choose the option to Delete the action/integration.
Warning: Deletion is permanent and cannot be undone. You are asked to confirm your choice, so make sure this is exactly what you want to do. Once an action is Deleted, all authorization configurations related to that particular integration are deleted.