To set up Skype for Business as a channel, you must register a Bot Channel service in Azure and enable a webhook for the platform to receive messages. To enable Skype for Business, follow the below steps:
- Register a Bot Channel – Log in to the Azure portal and register a bot channel.
- Create Microsoft ID and Password – You must add all the bot details and create the Microsoft ID and Password.
- Enable Skype for Business – After registering the bot, enable the channel.
- Publish Channel – After the channel is enabled and all configurations are verified, publish the bot to make it available for developers.
To add Skype for Business channel, follow the below steps:
- In the Bots section of the Bot Builder, click the bot you want to add the Skype for Business channel to.
- On the Channels tab, click the Skype for Business icon. The Skype for Business Channel page is displayed.
- In a new browser tab, log in to the Azure portal to register a bot channel.
- On the left pane, click + Create a Resource. On the search window, search and select Bot Channels Registration.
- On the new Bot Channel Service creation page, click Create and proceed to the next screen to enter the details.

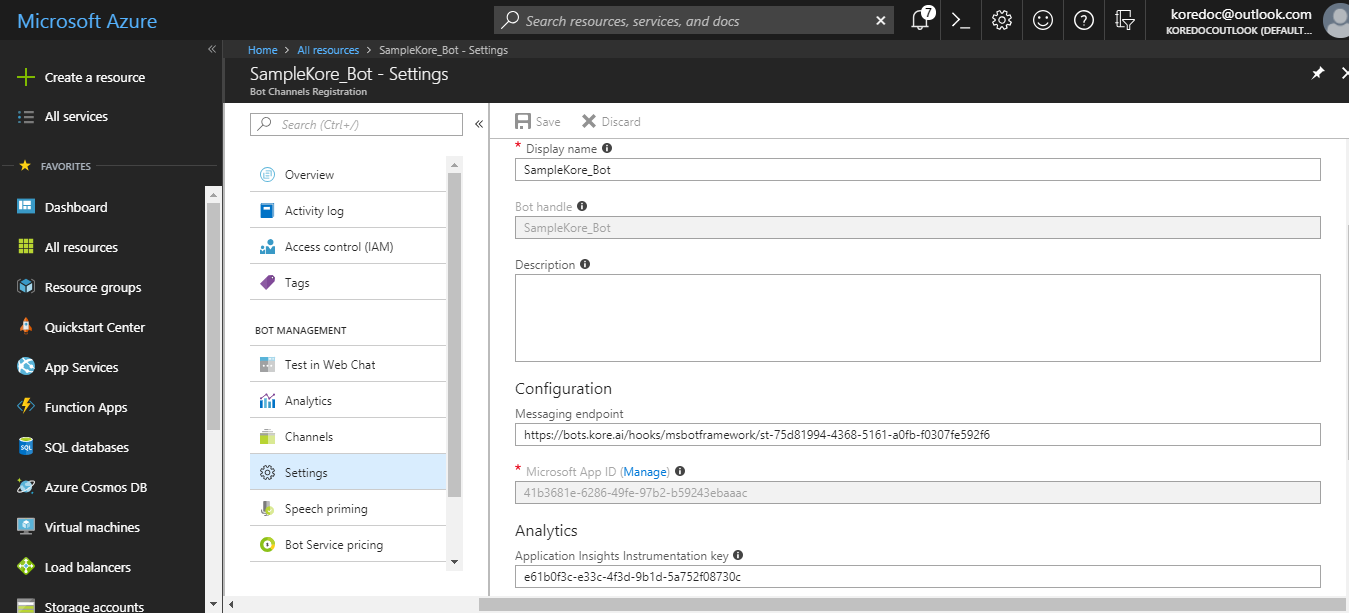
- Enter all the required details to register the bot channel. Copy the Webhook URL from the Configurations tab of the Skype for Business channel page on the builder and provide it in the Messaging Endpoint field.

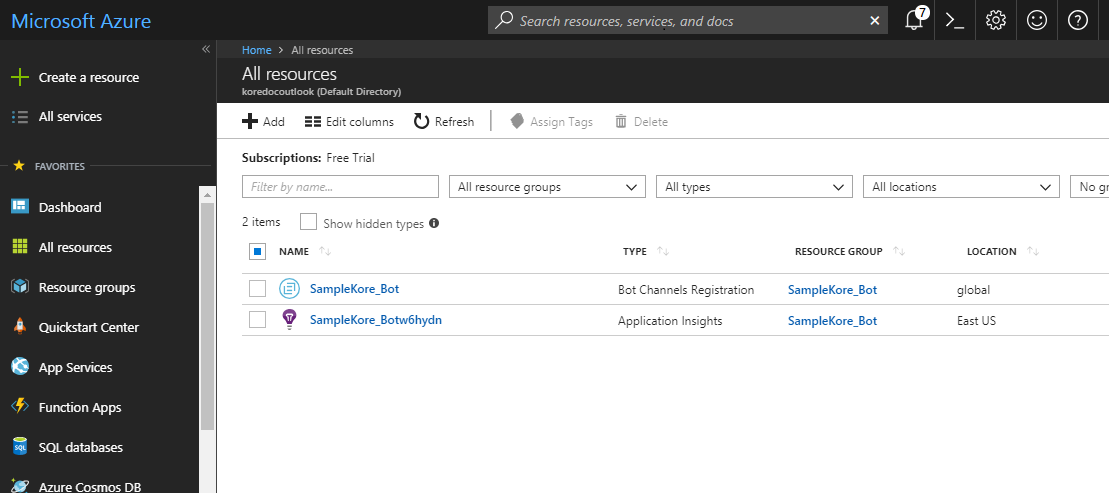
- Click Create to complete the registration. After successful creation, you are redirected to the Dashboard of your Azure account.
- To create Microsoft App ID and password from your Azure Dashboard, select the resource that you have created in the previous steps. You are redirected to the details page of the new resource that you have created.
- On the left pane, click Settings > Manage next to the Microsoft App ID field. You are redirected to a new browser tab to manage your app credentials.
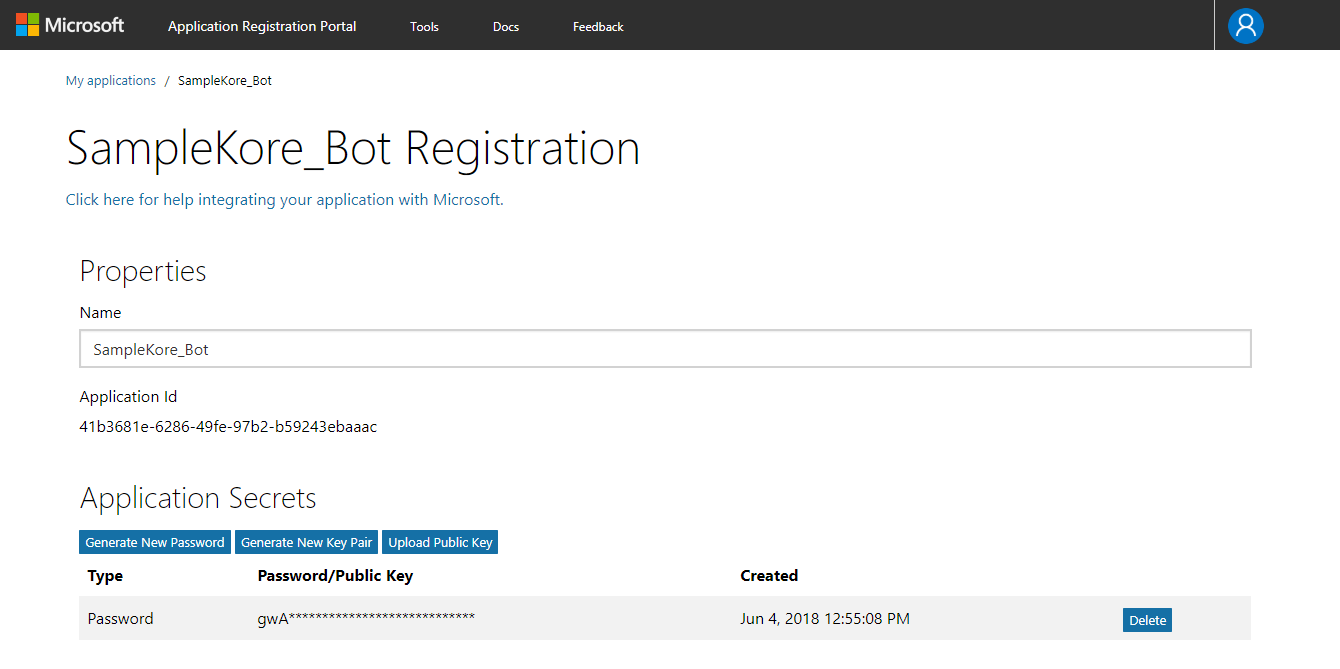
- Click Generate New Password to create a new password for your app. Make a note of the password displayed on the window and enter it in the Configurations tab of this window.
- Click Ok to go back to the previous screen. Make a note of the App ID and enter it in the Configuration tab of the channel page.
- Click Save at the end of the page to save your changes.
- To enable Skype for Business, go to your Azure portal and click Channels on the left pane of your app. Select Skype for Business.
- You are redirected to the channel information page and the channel is enabled. Proceed to the next step to add this bot to your Skype for Business Tenant account.

- The Tenant Administrator of your Skype for Business Online environment has to add this bot to your enterprise Skype for Business account. Refer to instructions from Microsoft Bot Framework to add this bot to your enterprise Skype for Business account.
- After these instructions are executed, end-users of your enterprise can find this bot in their Skype for Business contacts list and start chatting with the bot.