The Bot Action Node can be used for any action that the bot is expected to perform without interaction with the user. It can be used as a container for service, script, webhook, logic and process nodes. This node type has been introduced in v. 9.0 of the XO Platform.
This article takes you through the functionality of the primary Bot Action node. For information on contained nodes, please see their respective documentation.
Features
The Bot Action Node allows you to:
- Ability to manage the actions that the VA needs to perform without user intervention.
- Acts as a container for nodes relevant to the actions that the VA needs to perform. This simplifies the management process for the entire assistant, by allowing developers to designate specific nodes to specific actions.
Add the Node
Setting up a Bot Action node in a dialog task involves the following steps:
- Open the dialog task to which you want to add the Bot Action node.
- Add the Bot Action node in the designated place. For steps related to adding nodes, refer here.
- The Bot Action node Properties panel is displayed with the Component Properties tab selected by default.
- You can use the +/– against the node to Expand/Collapse the node
- Once you expand a Bot Action node, you have the option to add various nodes – service, script, webhook, logic and/or process nodes. Please refer to the individual nodes for configuration details.

Configure the Node
The following sections detail the properties for this node in the new dialog builder, introduced in v9.0 of the platform. For details related to the legacy dialog builder, please refer here.
Component Properties
|
Note: All changes made to the Component Properties tab will affect all instances of the node, across Dialog Tasks. |
To configure the Component Properties tab, please follow the steps below:
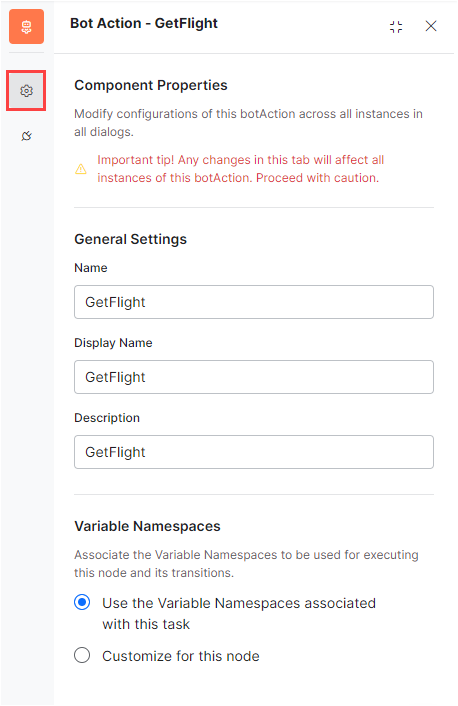
- On the Component Properties tab, under the General Settings section, you can modify the Name, Display Name, and Description of the node.
- In the Variable Namespaces section (v8.0), associate the variable namespaces to execute this node and its transitions. This option is visible only when the variable namespace is enabled for the assistant. You can go with the task level settings or customize it for this node. For more information, refer to Managing Namespace.
Connections Properties
The Connection Properties of a Bot Action node allow you to configure which node within the group is initiated first, and which node to trigger next, right after the VA goes through the nodes within the Bot Action node group.
You can configure the following types of connections:
- Bot Action Node Connections: Choose the first node to be initiated within the Bot Action group. You can select any of the nodes in this Bot Action group.
- Bot Action Group Connections: Choose the nodes to be initiated after executing the Bot Action group. You can select any of the nodes outside this Bot Action group.
For Bot Action Group Connections, you can configure If-Else conditions. To do so, please follow the steps outlined in Adding IF-Else Conditions to Node Connections.

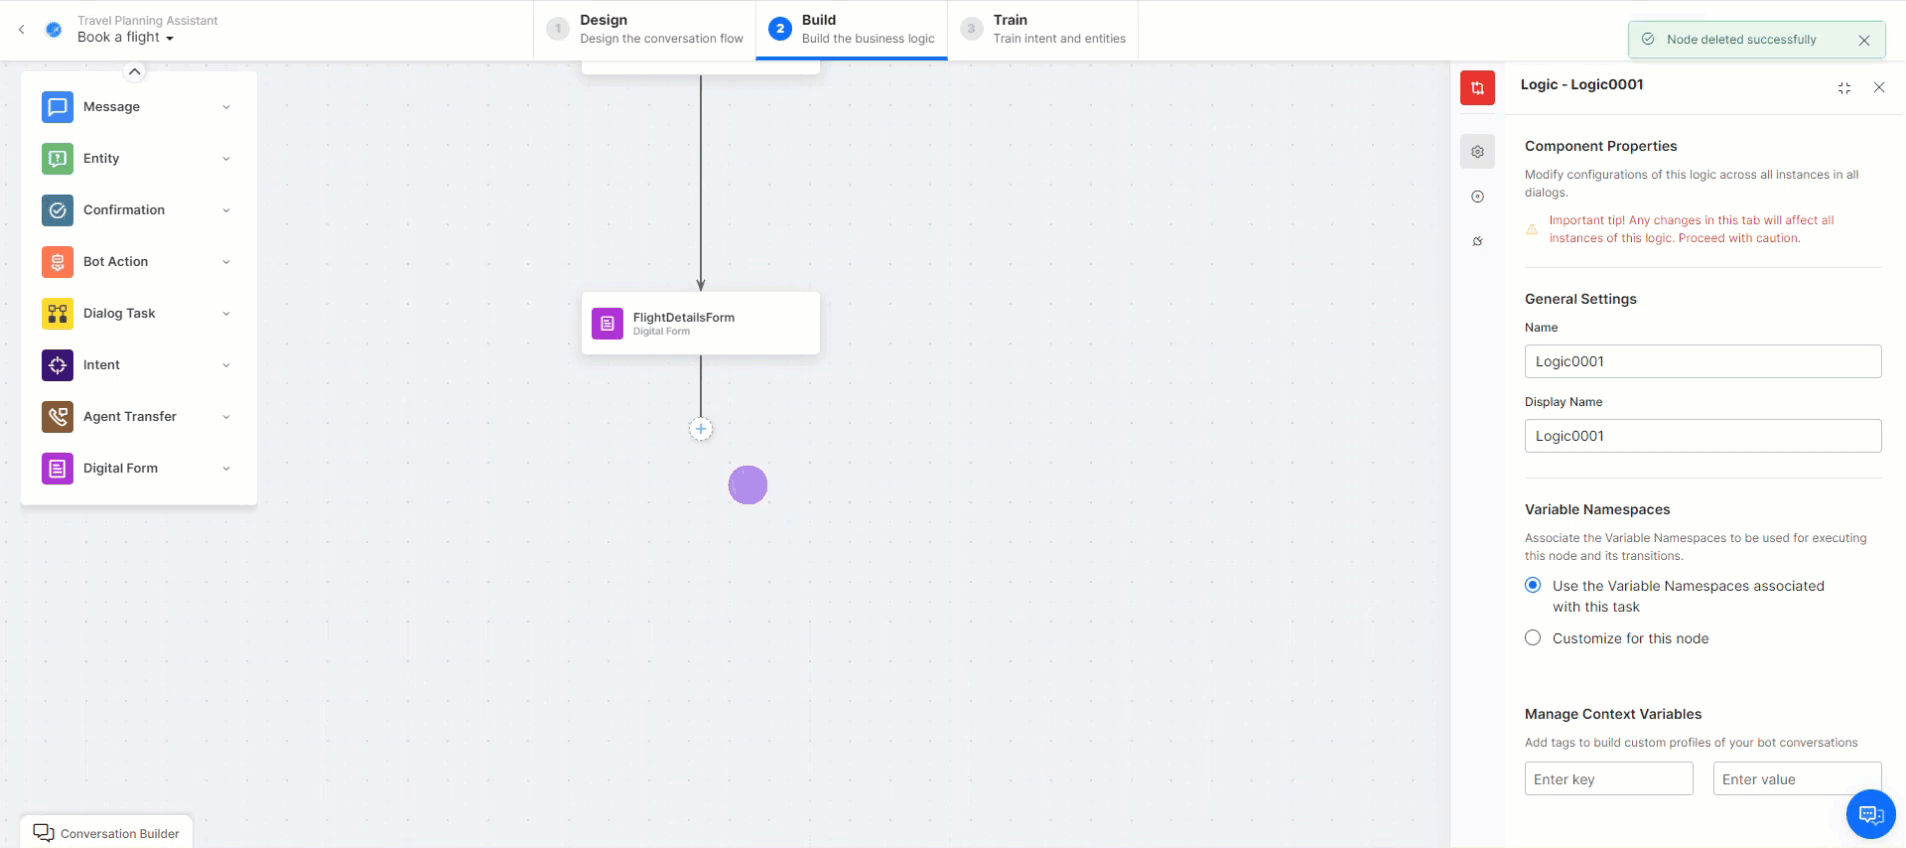
Manage Contained Nodes
As mentioned, nodes contained by Bot Action nodes include; service, script, webhook, logic and/or process nodes.
To manage the nodes contained within a Bot Action node, please follow the steps below:
- Click the expand (+) button next to the Bot Action node. The primary nodes panel will be replaced with the Bot Action nodes panel.
- The Bot Action node shows all of its containing nodes as a group. Add any node from here, using either the “+” sign or drag and drop. Bot Action nodes provide the following options: On the left side of the node there is an Expand (+) button if the node is collapsed, and a Collapse (-) button if the node is expanded. Nodes can also be collapsed using the Close (x) button on the top right.
Manage Connections for Contained Nodes
Nodes inside the bot action node cannot be connected directly to any node outside the bot action group. For such nodes, the following connections can be configured:
- Any node within the corresponding bot action node;
- Not Connected;
- End of Bot Action – this would take the bot flow to the node connected to the bot action node;
