User Management involves managing users and user groups
- From Users section, you can view and manage your Kore.ai user roles, status, and monitor user message activity.
- From User Settings section, you can define the user profile fields displayed to the user in their profile, for example, address information, and if the user can edit those fields.
Users
You can manage users in your enterprise network from the Bot Administration page from User Management -> Users section.
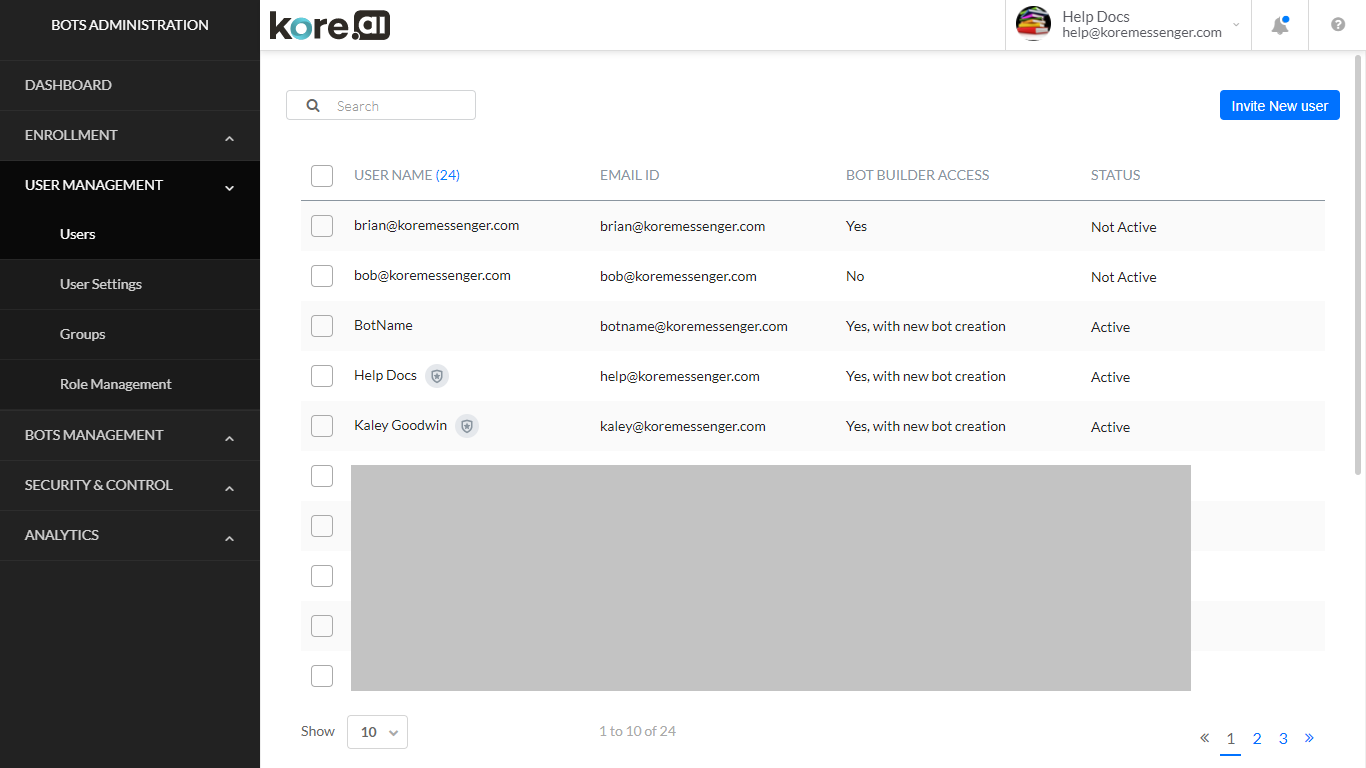
The following list describes the columns displayed for each Kore.ai user.
| COLUMN | DESCRIPTION |
|---|---|
| Name | Displays the Kore.ai username, admin indicator, and selection box. |
| Email Id | Registered email id of the user. |
| Bot Builder Access |
The type of access user has to Bot Builder. Can be
|
| Status |
Displays the Kore.ai user status. One of:
|
Clicking on a specific User row from the Users page opens the User Details page from where you can modify the
Profile
You can modify the user profile information of a specific user in your account, for example, to update their address or title.
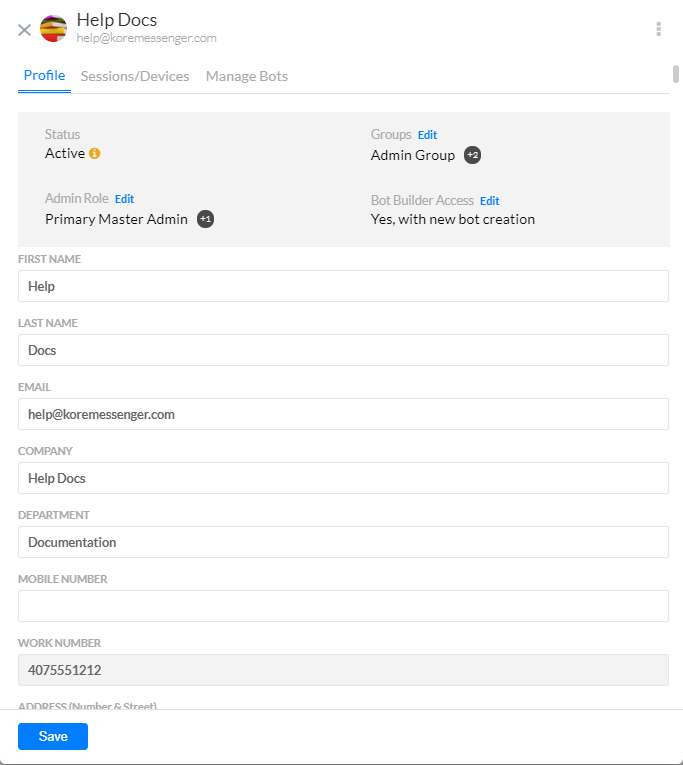
The following fields are accessible from this page:
- Status can be:
- Active: hovering over the information icon displays the last logged in date and time.
- Not Active: hovering over the information icon displays when the invite to join the account was sent.
- Suspended: hovering over the information icon displays the last logged in date and time. You can Activate User either using the more icon on this dialog or using the ACTIVATE button displayed when you hover over the user row in the Users page.
- Groups to which the user is assigned. Using the Edit link you can select or deselect the groups for the given User. Refer here for more on Managing Groups
- Admin Role status, can be added or removed using the Edit link.
- Bot Builder Access status can be modified using the Edit link. Refer here for more on Role Management.
- User Details like First Name, Last Name, email id, etc. can be viewed and modified.
Note that the email id is read-only field and cannot be modified.
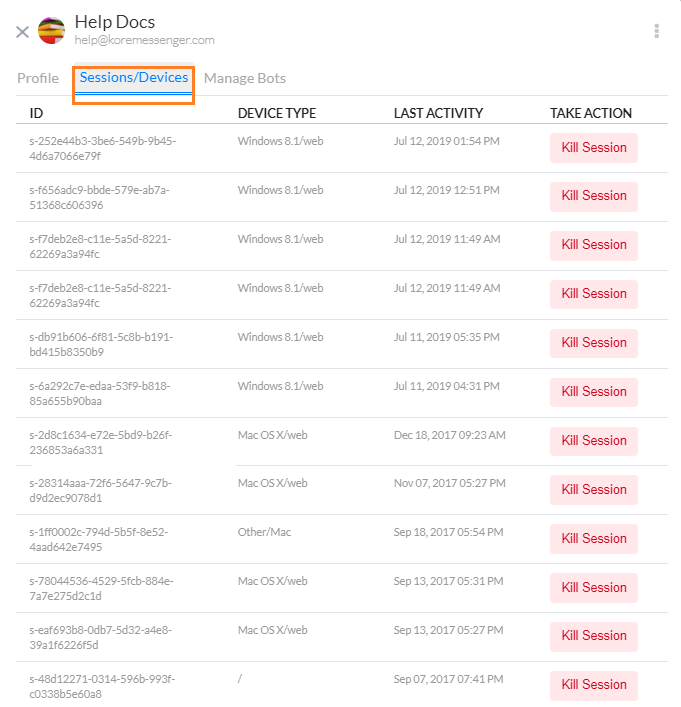
Sessions/Devices
This tab displays the User activity – the session ID, device type the user used, and their last activity timestamp on that session.
As an admin, you may need to end one or more user sessions. You can use the Kill Session button to to end a mobile or desktop session for the user.
Warning: No confirmation message is displayed and the session is immediately and abruptly ended for the user.
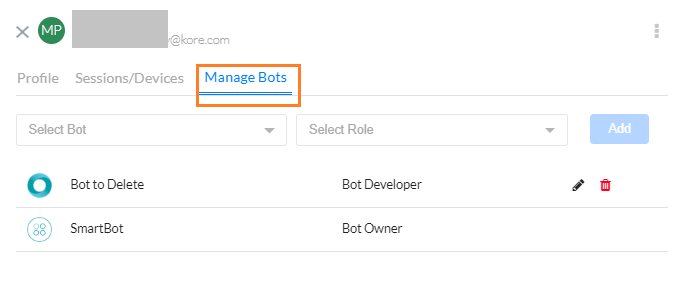
Manage Bots
This tab displays the Bots to which the User has access and their role – Owner, Developer or Tester.
As an admin, you may Edit or Delete the role of the User for a given Bot. Note that you cannot delete or modify the role of a Bot Owner, it is assigned at the time of Bot creation.
You can also select a Bot and assign a Bot role to the user. See here for more on Bot roles.
Other Options
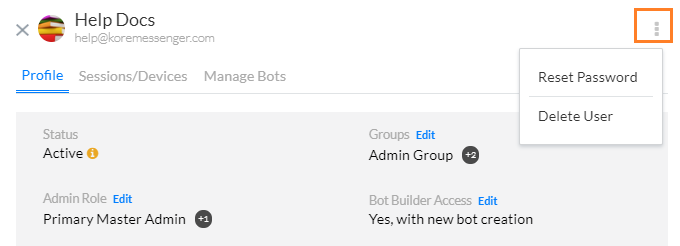
Reset a User Password
As a Bots Admin, you can send a password reset email to any user, including yourself, from the Bots Admin Console if Single Sign-On (SSO) is not enabled. You can reset the password using the more icon from the User Profile page.
The password reset email sent message is displayed and an email is sent to the user with instructions about how to reset the password.
Note: When SSO is enabled, password policies are not in effect for Bots Admins or Kore.ai users, the SSO service provider handles the password policies.
Tip: If SSO is enabled, Bots Admins can still log on to the Bots Admin Console directly using their password credentials and bypass SSO. For more information, see Logging On Using Your Admin Password Instead of SSO.
Delete User
Using the more icon from the User Settings page you can Delete User.
You can also Delete User from the Users page by using the delete icon on the hover of the User row or select users and using the Delete Selected link.
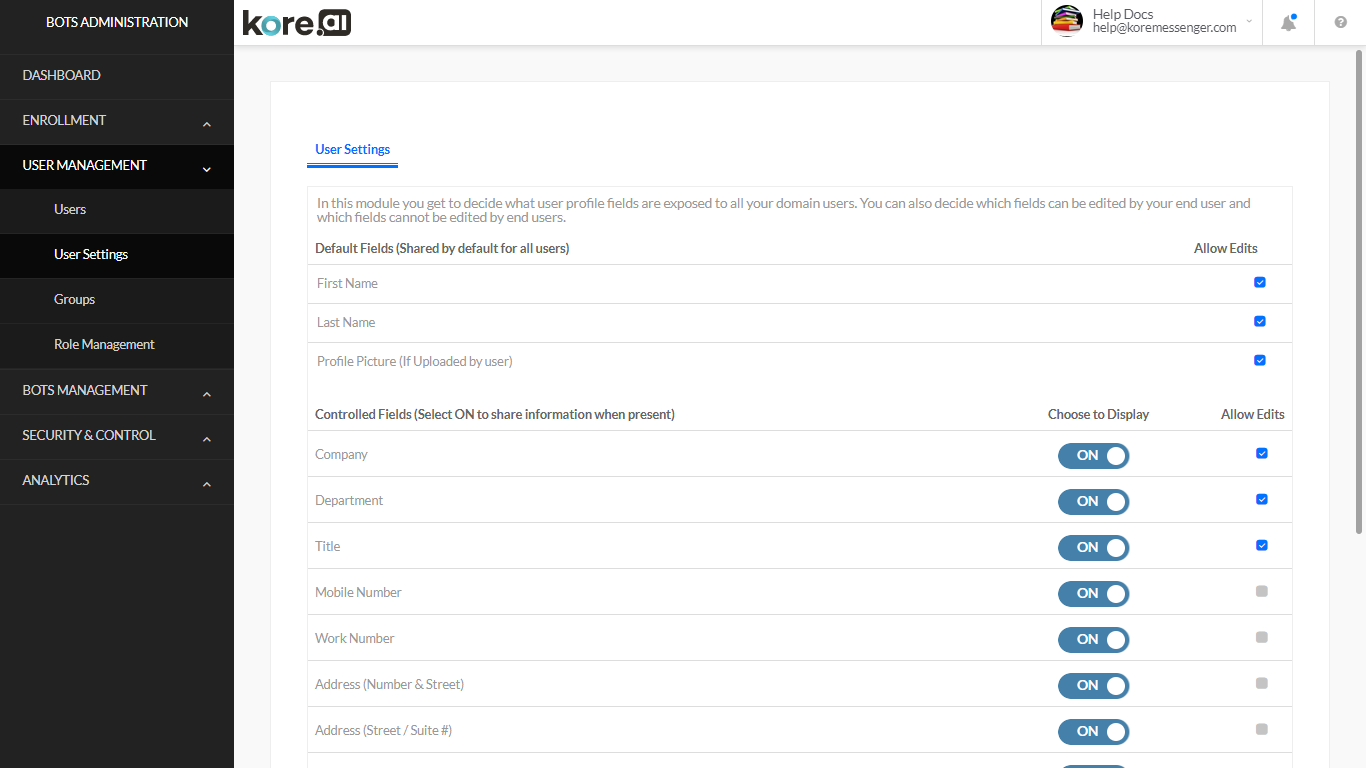
User Settings
On the User Settings section in the User Management module, you can manage the fields to display to Kore.ai users on their User Profile page, for example, Company, Department, and so forth.
| CONTROLS | DESCRIPTION |
|---|---|
| Default Fields Section |
The following user profile fields are displayed by default and cannot be disabled from the User Profile page for the user.
You can also select or clear Allow Edits to enable/disable the user to overwrite the data. Modifications to the user profile take effect when the user logs in next. |
| Controlled Fields Sections |
The following user profile fields are disabled by default and can be enabled by the Enterprise Admin or admin user:
You can also select or clear Allow Edits to enable/disable the user to overwrite the data. Modifications to the user profile take effect when the user logs in next. |