Apart from the sign-on, and other security settings (see here for details), you can modify default account security & control settings like
- data retention period,
- context persistence, and
- IP address access.
Data Retention
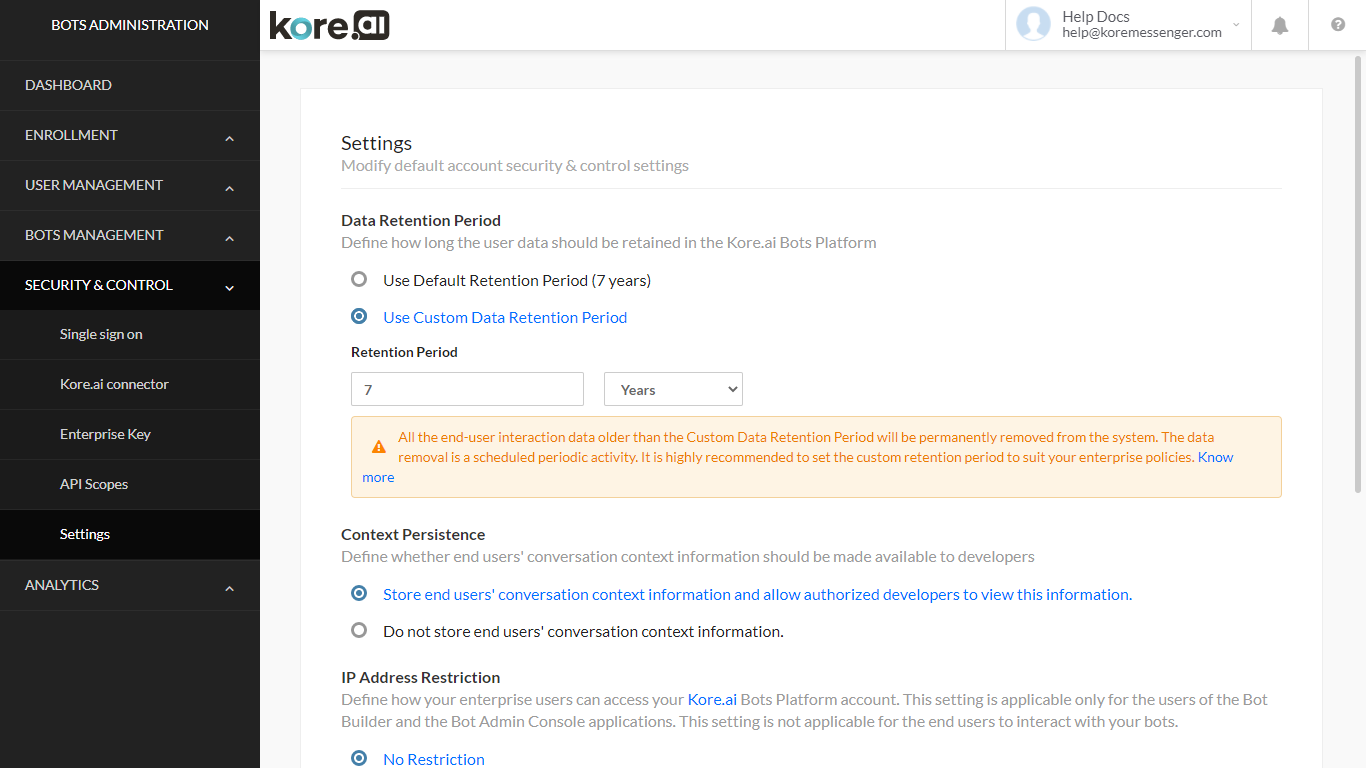
All the end-user interaction data is removed from the system, by default, after a period of 7 years. However, it is highly recommended that you set the custom retention period to suit your enterprise policies by using the Data Retention Period option.
Steps:
- Go to Security & Control -> Settings
- Under Data Retention Period, you have two options
- Use the default retention period – 7 years;
- Use the custom data retention period and set the duration between 1 month to 7 years.
- The following data would no longer be available post data retention period:
- Conversation History / Messages;
- Usage Information;
- Task Execution and Performance Metrics;
- Session and Message Tags;
- Alert Instances;
- Debug Logs.
Note: The custom data retention period cannot be set if your account has a large volume of messages. In such a case, you are requested to reach out to Kore.ai Support for setting Custom Retention Period.
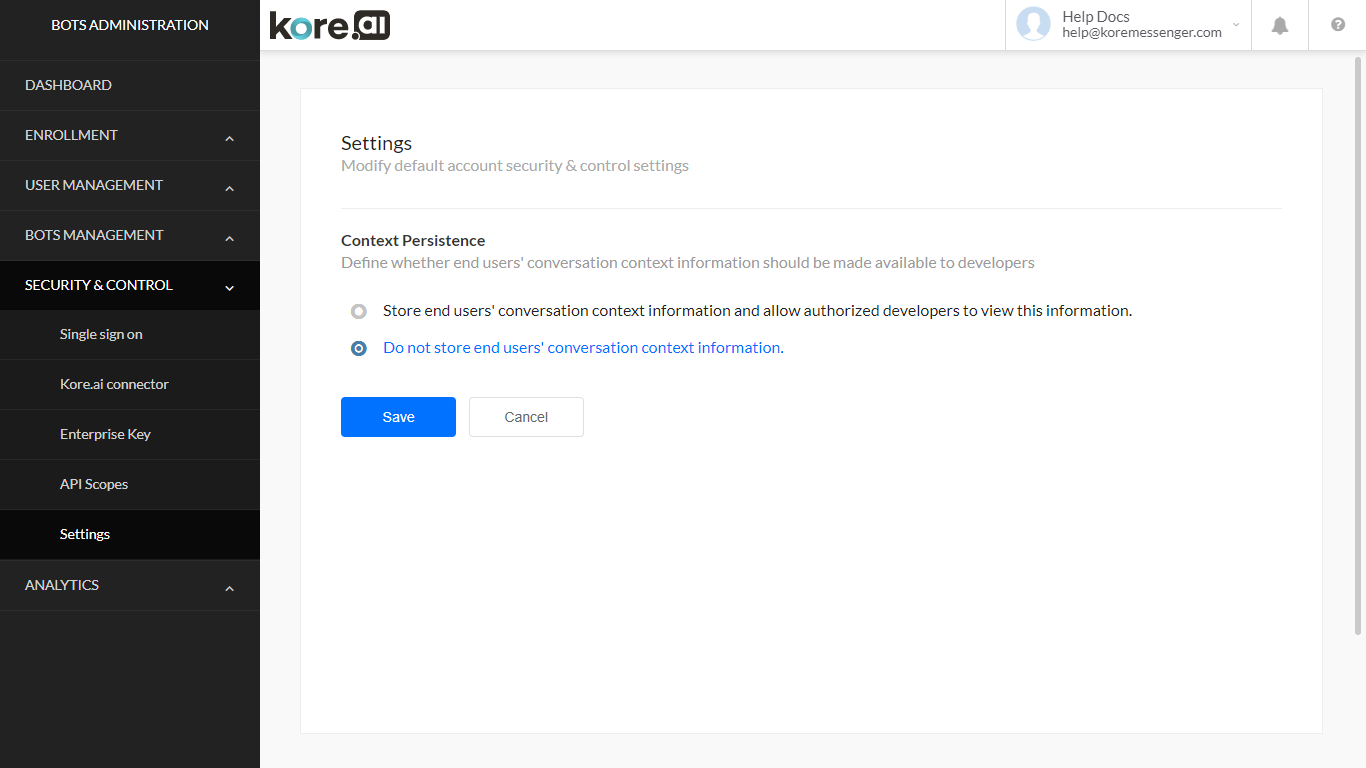
Context Persistence
Bots Platform by default stores the context of the end-users’ conversations with the bot. This context information can be used for debugging and analysis purposes.
However, you might not want the platform to store this information due to the presence of sensitive data about customers or other security-related reasons. You can opt not to store the same using the Context Persistence option.
Steps:
- Go to Security & Control -> Settings
- Under Context Persistence, you have two options
- Store end users’ conversation context information and allow authorized developers to view this information – this is the default setting.
- Do not store end users’ conversation context information – this will ensure that:
- the platform does not store the context information
- Option to view context information in Bot Builder like Metrics and any other places is disabled.
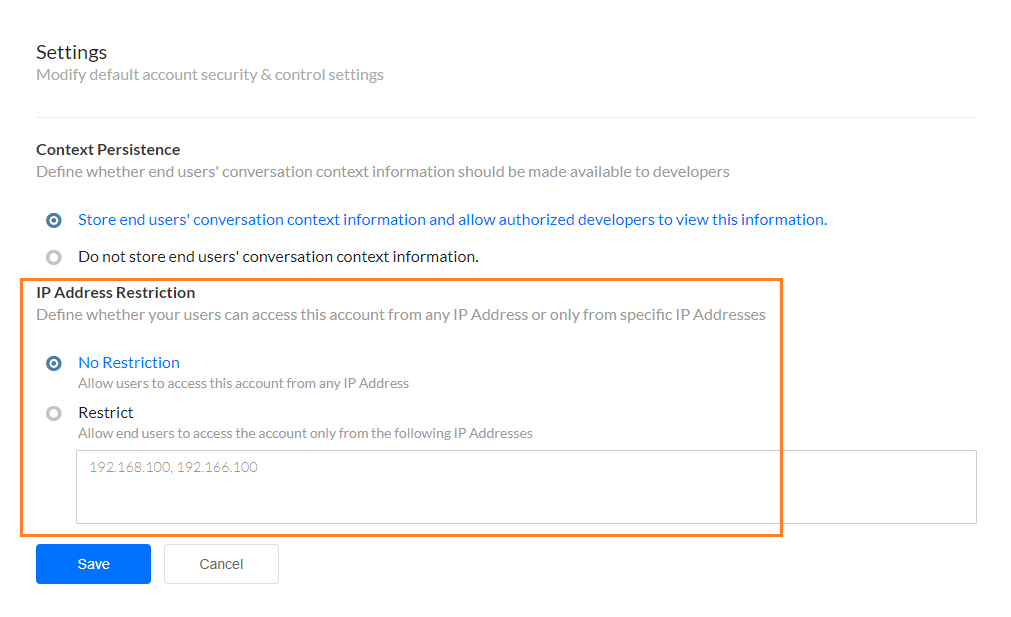
IP Address Restriction
By default, users can access the Bot Builder platform, and Bot Admin Console from any IP address as long as they have valid credentials.
You can, additionally, restrict the access from a specified range of IP addresses. This restriction applies to developers from your account alone, i.e if a developer belongs to another account also their access to the platform using that account will not be restricted.
Steps:
- Go to Security & Control -> Settings
- Under IP Address Restriction, you have two options
- No restriction – this is the default setting and access is not restricted to any IP address.
- Restrict – Here you can specify a range of IP Addresses to which the access is restricted. All other addresses would be blocked from accessing the Bot Builder and Bot Admin Console platform.
Note: The IP Address of your (current) system should be part of the allowed IP Addresses list.