
To setup Slack as a channel, you will need to associate the bot with a Slack app. Adding the Slack channel to your Kore.ai Bot allows end-users for your bot to interact with your bot using their Slack accounts.
- Create a Slack App – Create and configure a new app in Slack, and then copy app data from Kore.ai Bot Builder into the Slack app configuration for the bot name and Redirect URL.
- Copy Authorization Details – Copy app authorization details from Slack to the Bot Builder Slack channel Get App Details tab.
- Create a Bot User in Slack – In Slack, add a bot username to identify your bot.
- Enable the Channel – In Bot Builder, save the channel settings.
To add the Slack channel to a bot
To complete this procedure, you must already have a Slack account and be a member of a Slack team.
NOTE: The steps have been modified in ver7.1 of the platform in sync with changes to the channel requirements.
- In the Bots section of the Bot Builder, click the Bot that you want to add the Slack channel to.
- On the Channels tab, click the Slack icon. The Slack Channel page gets displayed.
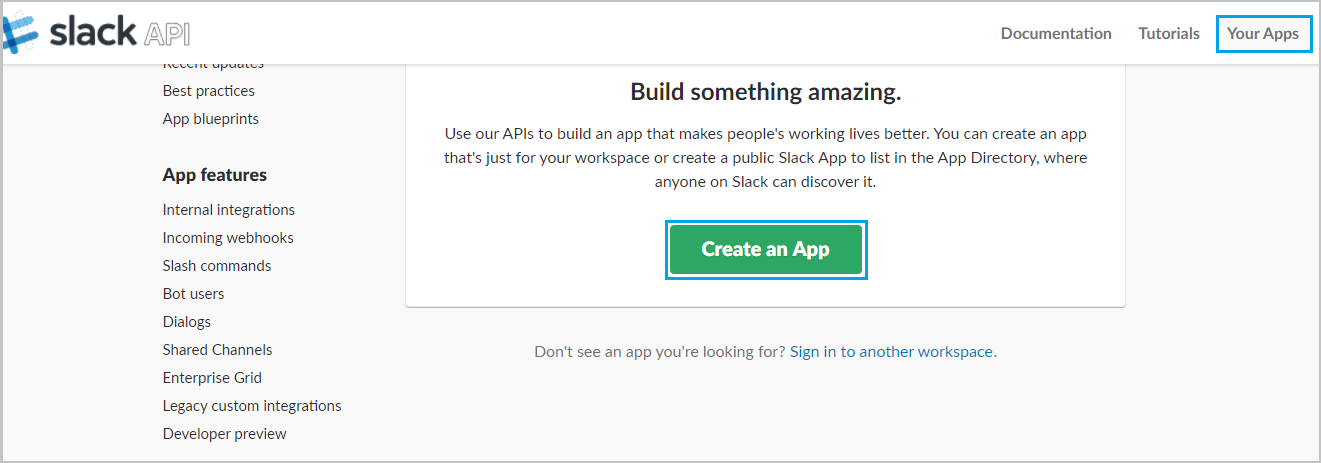
- In a new browser tab, Login to Slack developer portal and navigate to Apps section https://api.slack.com/apps. If this is your first app, click on Create an App and if you already have some apps, then click on Create New App.
- In the Create App pop-up screen, enter App Name and select a team from Development Slack Team drop-down. Use your bot name as the App Name.
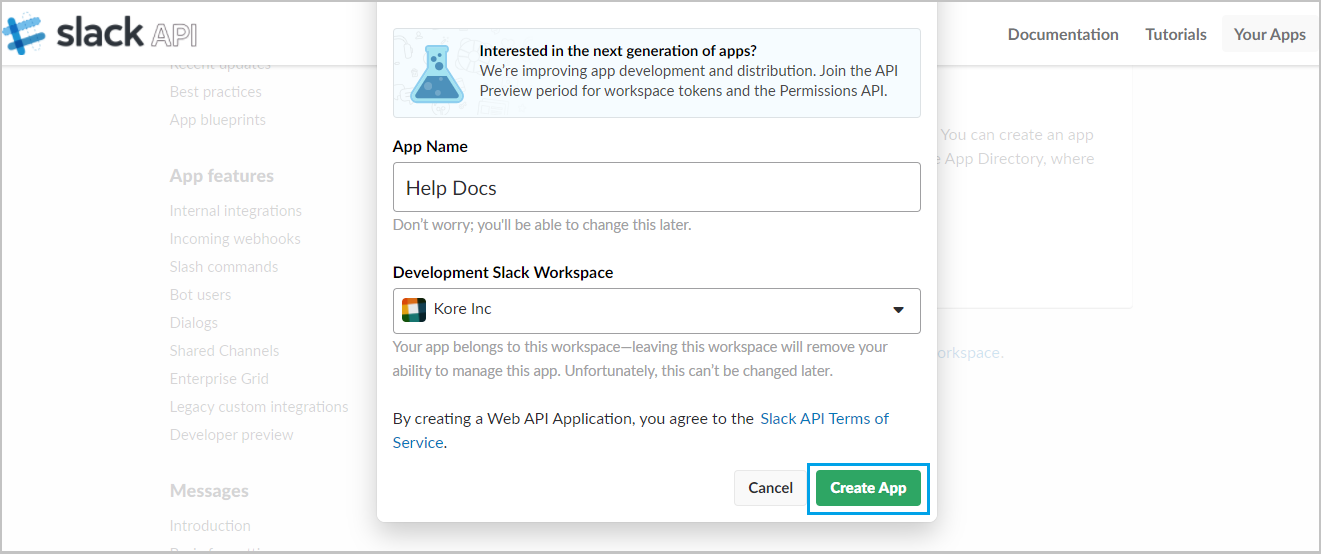
- After entering the required information, click on Create App. Slack will now create a new app and you would be redirected to Basic Information section of the new app.
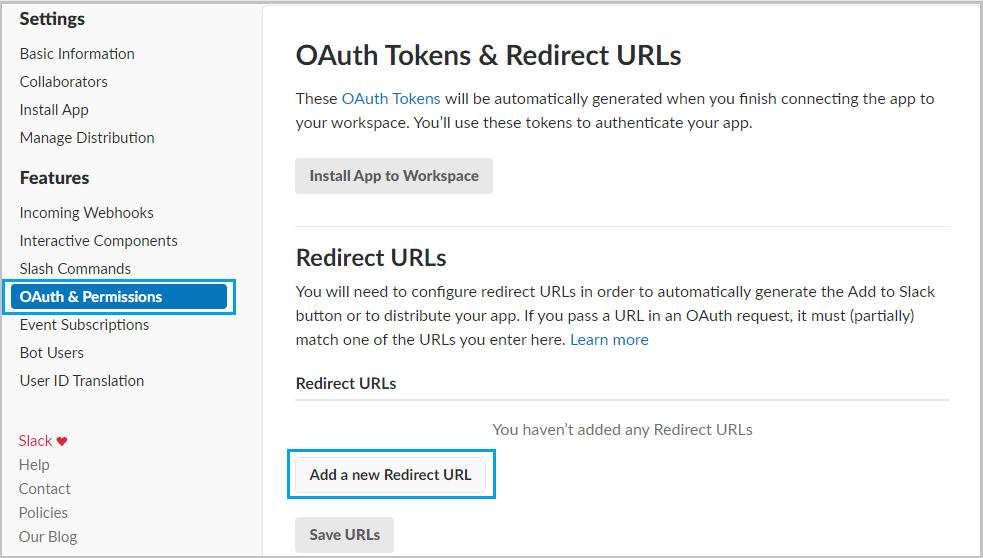
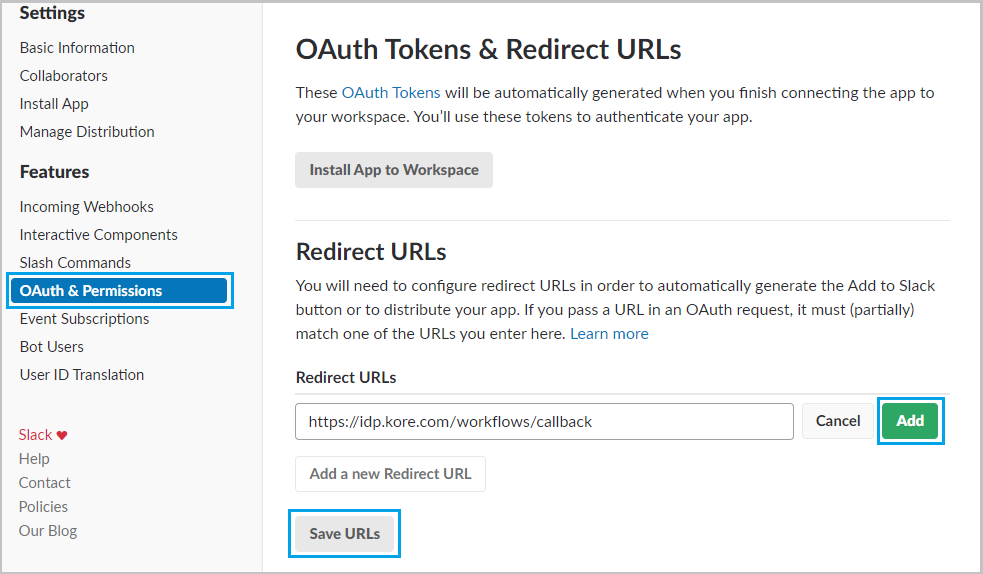
- Navigate to OAuth & Permissions tab and click on Add a new Redirect URL. Copy the Redirect URL provided in the Configurations tab of Slack channel page and enter in the Redirect URLs field. Click on Add and then click on Save URLs.
- To create a Bot user, navigate to Bot Users section and click on Add a Bot User.
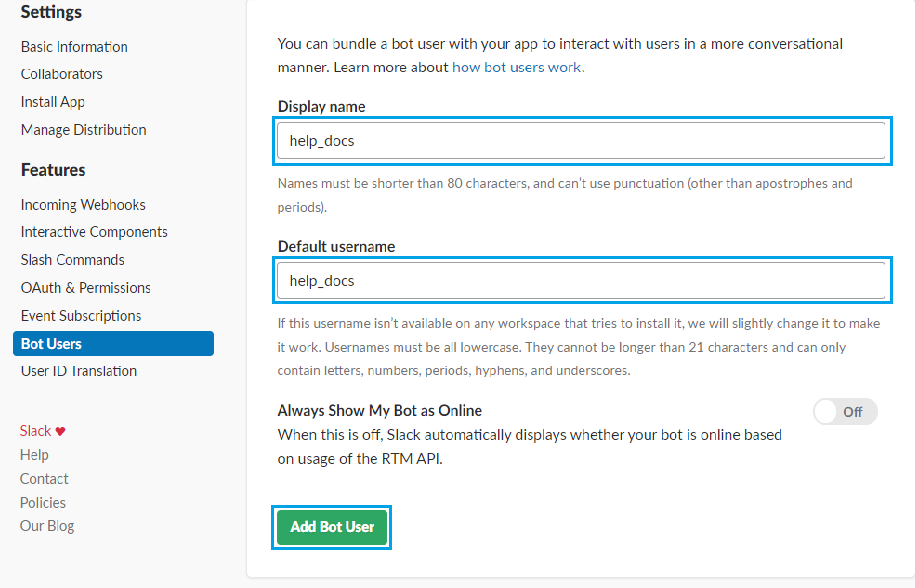
- Provide values for Display name, the Default username and then Save changes. Try to use your bot name as Display name and Default username. A bot user is now added to your Slack app.
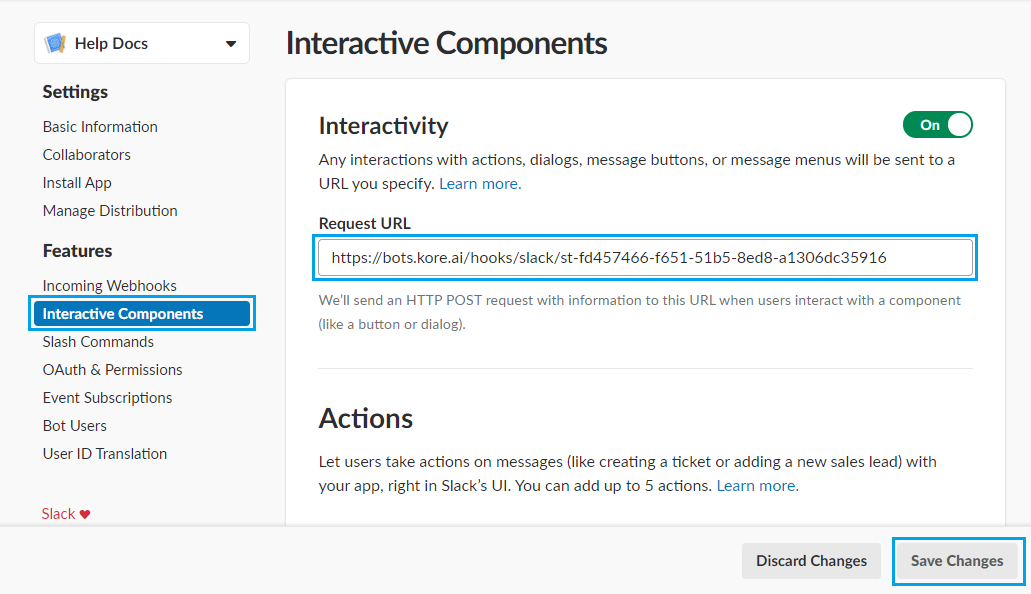
- To enable Interactive Components, navigate to Interactive Messages section and click on Enable Interactive Components. Copy the Webhook URL provided in the Configurations tab of this page and enter it in Request URL field. Click on Save Changes.
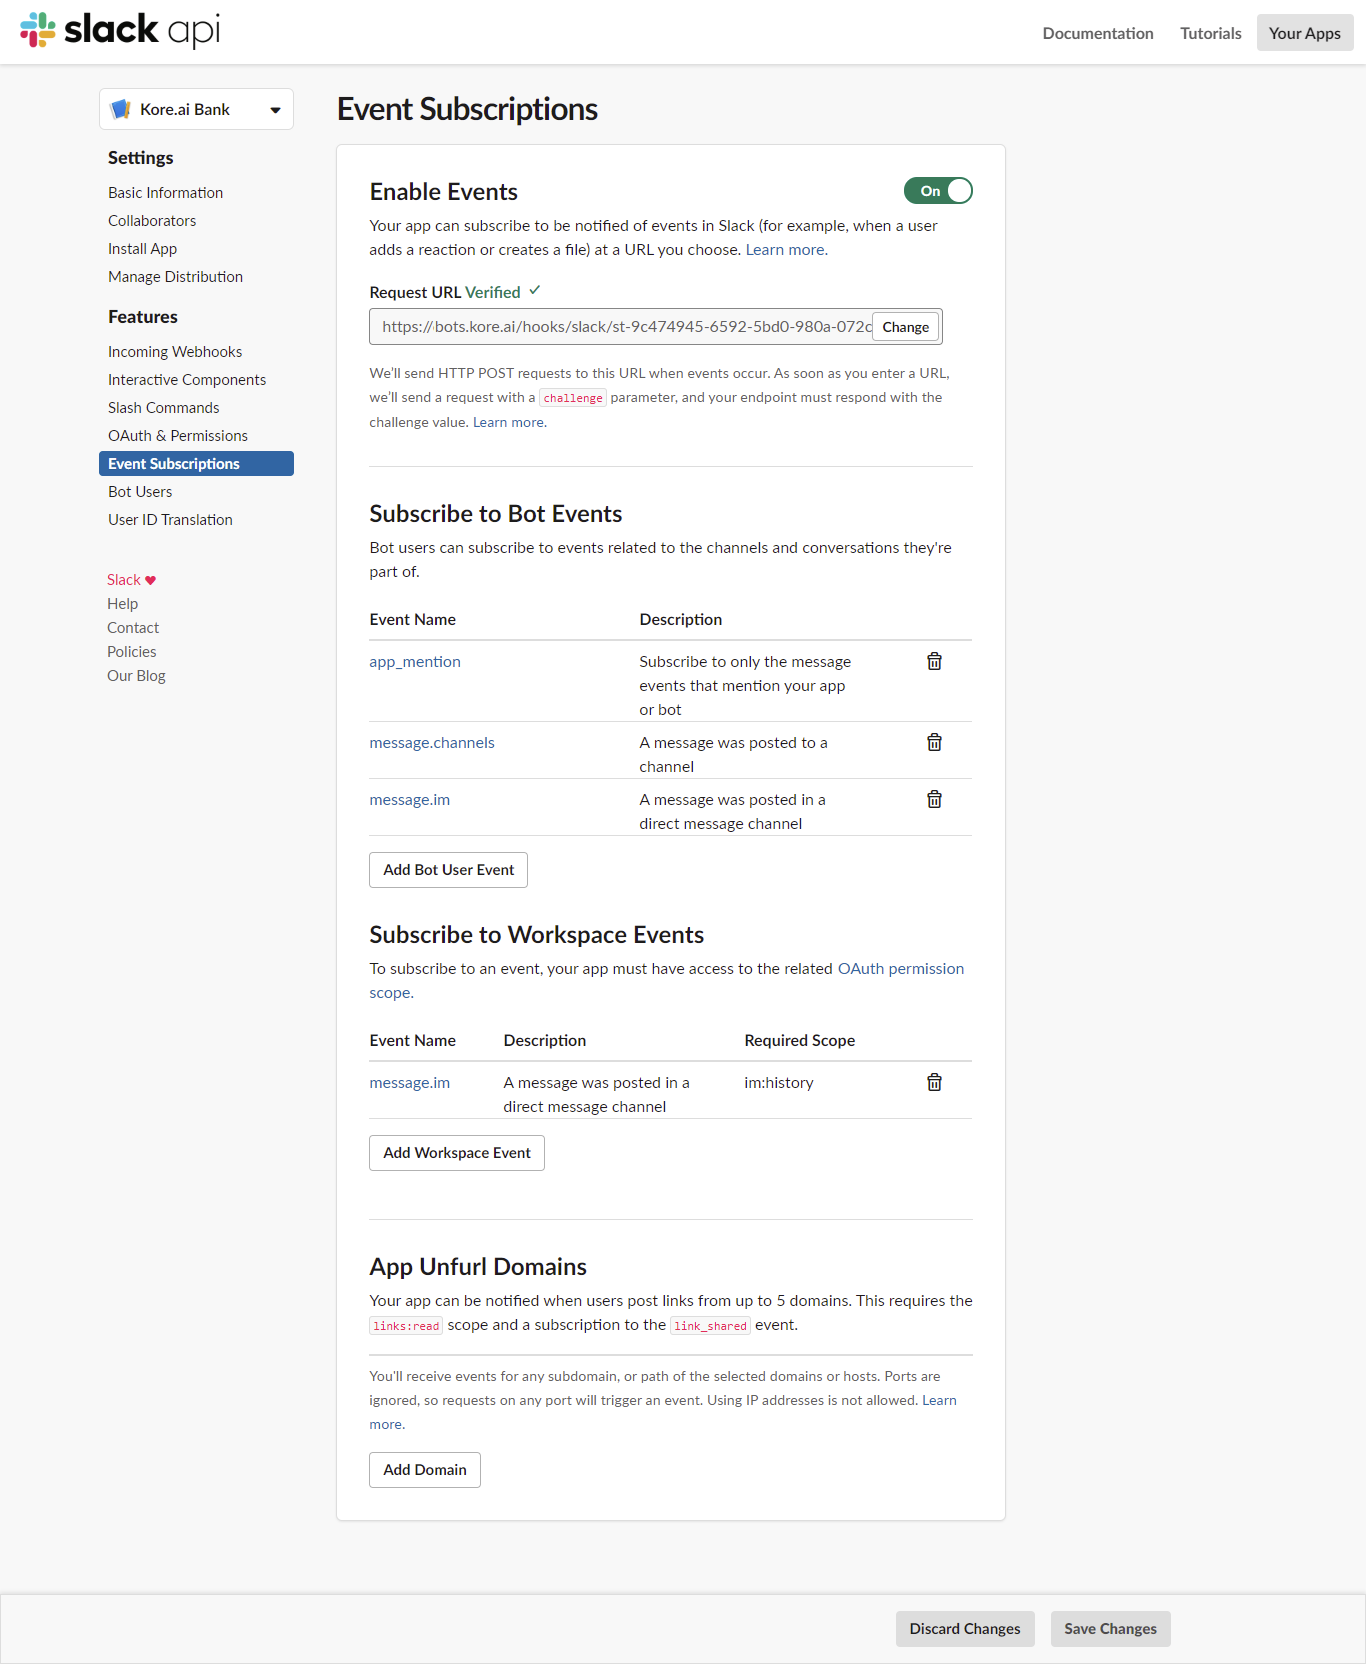
- Navigate to the Event Subscriptions section and activate the Enable Events option.
- Copy the Webhook URL provided in the Configurations tab of Slack Channel page and enter it in the Request URL field.
- In the Subscribe to Bot Events section, add “app_mention”, “message_channels” and “message_im” events.
- In the Subscribe to Workspace Events section, add “message_im” event.
- Click Save Changes.
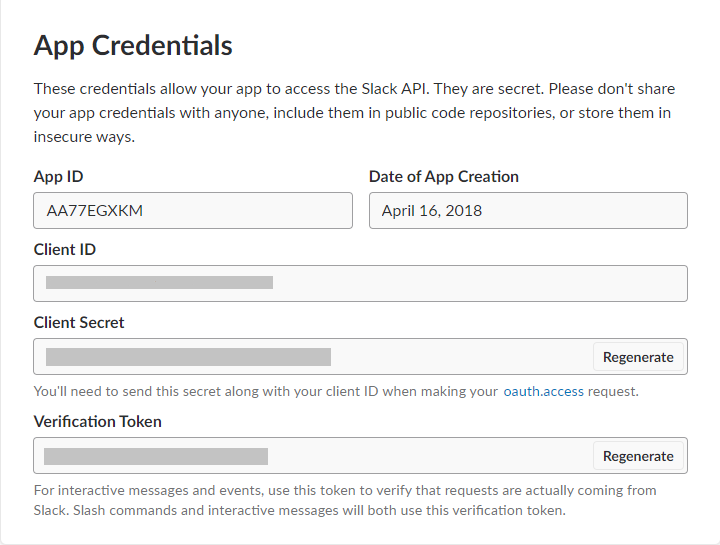
- Navigate to Basic Information section and scroll down to App Credentials section. Capture the values of Client ID, Client Secret, and Verification Token fields and provide them in the Configurations tab of Slack Channel page.
- If you would like to enable public distribution of your app on Slack, you would need to proceed with following steps. Navigate to Manage Distribution section and click on Remove Hard Coded Information and select the checkbox I’ve reviewed and removed any hard-coded information and click on Activate Public Distribution.

- After you submit your app for public distribution on Slack, you can also optionally submit your app to the Slack directory. Click on Submit to App Directory option and you will be redirected to separate form. Fill out the form and submit for approval.
- Navigate to the Configurations tab to review and complete the channel setup.
The Successfully added Slack channel message is displayed at the top of the Bot Builder Homepage. In Slack, it is optional to submit your app to the Slack App Directory.
Editing the Slack Channel
To edit the Slack channel, hover your mouse over the channel and click to modify. You can make necessary updates to your channel configurations and save them. You may also disable or delete the channel information by clicking the Settings icon.
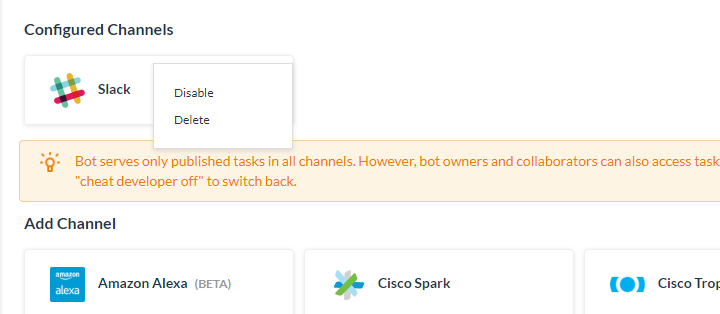 Select one of the following commands to modify the channel:
- Disable/Enable – Click Disable to temporarily disable use of the Slack channel for your Bot. To enable the use of the Slack, click Enable.
- Delete – Click Delete, and then click OK in the Delete Confirmation dialog to permanently delete the Bot channel configuration.