
To add the Cisco Spark channel to your Bot, you will need a Cisco Spark for Developers account to configure the connection between Cisco Spark and Kore.ai. Adding the Cisco Spark channel to your Kore.ai Bot is a 4-step process to allow end-users for your Bot to interact with your Bot using their Cisco Spark accounts. To add the Cisco Spark channel to your Bot, you will need to:
- Create a Cisco Spark App – In your Spark for Developers account, you will need to create an app to provide authorization for communication between Cisco Spark and your Kore.ai Bot. To create a Cisco Spark app, you must have created and registered for a free account in the Spark for Developers portal.
- Get an Access Token – To use Cisco Spark as a channel for your Kore.ai Bot, have a valid Spark Bot Username and generate an access token to provide authentication for communications.
- Setup Integration – Define the Cisco Spark integration to your Kore.ai Bot by adding the Call Back URL to Kore.ai and setting the Cisco Spark app Scopes to receive and send messages to and from Cisco Spark.
- Enable – After setting up the Cisco Spark app and entering configuration data in Bot Builder, you need to enable the channel.
To add the Cisco Spark channel
To complete the following procedure, you must have, or register for a new developer account in the Cisco Spark for Developers portal.
- In Bot Builder, in the Bots section, click the Bot that you want to add the Cisco Spark channel to.
- On the Channels tab, click the Expand
 icon for the Cisco Spark section. The Cisco Spark Channel page is displayed.
 - In a new browser tab, sign in to your Cisco Spark for Developers account, and then click My Apps. The My Apps page is displayed.
- To create a new Cisco Spark app, click the Plus
 icon. The New App page is displayed.
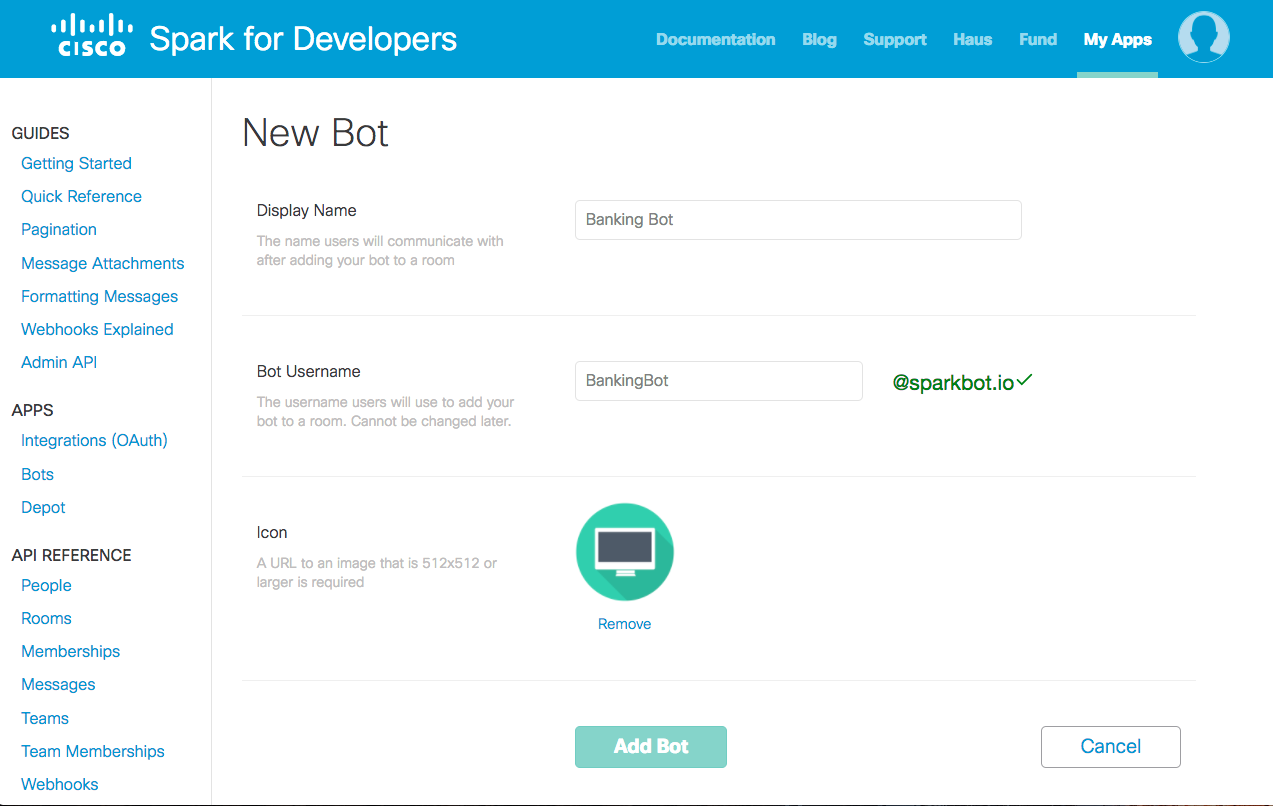
 - In the Bot section, click Create a Bot. The New Bot page is displayed.
- In the Display name field, enter the name of your Bot displayed to end-users, for example, Banking Bot.
- In the Bot Username field, enter the name of the bot used to add the bot to a room, for example, BankingBot. Spaces cannot be used.
- In the Icon field, enter a URL to the Bot icon, for example, http://icons.iconarchive.com/icons/designbolts/free-multimedia/1024/iMac-icon.png.
- Click Add Bot as shown in the following illustration
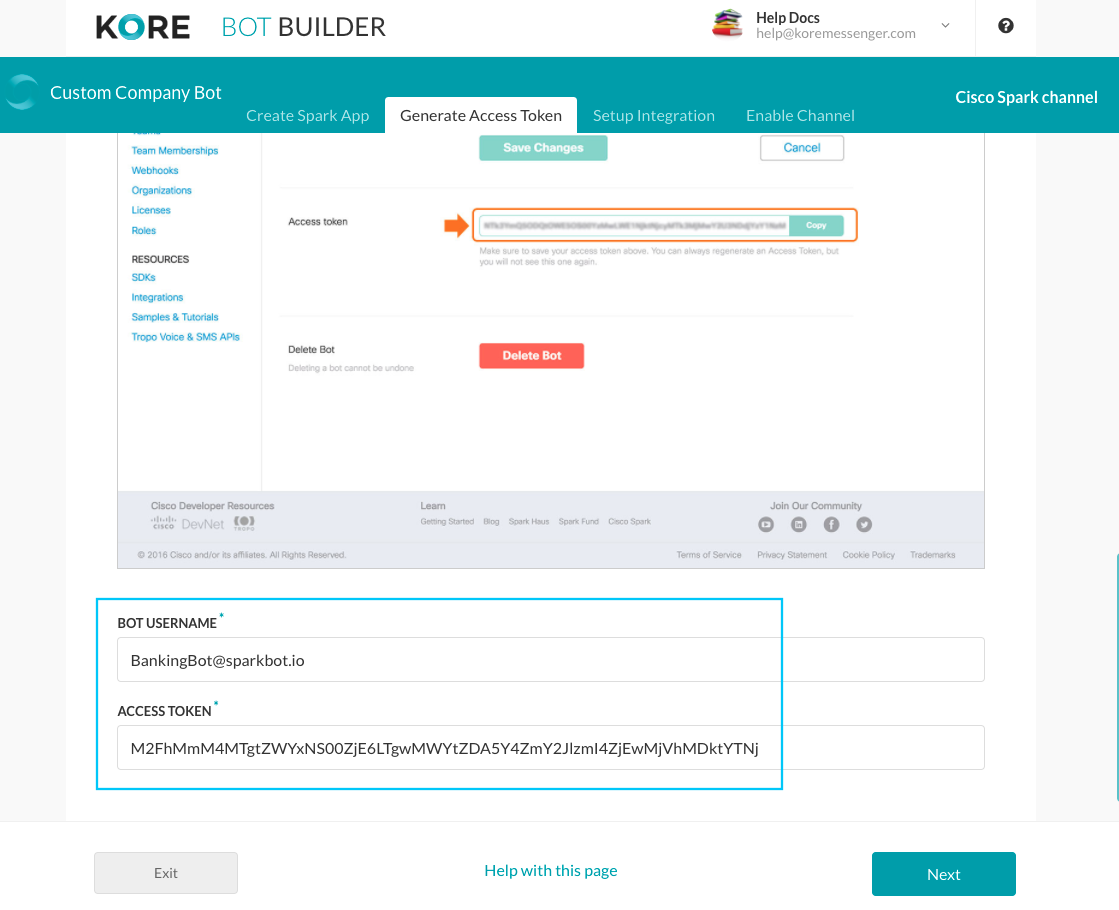
- When the Bot is saved, an Access Token is generated. Copy and paste bot the Access Token and the Bot Username from Spark for Developers to Kore.ai Bot Builder on the Generate Access Token tab for the Cisco Spark Channel as shown in the following illustration.
- In the Cisco Spark for Developers portal, click My Apps, and then click the Plus icon. The New App page is displayed.
- In the Integration section, click Create an Integration. The New Integration page is displayed.
- In the Name field, enter a name for this integration, for example, BankingBotIntegration.
- In the Description field, enter a description for this integration configuration.
- In the Support Email field, enter the email address for end-users to use to ask for support for this integration.
- In the App Icon field, enter the URL of the icon image that you want to use for this integration, for example, http://icons.iconarchive.com/icons/designbolts/free-multimedia/1024/iMac-icon.png.
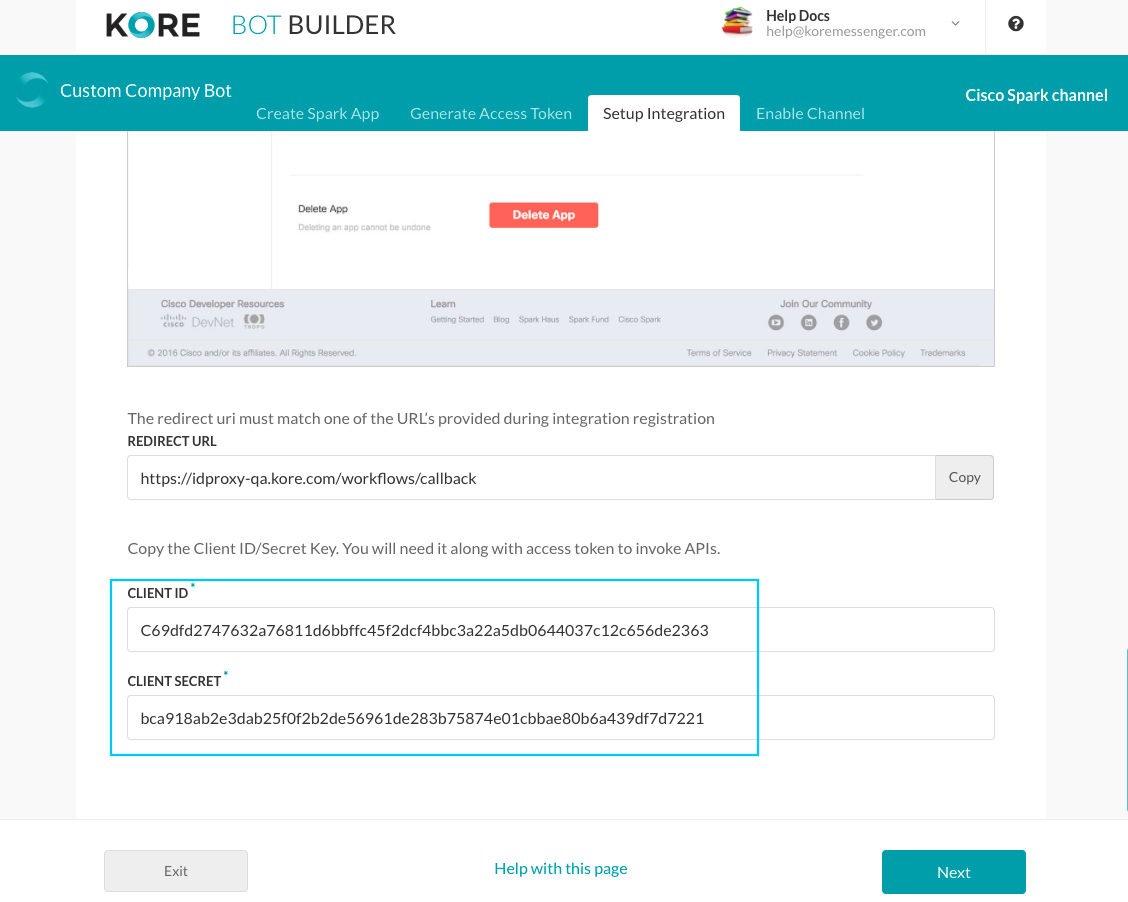
- In the Redirect URIs field, copy and paste the Redirect URL field from Bot Builder Setup Integration tab for the Cisco Spark Channel page, for example, https://idproxy-app.kore.ai/workflows/callback.
- Click Add Integration. The integration settings are saved and the OAuth section with Client ID and Client Secret is displayed.
- Copy the Client ID and Client Secret from the Spark for Developers portal to the Bot Builder Setup Integration tab for the Cisco Spark Channel as shown in the following illustration.
- Click Next. The Enable Channel tab is displayed.
- In the Enable Channel section, click Yes, and then click Save.
- The channel configuration settings are saved and the Cisco Spark Channel page is closed.
Editing the Cisco Spark Channel
To edit the Cisco Spark channel, hover your mouse over the channel to modify, and then click the Settings ![]() icon displayed to show the command menu displayed in the following illustration.
icon displayed to show the command menu displayed in the following illustration.
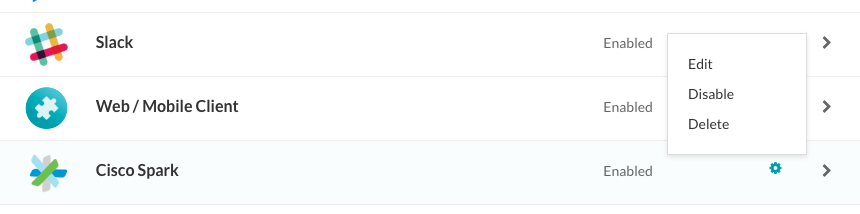
Select one of the following commands to modify the channel:
- Edit – Click to open the Cisco Spark Channel setup page.
- Disable/Enable – Click Disable to temporarily disable use of the Cisco Spark channel for your Bot. When the channel is disabled, click Enable to enable use of the Cisco Spark channel.
- Delete – Click Delete, and then click OK in the Delete Confirmation dialog to permanently delete the Bot channel configuration.
Warning: This operation is permanent, and cannot be undone.