
While you can configure a standard Kore.ai alert to provide an alert message to a user with, for example, a weather report for the day, or daily tide report. But what if the user wants a 3-day or 10-day forecast? That’s a lot of data to push into a single message. With the Kore.ai Bots Platform, you can define a link in your message that can display the weather data in a formatted table that your end-user can retrieve when needed.
The weather info report type can be displayed as a link in a weather alert message as shown in the following illustration for the report called Get 3 Day Forecast.
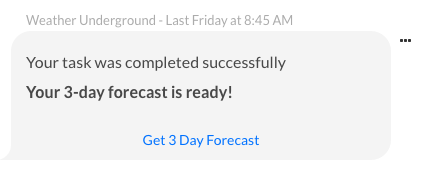
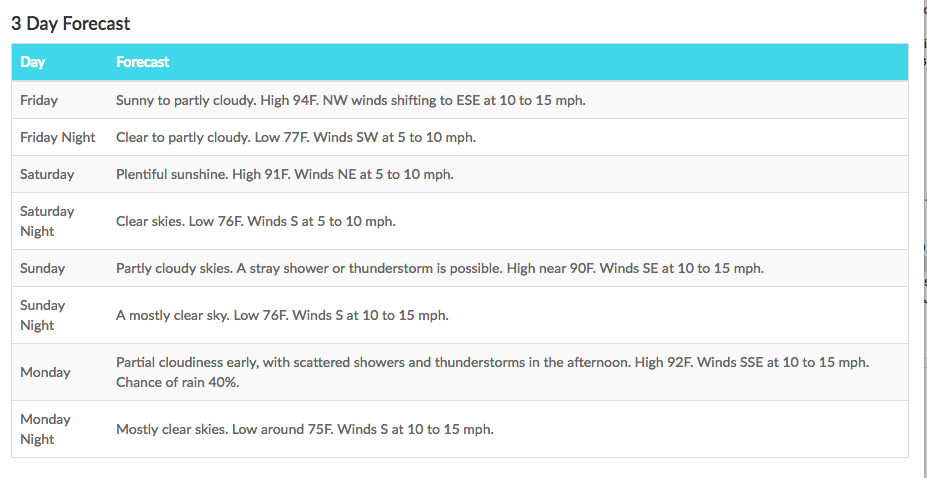
When the user clicks the link in the message, a weather report shows the data for the columns defined with a table header, optional table description, and a header row as shown in the following illustration for the 3 Day Forecast report.
To define a weather info report
To complete the following procedure, you must have already defined a task, such as an alert task, or information task, that you want to add a weather info report link to. Complete the steps in the following procedure to define a weather info report with variable width columns.
- In Bot Builder, select the task for the Bot that you want to add a weather report link to.
Note: Only unpublished tasks can be modified.
- Click the Settings
 icon, and then click Edit.
 - On the Bot Response tab for the task that you want to add a weather info report to, click the Expand
 icon for the Report Template Definition section.
 - In the Link Title field, enter the link text to display to the end-user in the task post, for example, Get 3 Day Forecast.
- In the Header field, enter the title of the report to display when the weather info report is displayed to the end-user.
- In the Details field, optionally enter any end-user help information displayed directly below the Header in the report, for example, Here are the description details for the My Weather Report 3-day Forecast report.
- In the Template drop-down list, select Weather Info.
- Click Edit Template. The Table Configuration dialog is displayed.
- Click Add Column. The Column Configuration dialog is displayed as shown in the following illustration.
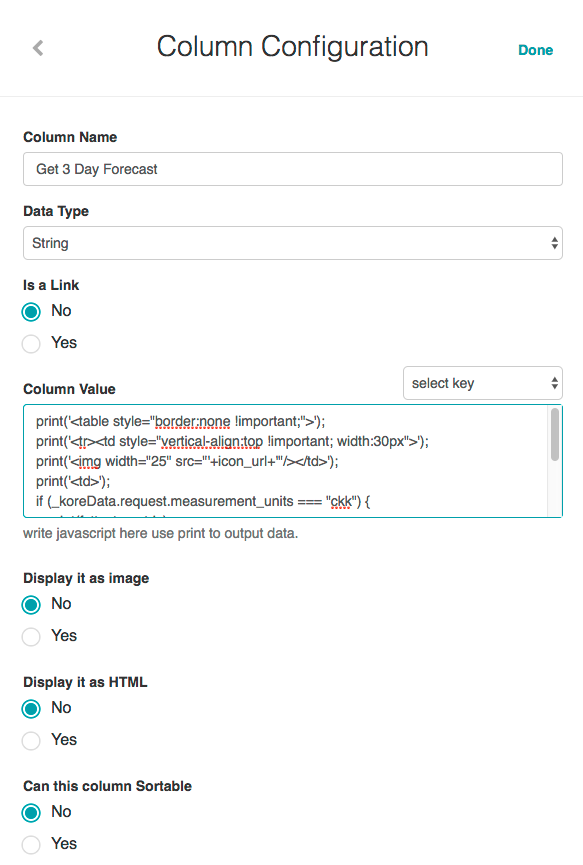
- In the Column Name field, enter the first column title, for example, Get 3 Day Forecast.
- In the Data Type field, select one of the following data types for the information displayed in the column:
- String
- Number
- Date
- Enable Is a link if the data in the column is a hyperlink. When enabled:
- In the Link Label field, enter the JavaScript to display the text for the link, for example,
print(Name);. - In the URL Value field, enter the JavaScript to display the data to output when the Link Label is clicked, for example,
print("https://login.salesforce.com/" + Id);
- In the Link Label field, enter the JavaScript to display the text for the link, for example,
- If Is a link is not enabled, then enter the JavaScript to display the value for the column, for example,
print(StageName);. - In the Display it as an image section, select Yes if the column value is an image.
- In the Display it as HTML section, select Yes if the column value contains HTML content.
- In the Is this column Sortable section, select Yes if the end-user should be able to sort the column.
- Click Done. The Table Configuration dialog is displayed with the new column added as shown in the following illustration.
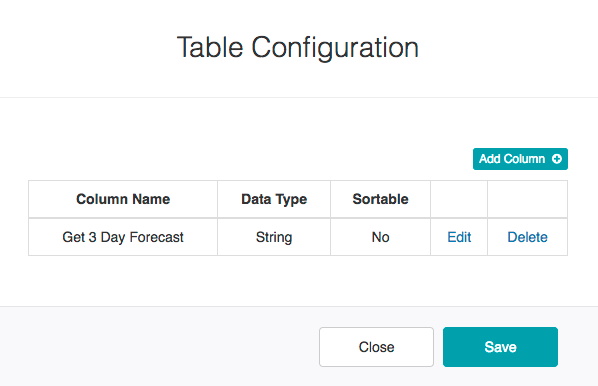
- Repeat Steps 9 – 17 for each additional column in the report, click Save to save the column configurations, and then click Close.
- In the Report Template Definition section, click Save to save the weather info report
The weather info report is saved Successfully saved response data message is displayed at the top of the page.