
To add the Microsoft Teams channel to your Bot, you will need to create a Bot in Microsoft Bot Framework account to configure the connection between Microsoft Teams and Kore.ai. To add the Microsoft Teams channel to your Bot, you will need to:
- Register the Bot – You will need to create a Bot in Microsoft Bot Framework by adding all the Bot details and creating the App ID and Password. To register the Bot, you must have created and registered for a free account in the Microsoft Bot Framework developer portal.
- Enable Channel – After registering the Bot, you need to enable the channel.
- Publish Channel – After the channel is enabled and all configurations are verified, you can optionally publish the Bot to make the Bot available for developers.
Register the Bot with Microsoft Teams channel
To set up Microsoft Teams as a channel, you need to register a Bot Channel service in Azure and enable a webhook for the platform to receive messages.
You would need an active subscription to Azure services with admin access to subscribe for a new Aure service
Register a Bot Channel
- Login to Microsoft Bot Framework portal.
- Click on ‘+ Create a resource’ from the portal menu.
- Search and select ‘Bot Channels Registration’ from the search window.
- Click on the ‘Create’ button and proceed to the next screen to enter the details.
- Enter all the required details for registering the bot channel.
- Copy the ‘Webhook URL’ from the ‘Configurations’ tab of this page and provide it in the ‘Messaging endpoint’ field
App Association
The Bot Channel Regsitration should be associated with a Microsoft App ID and Password. You may choose to go with the default option of ‘Auto create App Id and password’ if you would like your bot to available for multiple tenants or users outside of your Azure domain. You may also choose to create your own App ID and password and define who would be eligible to access your bot. Please follow the instructions available here for more details.
- Click on ‘Create’ to complete the registration.
- Post successful creation, you would be redirected to the Dashboard of your Azure account.
Configure App Id and Password
From your Azure Dashboard, select the resource that you have created in the previous steps. You would be redirected to the details page of the new resource that you have created.
- Click on ‘Settings’ option from the left menu and then click on the ‘Manage’ option next to the ‘Microsoft App ID’ field.
- You would now be navigated to the ‘Certificates and secrets’ section.
- Click on the ‘+ New client secret’ option, provide the necessary details, and click on the ‘Add’ option to create a new client secret.
- Copy the ‘Value’ of the new client secret and provide it in the ‘App Password’ field present in the Configurations tab of this window.
- Close the ‘Certificates and secrets’ section to return the ‘Settings’ section.
- Make a note of the ‘App Id’ present in the ’Settings’ page and enter in the ‘Configuration’ tab of this window.
- Click on the ‘Save’ option to save your changes.
Enable Microsoft Teams Channel
- Proceed to the ‘Channels’ option from the menu and select the ‘MS Teams’ channel.
- You will be redirected to the channel information page. Review the information and click on the ‘Save’ option to complete the channel setup.
Capture Tenant Id or Primary Domain (Optional)
- Proceed to the ‘Azure Active Directory’ option from the left menu.
- Capture the ‘Tenant Id’ or ‘Primary Domain’ from the ‘Domain Information’ and provide it in the Configurations tab of this page. This field should be provided only if you have configured your Microsoft App to be a tenant-specific app and would like to make your bot available only for the users in your tenant. Refer here for more details.
- Navigate to the ‘Configurations’ tab of this page to review and enable Microsoft Teams channel for your bot.
To Enable Microsoft Teams channel
- In the Bots section of the Bot Builder, click the Bot that you want to add the Microsoft Teams channel to.
- On the Channels tab, click the Microsoft Teams icon. The Microsoft Teams channel page gets displayed.
- Navigate to the Configuration tab of the Microsoft Teams channel page to update or review the app configurations and enable the channel.
Editing the Microsoft Teams Channel
To edit the Microsoft teams channel, hover your mouse over the channel and click to modify. You can make necessary updates to your channel configurations and save them. You may also disable or delete the channel information by clicking the Settings icon.
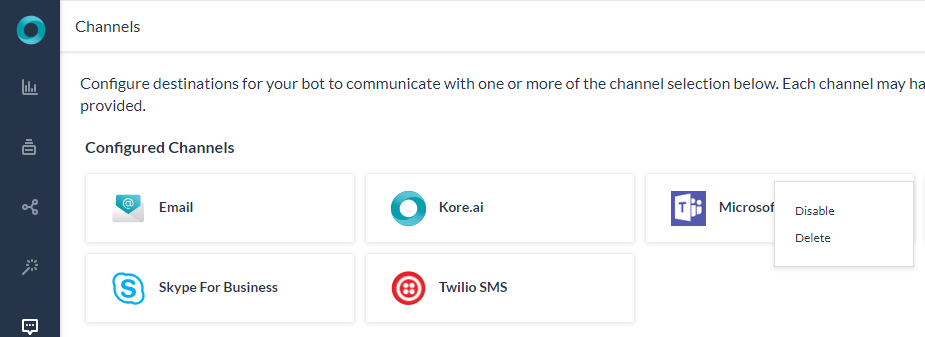
Select one of the following commands to modify the channel:
- Disable/Enable – Click Disable to temporarily disable use of the Microsoft teams channel for your Bot.To enable use of the Microsoft teams channel, Click Enable.
- Delete – Click Delete, and then click OK in the Delete Confirmation dialog to permanently delete the Bot channel configuration.