
In this How-To, we will explore a scenario in a Banking Bot, where Bot Functions can be used to reuse a piece of functionality. We will see how the expenditure report can be programmed as a function and can be used for both Savings Account and Credit Card.
For details on what Bot Functions are and how they are implemented in the Kore.ai Bots platform, refer here.
Problem Statement
In our Banking Bot, we have a reporting task:
- Monthtly Statement which gives the monthly balance amounts for a given Account number.
- Credit Card Statement gives an overview of the expenses for a given Credit Card.
- Both the reports are presented as pie chart and the input in both the cases is an array with month, amount values.
In this document, we will see how Bot Function can be used to avoid duplication of coding effort and ensure uniform presentation.
Pre-requisites
- Bot building knowledge
- A working bot. We will be using the Banking Bot from here.
- Following is the Script file with two functions using the message templates to display the data (see here for more on message templates):
- tableTemplate – takes an two-dimensional array and displays the content in a tabular format
- pieTemplate – takes an two-dimensional array and displays the content in a pie format
Copy the following content and save it as a .js file (say, functionEX.js)
function tableTemplate(data){
 var message = {
   "type": "template",
   "payload": {
   "template_type": "mini_table",
   "layout": "vertical",
   "text":"Monthly Balance Statement",
   "elements": []
  }
 };
 for (i=0; i < data.length; i++) {
   var j=0;
   var element = {
     "primary":[[data[i][j]],[data[i][j+1],"right"]],
     "additional":[[data[i][j+2],data[i][j+3]],[data[i][j+4],data[i][j+5]]]
   };
 message.payload.elements.push(element);
 }
 return JSON.stringify(message);
};

function pieTemplate(data){
  var message = {
   "type": "template",
   "payload": {
   "template_type": "piechart",
   "pie_type": "regular",
   "text": "Monthly Expense Report",
   "elements": []
   }
  };
 for (i=0; i < data.length; i++) {
  var element = {
   "title": data[i][0],
   "value": data[i][1]
   };
  message.payload.elements.push(element);
 }
 return JSON.stringify(message);
};
Implementation
- Open the Banking Bot
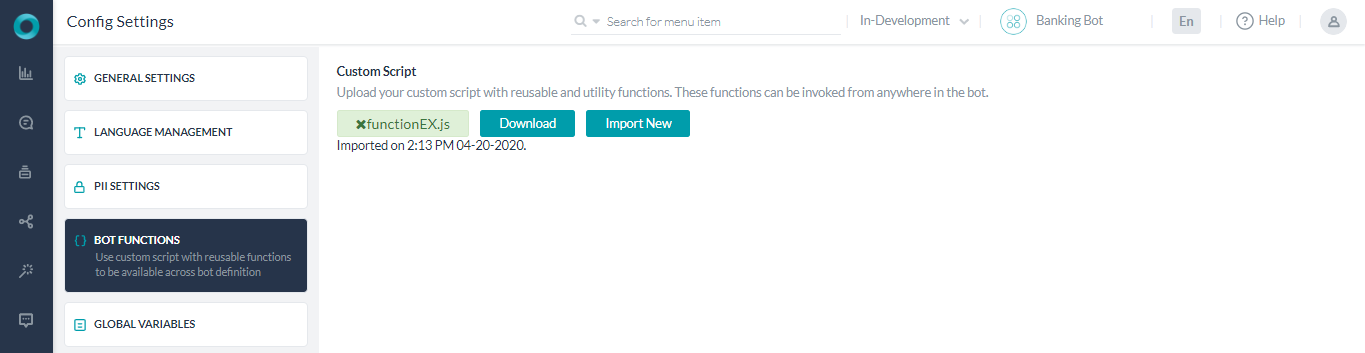
- From Settings -> Config Settings select Bot Functions section.
- Click Import to open the Import Custom Script window.
- Drag and drop or Browse the script file that you saved from the Pre-requisites section and click Import.
- Once the success message is displayed click Done.
- Your Script file is ready to use.
- Open the Bot Tasks page and create a New Dialog Task called “Monthly Statement”.
- Add entities to capture the Account Number and Account Type.
- Ideally, there would be a service call to fetch the monthly balance details. Here we will use static values for demonstration purposes.
- Add a Script node and enter the following – we are declaring an array carrying the balances for the months of January, February and March:
context.monthlyBal = [["Jan",100],["Feb",200],["Mar", 300]]; - Add a Message node to send this data to the Bot Function declared earlier and get the report.
- From Bot Responses section, click Manage Responses
- Add Bot Response, select Web/Mobile Client as the Channel, switch to JavaScript tab and enter the following code to display the values in a tabular format:
var info = context.monthlyBal;

print(tableTemplate(info));
- Add another Message node to send this data to the Bot Function declared earlier and get the report.
- From Bot Responses section, click Manage Responses
- Add Bot Response, select Web/Mobile Client as the Channel, switch to JavaScript tab and enter the following code to display the values in a pie chart:
var info = context.monthlyBal;

print(pieTemplate(info));
- Close the dialog task and return to the Bot Tasks page
- Create a New Dialog Task called “Credit Card Statement”.
- Add entities to capture the Account Number.
- Ideally, there would be a service call to fetch the monthly expenditure values. Here we will use static values for demonstration purposes.
- Add a Script node and enter the following – we are declaring an array carrying the expenditure values for all the months:
context.monthlyExpenses = [["Jan",100],["Feb",200],["Mar", 300],["Apr",100],["May",400],["June", 500],["Jul",100],["Aug",200],["Sept", 300],["Oct",100],["Nov",100],["Dec", 300]]; - Add a Message node to send this data to the Bot Function declared earlier and get the report.
- From Bot Responses section, click Manage Responses
- Add Bot Response, select Web/Mobile Client as the Channel, switch to JavaScript tab and enter the following code to display the values in a pie chart. As you can see we are using the same function that was invoked in the previous dialog task.
var info = context.monthlyExpenses;

print(pieTemplate(info));
- Close the Dialog Task
- Talk to Bot and try both the dialogs. Thus we have used the same function to display the reports in multiple places.

