OVERVIEW
Virtual Assistants
Kore.ai Platform
Key Concepts
Natural Language Processing (NLP)
Accessing Platform
VIRTUAL ASSISTANTS
Virtual Assistant Builder
Virtual Assistant Types
Getting Started
Creating a Simple Bot
SKILLS
Storyboard
Dialog Task
Introduction
Dialog Builder (New)
Dialog Builder (Legacy)
User Intent Node
Dialog Node
Entity Node
Supported Entity Types
Composite Entities
Supported Colors
Supported Company Names
Form Node
Logic Node
Message Nodes
Confirmation Nodes
Bot Action Node
Service Node
Custom Authentication
2-way SSL for Service nodes
Script Node
Agent Transfer Node
WebHook Node
Grouping Nodes
Connections & Transitions
Manage Dialogs
User Prompts
Knowledge Graph
Terminology
Building
Generation
Importing and Exporting
Analysis
Knowledge Extraction
Build
Alert Tasks
Introduction
Ignore Words and Field Memory
How to Schedule a Smart Alert
Small Talk
Digital Views
Overview
Configuring Digital Views
Digital Forms
Overview
How to Configure Digital Forms
NATURAL LANGUAGE
Overview
Machine Learning
Introduction
Model Validation
Fundamental Meaning
Introduction
NLP Guidelines
Knowledge Graph
Traits
Introduction
How to Use Traits
Ranking and Resolver
Advanced NLP Configurations
INTELLIGENCE
Overview
Context Management
Overview
Session and Context Variables
Context Object
How to Manage Context Switching
Manage Interruptions
Dialog Management
Sub-Intents & Follow-up Intents
Amend Entity
Multi-Intent Detection
Sentiment Management
Tone Analysis
Sentiment Management
Event Based Bot Actions
Default Conversations
Default Standard Responses
TEST & DEBUG
Talk to Bot
Utterance Testing
Batch Testing
Conversation Testing
CHANNELS
PUBLISH
ANALYZE
Overview
Dashboard
Custom Dashboard
Overview
How to Create Custom Dashboard
Conversation Flows
NLP Metrics
ADVANCED TOPICS
Universal Bots
Overview
Defining
Creating
Training
Customizing
Enabling Languages
Store
Smart Bots
Defining
koreUtil Libraries
SETTINGS
Authorization
Language Management
PII Settings
Variables
Functions
IVR Integration
General Settings
Management
Import & Export
Delete
Versioning
Collaborative Development
PLAN & USAGE
Overview
Usage Plans
Support Plans
Invoices
API GUIDE
API Overview
API List
API Collection
SDKs
SDK Overview
SDK Security
SDK App Registration
Web SDK Tutorial
Message Formatting and Templates
Mobile SDK Push Notification
Widget SDK Tutorial
Widget SDK – Message Formatting and Templates
Web Socket Connect & RTM
Using the BotKit SDK
Installing
Configuring
Events
Functions
BotKit SDK Tutorial – Agent Transfer
BotKit SDK Tutorial – Flight Search Sample Bot
Using an External NLP Engine
ADMINISTRATION
HOW TOs
Creating a Simple Bot
Creating a Banking Bot
Context Switching
Using Traits
Schedule a Smart Alert
Configure UI Forms
Add Form Data into Data Tables
Configuring Digital Views
Add Data to Data Tables
Update Data in Data Tables
Custom Dashboard
Custom Tags to filter Bot Metrics
Patterns for Intents & Entities
Build Knowledge Graph
Global Variables
Content Variables
Using Bot Functions
Configure Agent Transfer
Update Balance Task
Transfer Funds Task
RELEASE NOTES
  1. ホーム
  2. Docs
  3. Virtual Assistants
  4. Advanced Topics
  5. 共同開発

共同開発

Kore.aiでは、ドメイン間のボットの共有が可能です。自分のボットを1人以上の同一企業または異なる企業の開発者と共有し、共有されたボットのタスク、チャネル、その他の設定を編集することができます。

ボットの共有

共同開発者とボットを共有するには、ボットビルダーから行う方法と、(アカウント管理者として)ボット管理コンソールから行う方法があります。

ボットビルダーから

  1. 他のボット開発者とボットを共有するには、ボットビルダーにログオンし、共有したいボットを選択します。
  2. 設定 > ボット管理から開発者を管理セクションに移動して、ボットに開発者を追加します。注意:v6.4のリリース後は、「ボット管理者」権限を有する開発者が、新しい開発者を招待できるようになります。
  3. ページの右側にある招待ボタンをクリックします。開発者の名前を入力すると、開発者一覧のドロップダウンが表示され、その中から選択することができます。一度に複数の開発者を追加することができます。
  4. 開発者を割り当てたいグループを選択し、役割を選択します。
  5. 招待を選択して確認し、ボットを追加して1人以上の開発者と共有します。
  6. ダッシュボードの開発者をアカウントに招待オプションを使用して、ユーザーをアカウントに追加することもできます。注意:このオプションは、v6.4リリース以降利用可能です。

ボットの共有設定を変更する

ボットビルダーでは、ボットを扱う開発者を管理することができます。各開発者の設定(歯車)アイコンから、以下のことができます。

  • 削除 – 選択された開発者のボットを削除します。開発者は即座にボットへのアクセス権限を失います。
  • ボット所有者への昇格 – クリックして選択された開発者をボット所有者に変更します。選択されると、即座にボット所有者から削除され、このボットの開発者を追加または管理することができなくなります。
注意: ボットの共有に関する設定は、ボット所有者のみが変更できます。

ボット管理コンソールから

ボットを開発者またはその他のユーザーと共有するには、新しい開発者を招待する権限がない場合、ボット管理者が開発者に招待を送信し、ボット開発者のアクセス権を割り当てることが不可欠です。アカウント管理者がユーザーを追加する手順は以下の通りです。

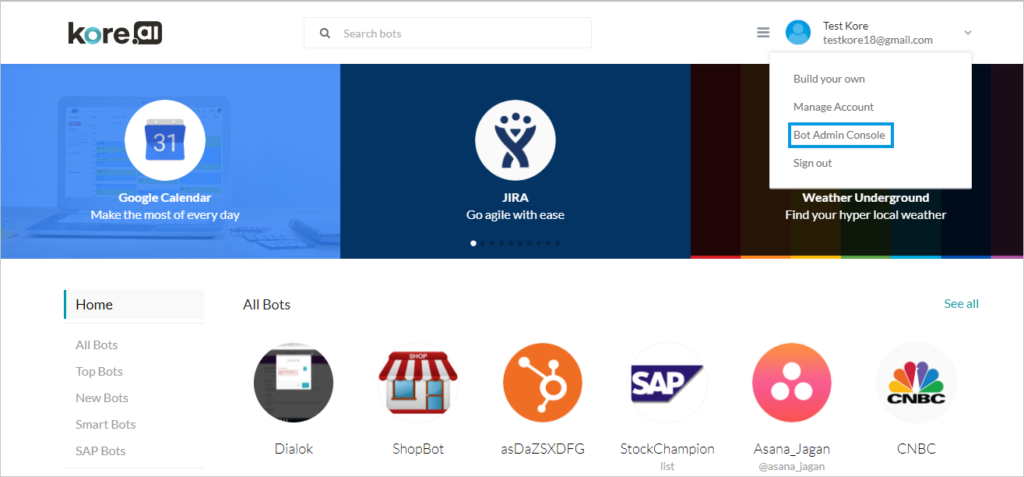
  1. https://bots.kore.ai/にログオンし、「ボット管理コンソール」を選択します。管理者アカウントへのログイン/再ログインを求められる場合があります。
  2. ボットの管理セクションで、ユーザー管理セクションに移動し、ユーザーを選択します。
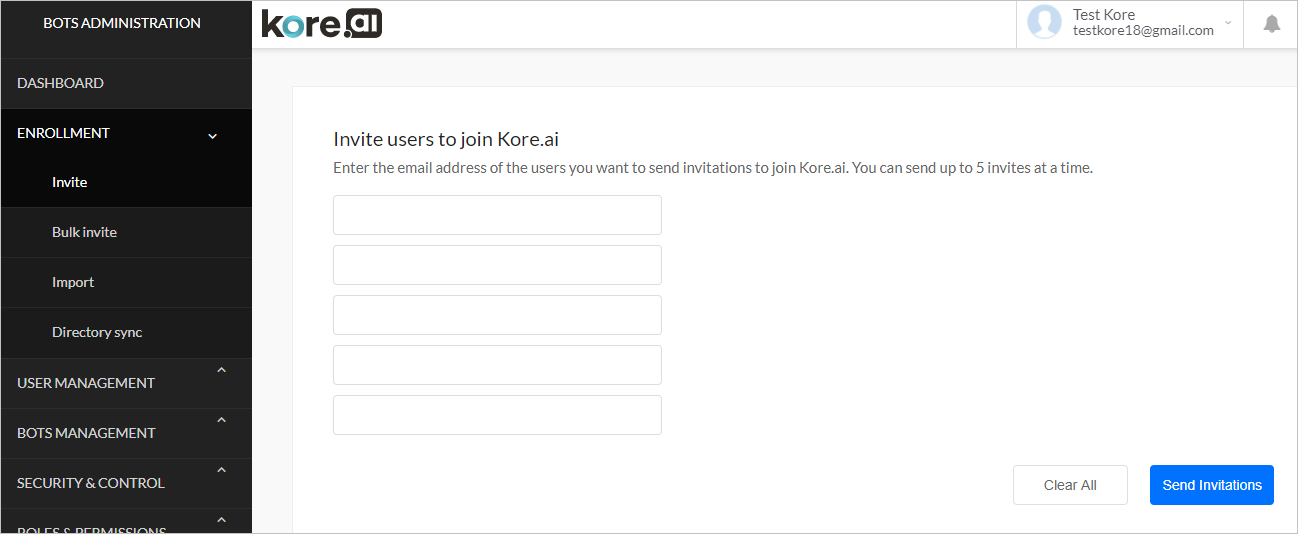
  3. 右側のナビゲーションからユーザー管理 > ユーザーセクションに進んで新しいユーザーを招待をクリックするか、登録 > 招待セクションに進みます。ユーザーの招待ページが表示されます。
  4. エンタープライズアカウントへの招待を送信したいユーザーのメールアドレスを入力します。一度に招待できるユーザー数は最大5名です。招待を送信をクリックします。
  5. 招待を受信した側がボットユーザーとしてアクセス権を得るには、ボット管理者から送信された招待を承認しなければなりません。招待が承認されると、そのユーザー名はエンタープライズアカウントのボットユーザー一覧に反映されます。

ボットビルダーへのアクセス権を割り当てる

ボット管理コンソールからユーザープロファイルの設定を変更することで、ボットのユーザー設定を変更することができます。設定を変更したいボットユーザーをダブルクリックすると、管理者およびボットビルダーへのアクセス権などのロールを設定することができます。詳細はこちらをご確認ください

共有ボットの操作

タスク、チャネル、またはフローが要求されると、30分後、あるいはタスクやチャネル、フローの編集モードを終了したときのいずれか早い時点でロックが無効になります。25分が経過した時点で、必要に応じてロックを継続するかどうかを尋ねられます。30分が経過する前にロックを継続しなかった場合、変更内容が自動的に保存され、編集モードが終了し、要求のロックが解除されます。要求されている共有タスク、チャネル、フローを編集しようとすると、「申し訳ありません。ボットは現在<Developer Name>に編集されています。」というメッセージが表示されます。ボット所有者と、ボットを共有されている開発者のみが、タスク、チャネル、フローにアクセスおよび編集することができます。

メニュー
Kore.ai Named a Leader in 2022 Gartner® Magic Quadrant™ for Enterprise Conversational AI PlatformsGet the Report