OVERVIEW
Virtual Assistants
Kore.ai Platform
Key Concepts
Natural Language Processing (NLP)
Accessing Platform
VIRTUAL ASSISTANTS
Virtual Assistant Builder
Virtual Assistant Types
Getting Started
Creating a Simple Bot
SKILLS
Storyboard
Dialog Task
Introduction
Dialog Builder (New)
Dialog Builder (Legacy)
User Intent Node
Dialog Node
Entity Node
Supported Entity Types
Composite Entities
Supported Colors
Supported Company Names
Form Node
Logic Node
Message Nodes
Confirmation Nodes
Bot Action Node
Service Node
Custom Authentication
2-way SSL for Service nodes
Script Node
Agent Transfer Node
WebHook Node
Grouping Nodes
Connections & Transitions
Manage Dialogs
User Prompts
Knowledge Graph
Terminology
Building
Generation
Importing and Exporting
Analysis
Knowledge Extraction
Build
Alert Tasks
Introduction
Ignore Words and Field Memory
How to Schedule a Smart Alert
Small Talk
Digital Views
Overview
Configuring Digital Views
Digital Forms
Overview
How to Configure Digital Forms
NATURAL LANGUAGE
Overview
Machine Learning
Introduction
Model Validation
Fundamental Meaning
Introduction
NLP Guidelines
Knowledge Graph
Traits
Introduction
How to Use Traits
Ranking and Resolver
Advanced NLP Configurations
INTELLIGENCE
Overview
Context Management
Overview
Session and Context Variables
Context Object
How to Manage Context Switching
Manage Interruptions
Dialog Management
Sub-Intents & Follow-up Intents
Amend Entity
Multi-Intent Detection
Sentiment Management
Tone Analysis
Sentiment Management
Event Based Bot Actions
Default Conversations
Default Standard Responses
TEST & DEBUG
Talk to Bot
Utterance Testing
Batch Testing
Conversation Testing
CHANNELS
PUBLISH
ANALYZE
Overview
Dashboard
Custom Dashboard
Overview
How to Create Custom Dashboard
Conversation Flows
NLP Metrics
ADVANCED TOPICS
Universal Bots
Overview
Defining
Creating
Training
Customizing
Enabling Languages
Store
Smart Bots
Defining
koreUtil Libraries
SETTINGS
Authorization
Language Management
PII Settings
Variables
Functions
IVR Integration
General Settings
Management
Import & Export
Delete
Versioning
Collaborative Development
PLAN & USAGE
Overview
Usage Plans
Support Plans
Invoices
API GUIDE
API Overview
API List
API Collection
SDKs
SDK Overview
SDK Security
SDK App Registration
Web SDK Tutorial
Message Formatting and Templates
Mobile SDK Push Notification
Widget SDK Tutorial
Widget SDK – Message Formatting and Templates
Web Socket Connect & RTM
Using the BotKit SDK
Installing
Configuring
Events
Functions
BotKit SDK Tutorial – Agent Transfer
BotKit SDK Tutorial – Flight Search Sample Bot
Using an External NLP Engine
ADMINISTRATION
HOW TOs
Creating a Simple Bot
Creating a Banking Bot
Context Switching
Using Traits
Schedule a Smart Alert
Configure UI Forms
Add Form Data into Data Tables
Configuring Digital Views
Add Data to Data Tables
Update Data in Data Tables
Custom Dashboard
Custom Tags to filter Bot Metrics
Patterns for Intents & Entities
Build Knowledge Graph
Global Variables
Content Variables
Using Bot Functions
Configure Agent Transfer
Update Balance Task
Transfer Funds Task
RELEASE NOTES
  1. ホーム
  2. Docs
  3. Virtual Assistants
  4. Bot Settings
  5. 一般設定

一般設定

ボットの基本設定を変更するには、ボットのサイドナビゲーションパネルにカーソルを合わせ、設定 > 環境設定 をクリックします。デフォルトでは 基本設定 タブが開きます。

一般的なボットの設定

次の表に記載されている1つ以上の設定を変更します。

フィールド 説明
ボット 名 自分のウェブサービスのボット など、下図のタイトルバーに表示されているボットの名前として、ボットストアに表示されているボットの名前です。ボットの公開中は、名前 は変更できません。このフィールドは必須です。
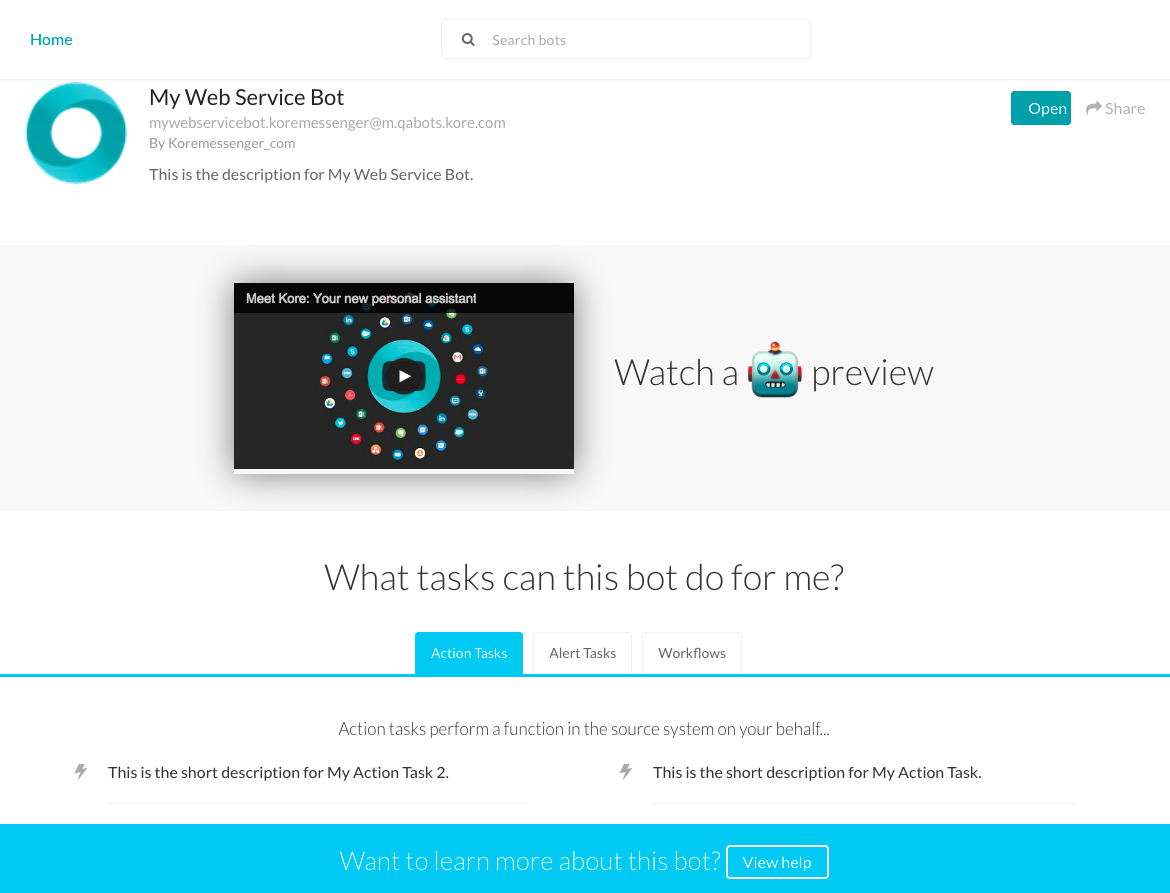
 ボットストアのボット
説明 「これは自分のウェブサービスのボットの説明です。」など、前の図に示すように、ボットビルダーやボットストアに表示されるボットの説明ですは必須です。このフィールドは必須です。
アイコン ボットビルダー、ボットマーケットプレイス、およびエンドユーザーインターフェイスに表示されるボットのアイコン画像です。画像の形式は.pngで、200×200ピクセルの画像を使用すると最良の結果が得られます。このフィールドは必須です。このフィールドは必須です。
ターゲットオーディエンス
  • ドメイン内の管理対象ユーザーと非管理対象ユーザーの両方にボットを公開する場合は、一般公開 を選択します。ボットの割り当ては必要なく、ボット管理者がボットをデプロイすると、ドメインユーザー全員が使用できるようになります。あらゆるユーザータイプがボットを利用できるようにするには、このオプションを使用します。
  • 従業員や支払い実績のある顧客など、ドメイン内の管理対象ユーザーのみを対象としたボットの場合は、エンタープライズユーザー を選択します。ボット管理者がこのボットを承認してデプロイした後は、ボット管理者が明示的に割り当てを行わない限り、管理対象ユーザーはこのボットを利用することはできません。ドメイン内のどの管理対象ユーザーがそれぞれのデバイスでこのボットにアクセスしたり設定を行ったりできるかを制御したい場合は、こちらのオプションを使用します。

一度定義して保存した ターゲットオーディエンス は、変更することができません。

デフォルトのボット言語 これは編集不可能で、ボット作成時に設定されます。
ボットID 編集不可能で、プラットフォームによって割り当てられます。コピーしてAPIコールなどで使用することができます。
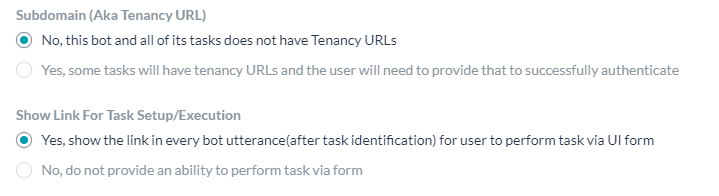
サブドメイン(テナント) テナントの使用を有効にするには、はい をクリックします。テナントが定義されると、エンドユーザーはボットのURLの一部としてテナント名を入力するよう促されます(例:www.kore.someWebService.comテナント固有のURLにおけるkore)。有効化されたら、以下のプロパティを定義します。

  • ヘルプヒント – ユーザーにボットのテナント固有のURLを入力するよう促すためにエンドユーザーに表示されるテキストです。
  • ベースURL – エンドユーザーが、https://{tenant}.someWebService.com(中括弧を含む{tenant}はテナント名を表しますなどの構文を使用してテナント固有のURLを完成させるために会社を指定する必要がある、ボットのベースURLです。下図は、設定されたサブドメインの一例です。 ボットのテナント
タスクのセットアップ/実行のリンクを表示
  • はいを選択してリンクを表示し、ユーザーがタスクの実行に使用する情報をユーザーインターフェイスフォームに入力するか、データをメッセージ入力フィールドに直接入力するかを選択できるようにします。例えば、新しいAsanaタスクのタイトルを入力してください。編集するには、こちらをクリックしてください。」(「こちらは、フィールドを含むフォームへのリンクです)などです。
  • いいえを選択した場合、ユーザーはメッセージ入力フィールドにタスクの情報のみを入力できます。 たとえば、「新しいAsanaタスクのタイトルを入力してください。」などです。
エラーメッセージ ボット用のカスタムHTTPステータスコードとエラーメッセージを編集または追加します。詳細はエラーメッセージのカスタマイズをご確認ください。

ボットの設定を保存するには、保存をクリックします。「ボット名<は正常に更新されました」のメッセージが表示されます。

メニュー
Kore.ai Named a Leader in 2022 Gartner® Magic Quadrant™ for Enterprise Conversational AI PlatformsGet the Report