For some Alert tasks, as seen here, you can define the look and feel of the data presented to the end-user when the alert is displayed based on the payload delivered by the webhook.
Defining the Message Definition
You can define two kinds of bot responses for a task:
- The default for all channels: Author the default title and message response for all channels based on the payload response from the API request and any processors defined. You can create a mixture of data from the response object along with your own inputs, a set of Variable Keys derived from the Kore.ai system, custom variables, and the response sample. The message is displayed as a message, usually as a well-formed HTML message that contains one or more variables, such as the ID number or subject, from the request object data.
- Channel-specific response: You can also customize a Bot response message for specific channels, for example, Facebook Messenger, Skype, SMS, or Web/Mobile SDK, along with applying predefined message templates (tables, lists, graphs, etc.) for selected channels.
Message Definition Editor Features
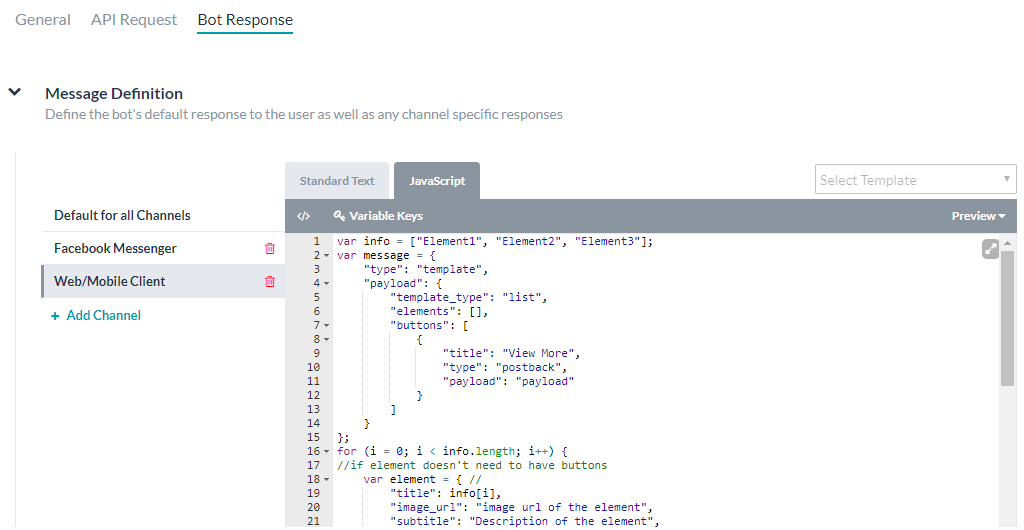
To open the editor for your Action task, go to Bot Response > Message Definition. The Message Definition editor uses three tabs to offer the following features:
- Standard Text: Use basic editor controls and HTML markup, and variable keys to define and format the response. Enter text, and then format it using buttons for bold, italics, header styles, hyperlinks, ordered and unordered lists, and inserting lines.
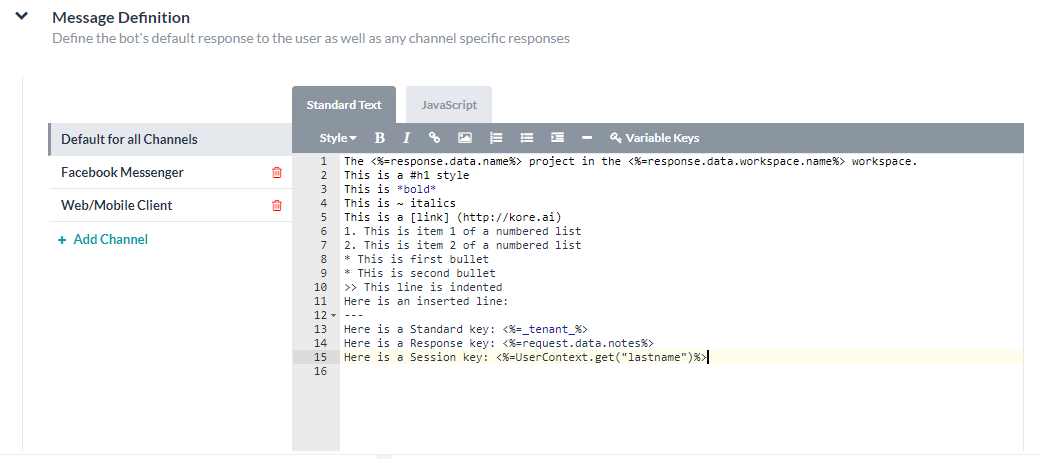
- JavaScript: Add custom code to handle the end-user task response message, declare variables, use variable keys, and interact with third-party applications.
- Preview: View a sample of the rendered output message, with markup, as the bot users see it.
Adding Variable Keys
Follow these steps to add variable keys:
- Whether you are using Standard Text or JavaScript mode, to add a variable key, place the cursor where you want to add the variable and then click Variable Keys.
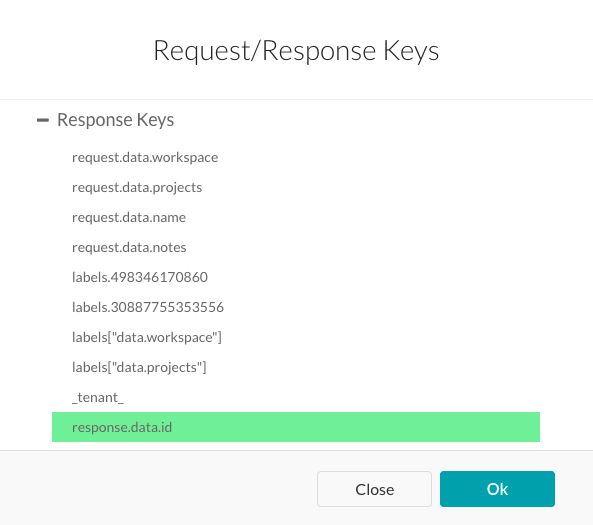
- In the Request/Response Keys dialog, expand the type of key node that contains the variable you want to insert.
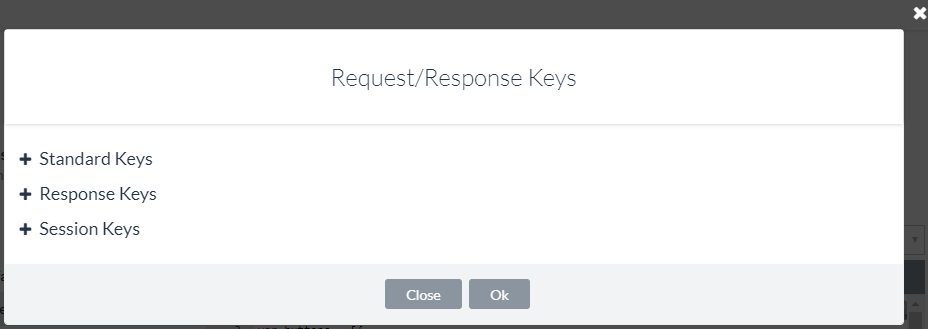
- Select the variable that you want to add, for example,
response.data.idand then click Ok,
Standard Keys
Standard Keys are the following Kore.ai variable placeholders for reusable data.
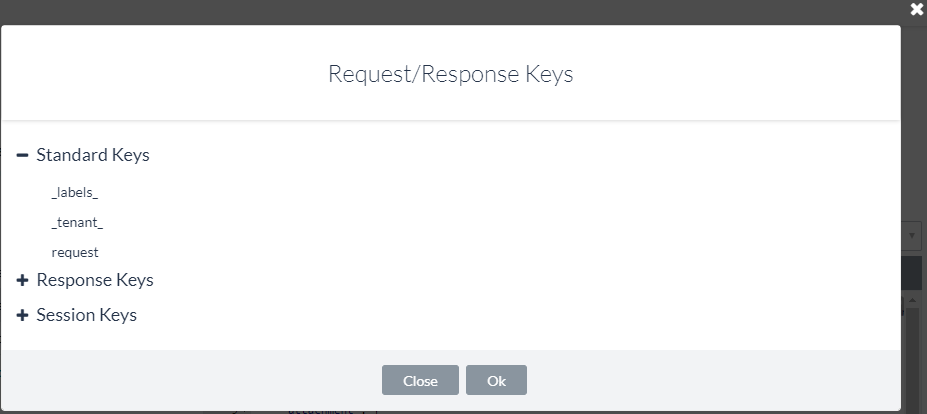
- _labels _: Returns the friendly label in place of a GUID. For example, when user data is requested from a web service API, the ID of a project or workspace returned is a GUID. You can use the
_labels_key to show the user-friendly name of the GUID to the end-user instead of the GUID. In Kore.ai, a drop-down control stores the response for the_labels_key as, for example:{ "_labels_": { "15379386734832": "roadlabs.com", "26377329985341": "Test Project", "workspace": "roadlabs.com", "project": "Test Project" }, "_fields_": { "workspace": "15379386734832", "project": "26377329985341" } } - _tenant_ – Returns the tenant for the enterprise when defined. For example, JIRA requires a tenant for URLs, such as koreteam, in https://koreteam.atlassian.net/browse/BBF-3265. You can use the
_tenant_key to build a link in a task response such as: - _fields_ – Used to return a task field input provided by the end-user that is not part of a payload response. For example, in a JIRA task, the end-user is prompted to enter a workspace name. You can use the
_fields_key to store the end-user input as:_fields_["workspace"]
- _last_run – Used to return the UTC date timestamp of a web service poll using ISO 8601 format, for example, 2016-03-05T12:44:38+00:00. For example, if a web service request returns all activity in a payload response, you can use the
_last_runkey to filter results displayed before or after the value for_last_run
Session Keys
Session Keys are Kore.ai variable placeholders for user data specific to a single session instance.
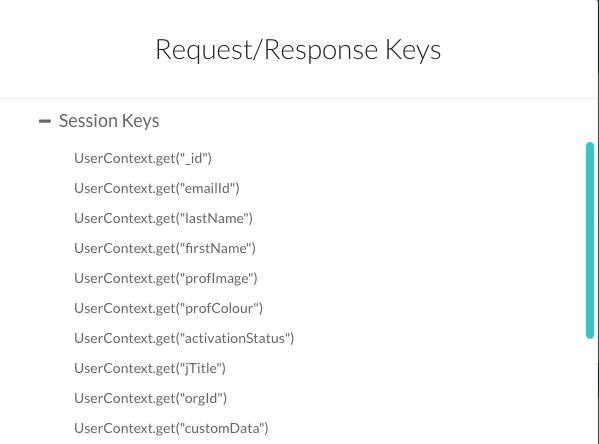
- UserContext.get(“_id”) – The Kore.ai userId.
- UserContext.get(“emailId”) – The email address associated with the userId.
- UserContext.get(“lastName”) – The last name of the user.
- UserContext.get(“firstName”) – The first name of the user.
- UserContext.get(“profImage”) – The image or avatar filename of the user.
- UserContext.get(“profColor”) – The account color for the user.
- UserContext.get(“activationStatus”) – The account status of the user.
- UserContext.get(“jTitle”) – The title of the user, if defined.
- UserContext.get(“orgId”) – The organizational ID of the user account, if defined.
- UserContext.get(“customData”) – A developer defined custom key.
- UserContext.get(“identities”) – Alternate user IDs, if defined.
Additional session keys may be available depending on how the Bot task is defined and the context of keys available for that task. For more information about session and context keys, see Using Session and Context Variables in Tasks.
Response Keys
Response Keys are parsed directly from your Response Sample text in the API Response tab. Response Keys vary depending on the Response Sample defined.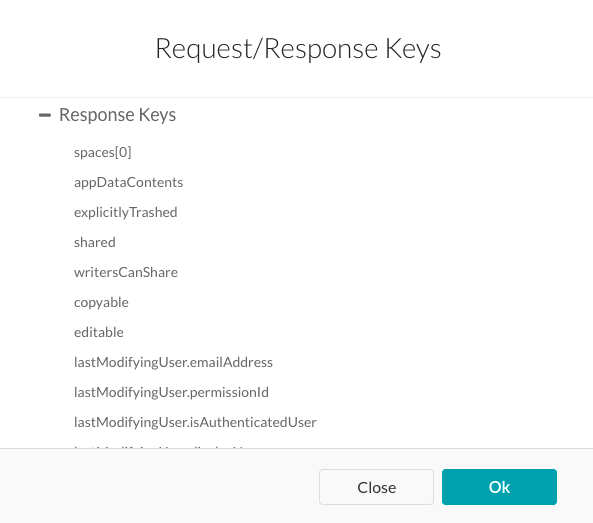
The following list is an example of Response Keys available for an Asana task.
request.data.workspace
request.data.projects
request.data.name
request.data.notes
labels.498346170860
labels.30887755353556
labels["data.workspace"]
labels["data.projects"]
_tenant_
response.data.id
response.data.created_at
response.data.modified_at
response.data.name
response.data.notes
response.data.completed
response.data.assignee_status
response.data.completed_at
response.data.due_on
response.data.due_at
response.data.workspace.id
response.data.workspace.name
response.data.num_hearts
response.data.parent
response.data.followers[0].id
response.data.followers[0].name
response.data.hearted
response.data.assignee
response.data.projects[0].id
response.data.projects[0].name
response.data.memberships[0].project.id
response.data.memberships[0].project.name
response.data.memberships[0].section
Report Keys
Report Keys are Kore.ai variable placeholders that you can use in Report Template Definitions and Bot Responses to show links for additional information in a message that a user can click.
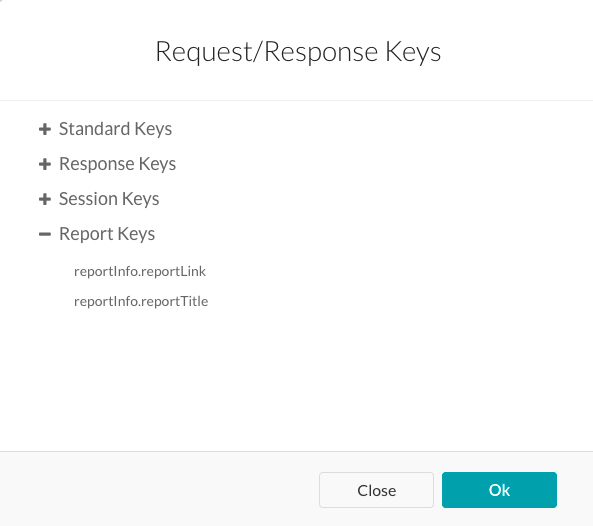
- reportInfo.reportLink – The link defined in the Report Template Definition section for this task.
- reportInfo.reportTitle – The title defined in the Report Template Definition for this task.
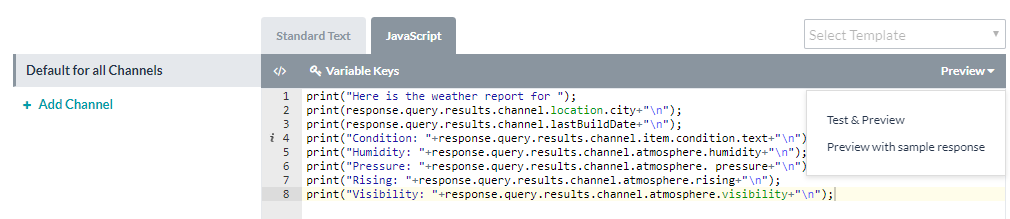
Previewing the Response
On the message editor, click Preview to generate a preview of your response using one of the following options:
- Test & Preview – Opens the task setup page for your Bot to define the task settings, authenticate, and then shows a preview of your response generated through your third-party web service, for example, Asana.
- Preview with sample response – Generates the preview using the sample data provided with the key-value pairs defined in the Response Sample section on the API Request tab for the task.
Examples of Custom JavaScript Response
The following examples show response objects using JavaScript to define the Post Title and Post Description sections that display output messages to the end-user when the task response message is sent.
In the following example, the variable labeled desc is only displayed if the value for the caption is defined in the JSON response.
var desc = (caption !== "undefined" ? caption : "")
In the next example, a clickable URL using the task title is displayed in the task response message.
var tasklink = '' + title + '';
In this last example, the link variable depends on the type, either video or photo. Based on the type, the proper link is displayed.
var link = "";
switch (type) {
    case "video":
        var video = (typeof(video_url) != "undefined") ? video_url : permalink_url;
        link = '<video controls><source src ="' + video + '" type="video/mp4"></video>';
        break;
    case "photo":
        link = '<img src="' + image_permalink + '"></img>';
        break;
}
You can create custom JavaScript to handle task-specific requirements on the JavaScript tab based on the payload response for the task.
Channel-Specific Bot Response
A task response message may be dependent on the channel that the response message is displayed in, for example, in the Kore.ai Messenger client, an email, or in a text message. By default, the response message that you configure for Default for all Channels is sent to all channels. However, you can define a specific response for one or more of the 20+ supported channels to display to the end-user in that channel instead of the default response.
- To define the response message for a specific channel, click + Add Channel to display the Choose a Channel drop-down list.
- Select a channel, for example, Kore.ai, and then configure the response for that channel on the JavaScript tab.
Only one response can be defined for each channel. The following JavaScript examples show how you can override the Kore.ai default formatting template by channel.
Note: Use the following keys to return default values for:
response.message – Returns the default message as a string.
response.message.choices – Returns the options choice or confirmation message types as an array.
- Slack Channel Override Example
var message = {}; var attachments = []; var attachment = { 'text': "Exception occurred during API execution", 'color': '#FFCC00', 'attachment_type': 'default' }; attachments.push(attachment); message.attachments = attachments; print(JSON.stringify(message)); - FaceBook Channel Override Example
var message = { text: response.message }; var buttons = []; for (var i = 0; i < response.choices.length; i++) { var choiceItem = response.choices[i]; if (choiceItem.length > 20) { choiceItem = choiceItem.substring( 0, 18) + '..'; } var element = { content_type: 'text', title: choiceItem, payload: choiceItem }; buttons.push(element); } message.quick_replies = buttons; print(JSON.stringify(message)); - Email Channel Override Example
var message = {}; var text = response.message + ' <br> '; for (var i = 0; i < response.choices.length; i++) { text = text.concat( '<u> + response.choices[i] + ' < /u> <br>'); } message.text = text; print(JSON.stringify(message)); - SMS Channel Override Example
var message = {};
    var indexArray = ['a', 'b', 'c',
        'd', 'e',
        'f', 'g', 'h', 'i', 'j',
        'k', 'l', 'm', 'n', 'o',
        'p', 'q', 'r', 's', 't',
        'u', 'v', 'w', 'x', 'y',
        'z'
    ];
    var text = response.message + '\\n';
    for (var i = 0; i < response.choices
        .length; i++) {
        text = text.concat(indexArray[i] +
            ') ' + response.choices[
                i] + '\\n');
    }
    message.text = text;
    print(JSON.stringify(message));